visit counter for blogspot

Im getting married--follow along with me! | Be a fan on Facebook! | Follow ThriftTrick on Instagram! | Follow ThriftTrick on Twitter! | Follow ThriftTrick on Pinterest! | Follow ThriftTrick by email! | Take Me Home! | About your gal! | Follow ThriftTrick through email! | Fashion | Thrift
Positive Body Image | On the menu... | On the turntable... | Thrift Store Reviews... | DIYs and Tips


Showing posts with label healthy cooking. Show all posts

Sunday, June 14, 2015

Strawberry Rhubarb Lavender Chia Seed Jam


Strawberry Rhubarb Lavender Chia Seed Jam

This weekend, I was lucky enough to have a nice beautiful batch of rhubarb given to me! For a moment I thought maybe I would try a savory recipe with the rhubarb, or something a little off the beaten path. And then I remembered I had ripe berries ready to be used for something--and I couldn't resist. ;) I love cooking with chia seeds (I've posted a chia seed recipe for Spicy Pepper Jam here before), so I thought I'd cook up some jam! As a child, I remember loving the challenge of eating a sour, tangy stalk raw--and the joy of strawberry rhubarb pie. Rhubarb and strawberry are a class act together, no doubt.
 
Still, I wanted to add something exotic in to the mix, and then it hit me--culinary lavender. Oh yes.
 
Check out my finished product--a lovely little fresh spread that has only around 18 calories, 1.3 grams of healthy omega-3 fats, and over half a gram of protein per tablespoon! The lavender taste is very present but not overwhelming--it adds a fancy, perfumed quality to the jam that is just what I was going for. Great on toast, or a muffin...and I can't even imagine how yummy it would be over a scoop of vanilla ice cream or yogurt.
 
Recipe below. Enjoy!


WHAT YOU'LL NEED

-2 cups of diced strawberries (or any other berry of choice)
-1 1/2 cups chopped rhubarb (you don't HAVE to peel your rhubarb, but I did peel mine before chopping to avoid any stringiness)
-Roughly 1 1/3 cup of dried chia seeds
-3 tbsp. dried culinary lavender
-1 tbsp. stevia (or 1 cup of granulated sugar, or another sweetener to taste)
-Additional 2 tbsp. of sugar
-Estimated 2 1/2 cups of water
-Medium Sauce Pan
-Containers to hold somewhere around 32 ounces of jam (I used a 12 ounce jar and two 8 ounce jars, and filled to the brim).

YEILD: A little over 32 ounces, or around 64 tbsp. of jam.


DIRECTIONS

Add chopped berries, rhubarb, lavender and sweetener to a sauce pan with enough water to cover them plus a little extra. For me, this ended up being around 2 1/2 cups. Basically, you want to submerge the ingredients and leave a little room for liquid, without your mixture becoming too watery.
 
Bring to a boil and then quickly reduce to a simmer until fruit is tender--it doesn't take long, perhaps 4 minutes or so. Don't boil too long or you will lose the beautiful color in the berries!

At this point, I removed the pan from heat and used a masher to gently mash the ingredients in the pan.
 
I then added the chia seeds to each jar--I used about 1/3 of a cup of dried seeds for the two smaller 8 oz. jelly jars, and the remainder of seeds (around 1/2 a cup or a little more) for the 12 oz. jar.
 
Spoon/pour berry mixture in to each jar and stir well, incorporating the chia seeds. You may need to adjust the amount of seeds you use for each jar if the mixture seems too watery, but you'll need to wait a little while to gauge how thick the jam actually is while the chia seeds "set", or become jelly-like. They will expand and thicken the mixture.
 
After around 10-15 minutes, the chia should have expanded to their maximum thickness, so if you need to add more seeds by the tbsp., you can.
 
Allow the jars to cool before putting in to the refrigerator. Kept in the fridge, this spread should last about two weeks. You can also freeze this jam--but I will admit, I haven't tried that. We usually eat it up rather quickly. =)


NUTRITIONAL INFO

Serving Size: 1 tbsp.
Calories: 18
Total fat: 1.3 g
Sodium: .2 mg
Carbs: 1 g
Protein: .6 g
 

Tuesday, December 30, 2014

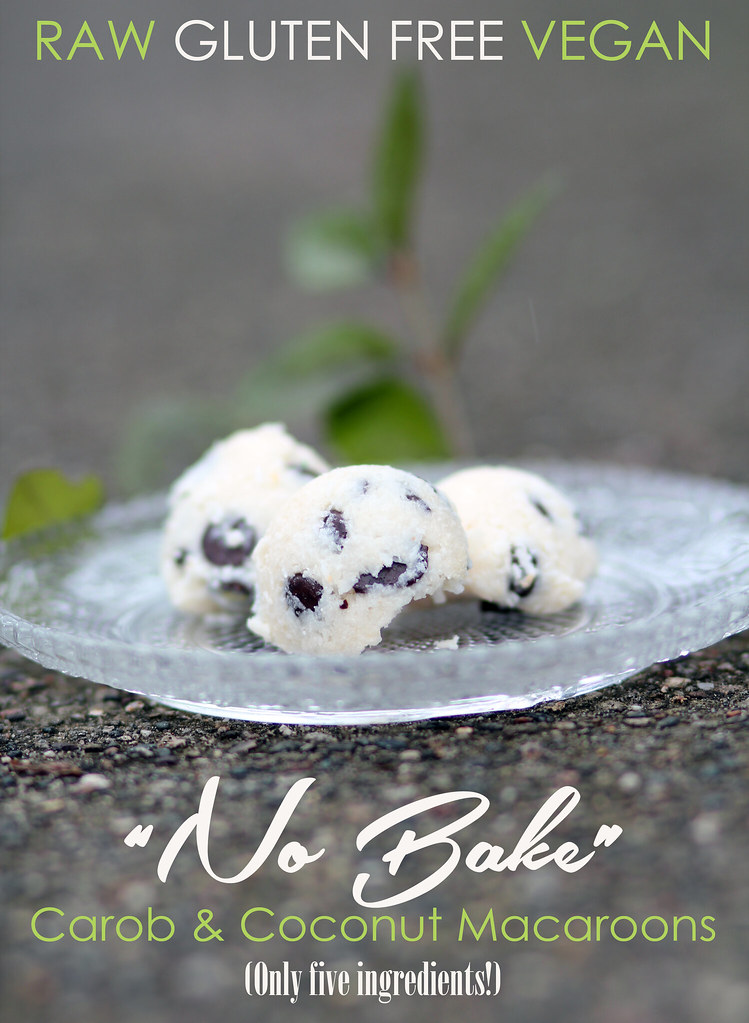
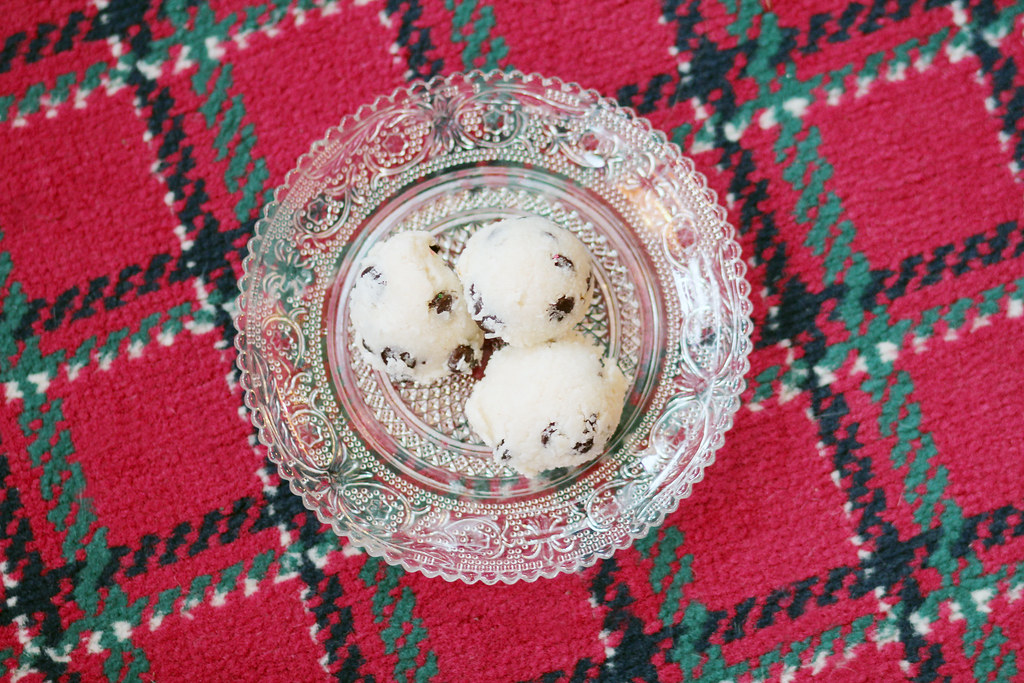
No Bake Carob and Coconut Macaroons: Raw, vegan, gluten free--only five ingredients!

7 copy

NO BAKE CAROB AND COCONUT MACAROONS

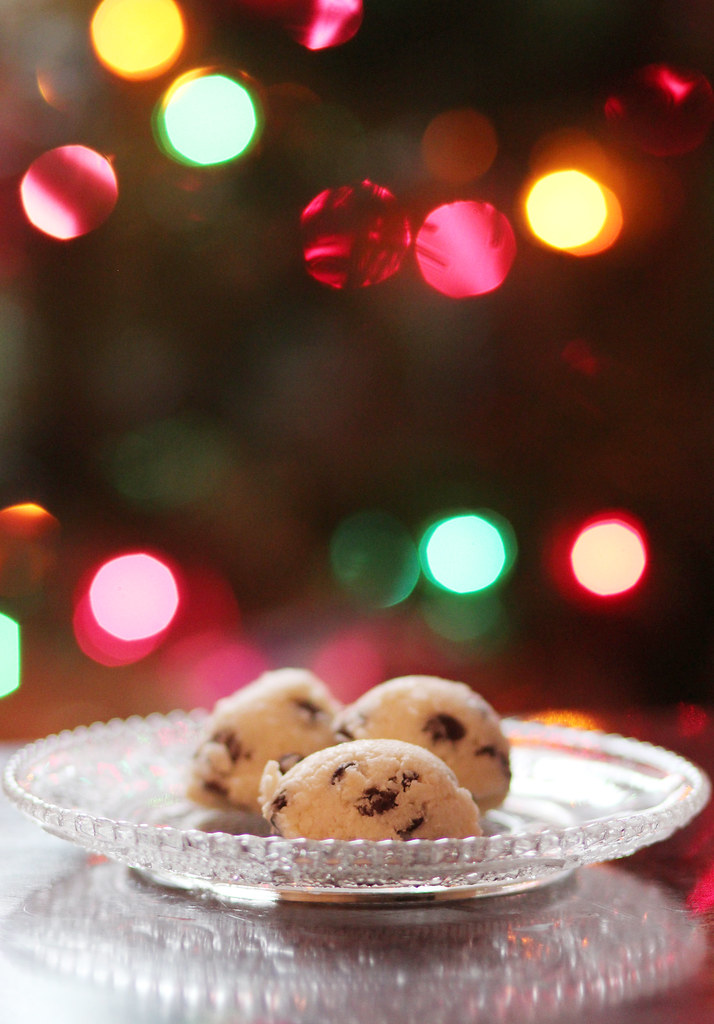
These raw, gluten free, vegan no-bake cookies sprang from a well of desire for one of my favorite candies ever (Mounds!). I wondered if I could make something similar without baking; a quick and easy (plus way healthier) treat. My beta version was a huge hit (even for my fiance, who isn't afraid to express his dislike for carob).  They were a yummy addition to the Christmas Cookies we gave to friends and family this year AND they look like little adorable ice cream scoops!!! So let's get started!

INGREDIENTS AND DIRECTIONS:

1/4 cup cold pressed coconut oil (I used Simply Nature organic brand)
2/3 cup unsweetened shredded coconut (I used organic bulk coconut from my local health food store)
1/2 tsp liquid organic stevia (or any other sweetener to taste)
4 tsp coconut flour (you could easily substitute a finely milled rolled oat or something similar)
3 tsp carob chips

OTHER OPTIONAL ADD-INS (careful not to add too much of anything)
-a drop or two of vanilla, almond flavoring or even peppermint
-a small amount of slivered almonds
-finely chopped maraschino cherrries

DIRECTIONS:

In a glass bowl, melt coconut oil in microwave for 30 seconds and stir until fully melted. Add stevia or preferred sweetener and stir together. Add shredded coconut and stir until coated in oil. Add in final ingredients (coconut flour and carob chips) and incorporate carob chips as evenly as possible. Add any additional flavoring or ingredients. At this point, if you've used stevia, the mixture may taste slightly bitter, but that flavor mellows after the cookie sets!

Using a rounded tablespoon to measure, tightly pack mixture into the spoon and press on the top of one end of the spoon wtih your finger to gently pop the macaroon out. They are very delicate and this part takes some patience! You can also experiment with other tools or simply pack ice cube trays or another small mold with the mixture. The little scoops sure are cute, though!

Once you have the tiny scoops on a plate, pop in to the freezer to set (minimally 10 minutes, though they may be ready before that). These actually keep quite well in the freezer and are yummy cold, but we always eat ours within a day! 

Once the coconut oil has chilled and firmed they are actually quite well set, and do well at room temperature from that point forward.

They are certainly a much healthier version but BOY, do they ever taste like Mounds! If you use stevia to sweeten, they are actually quite low carb considering the coconut is unsweetened and the coconut flour is very low in carbs as well. Don't forget about the awesome health benefits of coconut oil!

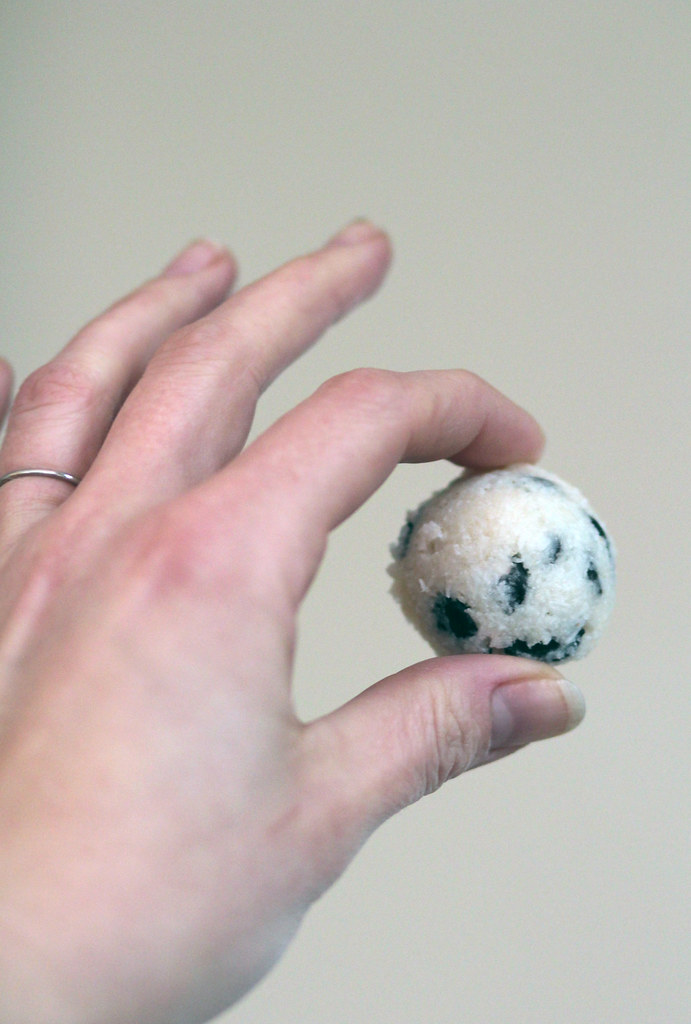
This recipe yeilds 8 tbps size cookies. They are petite and adorable!

ENJOY!

4


3


5

Wednesday, July 30, 2014

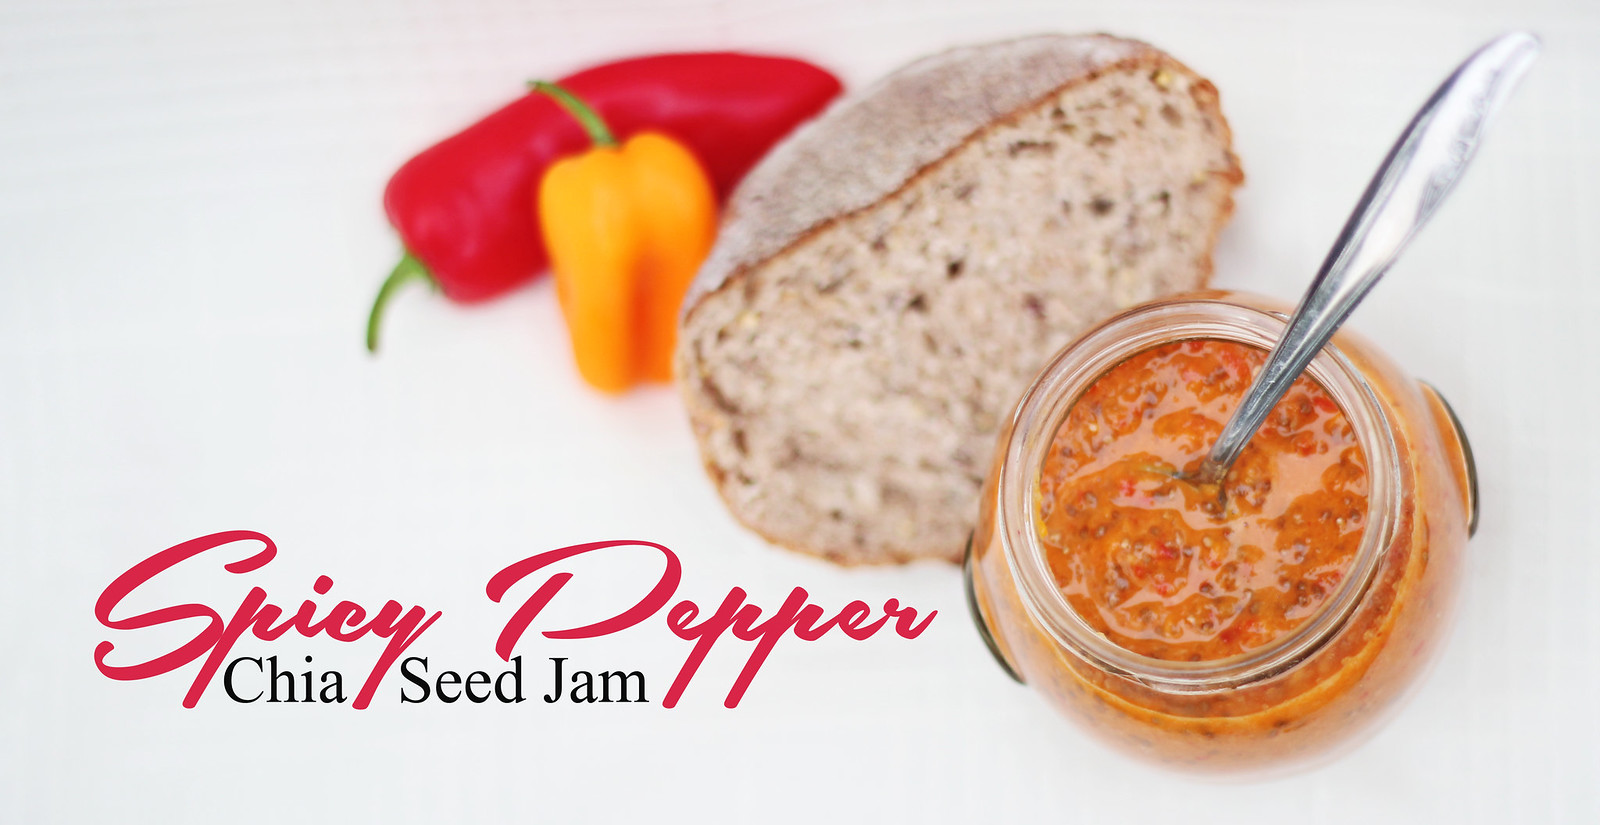
Spicy Pepper Chia Seed Jam: #Channyskitchen

IMG_8189 copy

I was SO excited to try cooking with chia seeds (mostly for their amazing Omega 3 and fatty acid benefits, but also because I love to cook!), even though they were pricey. (The organic chia seeds I bought at my local health food store were about 12 dollars for a somewhat small bag!) I have heard about buying them in bulk for cheaper prices, but I wanted to get the hang of cooking with them before I committed to a large quantity.

I started with soaked chia seed pudding a few days ago--just a simple coconut milk/lemon zest chia pudding sweetened with stevia. That was pretty good! I knew, however, that my real interest was in making "jam" type concoctions. I made some strawberry chia preserves (and they were super yummy!) but it wasn't long before my mind started going down a savory path...to a road less traveled. 

I present to you, my:

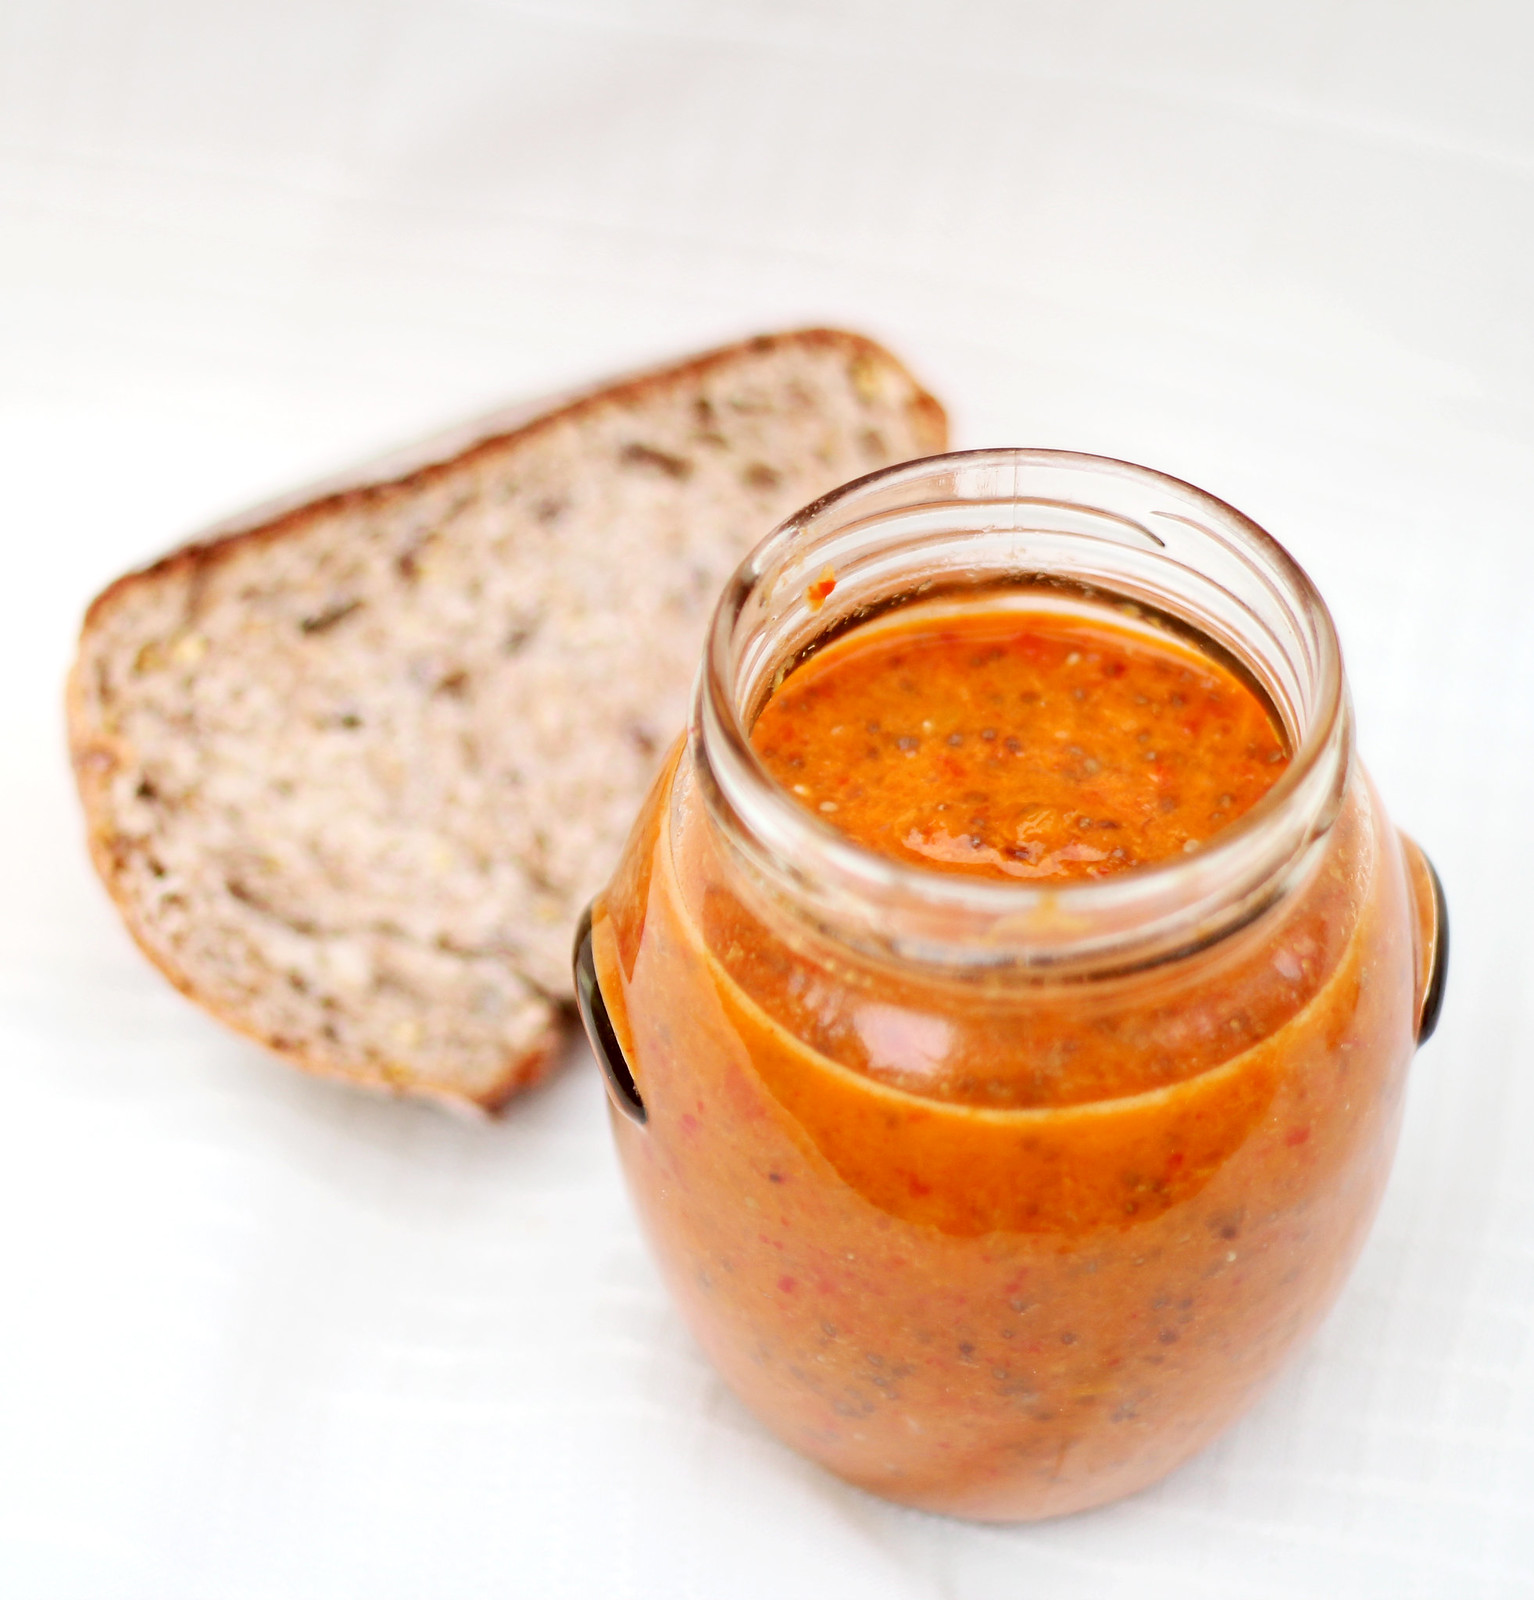
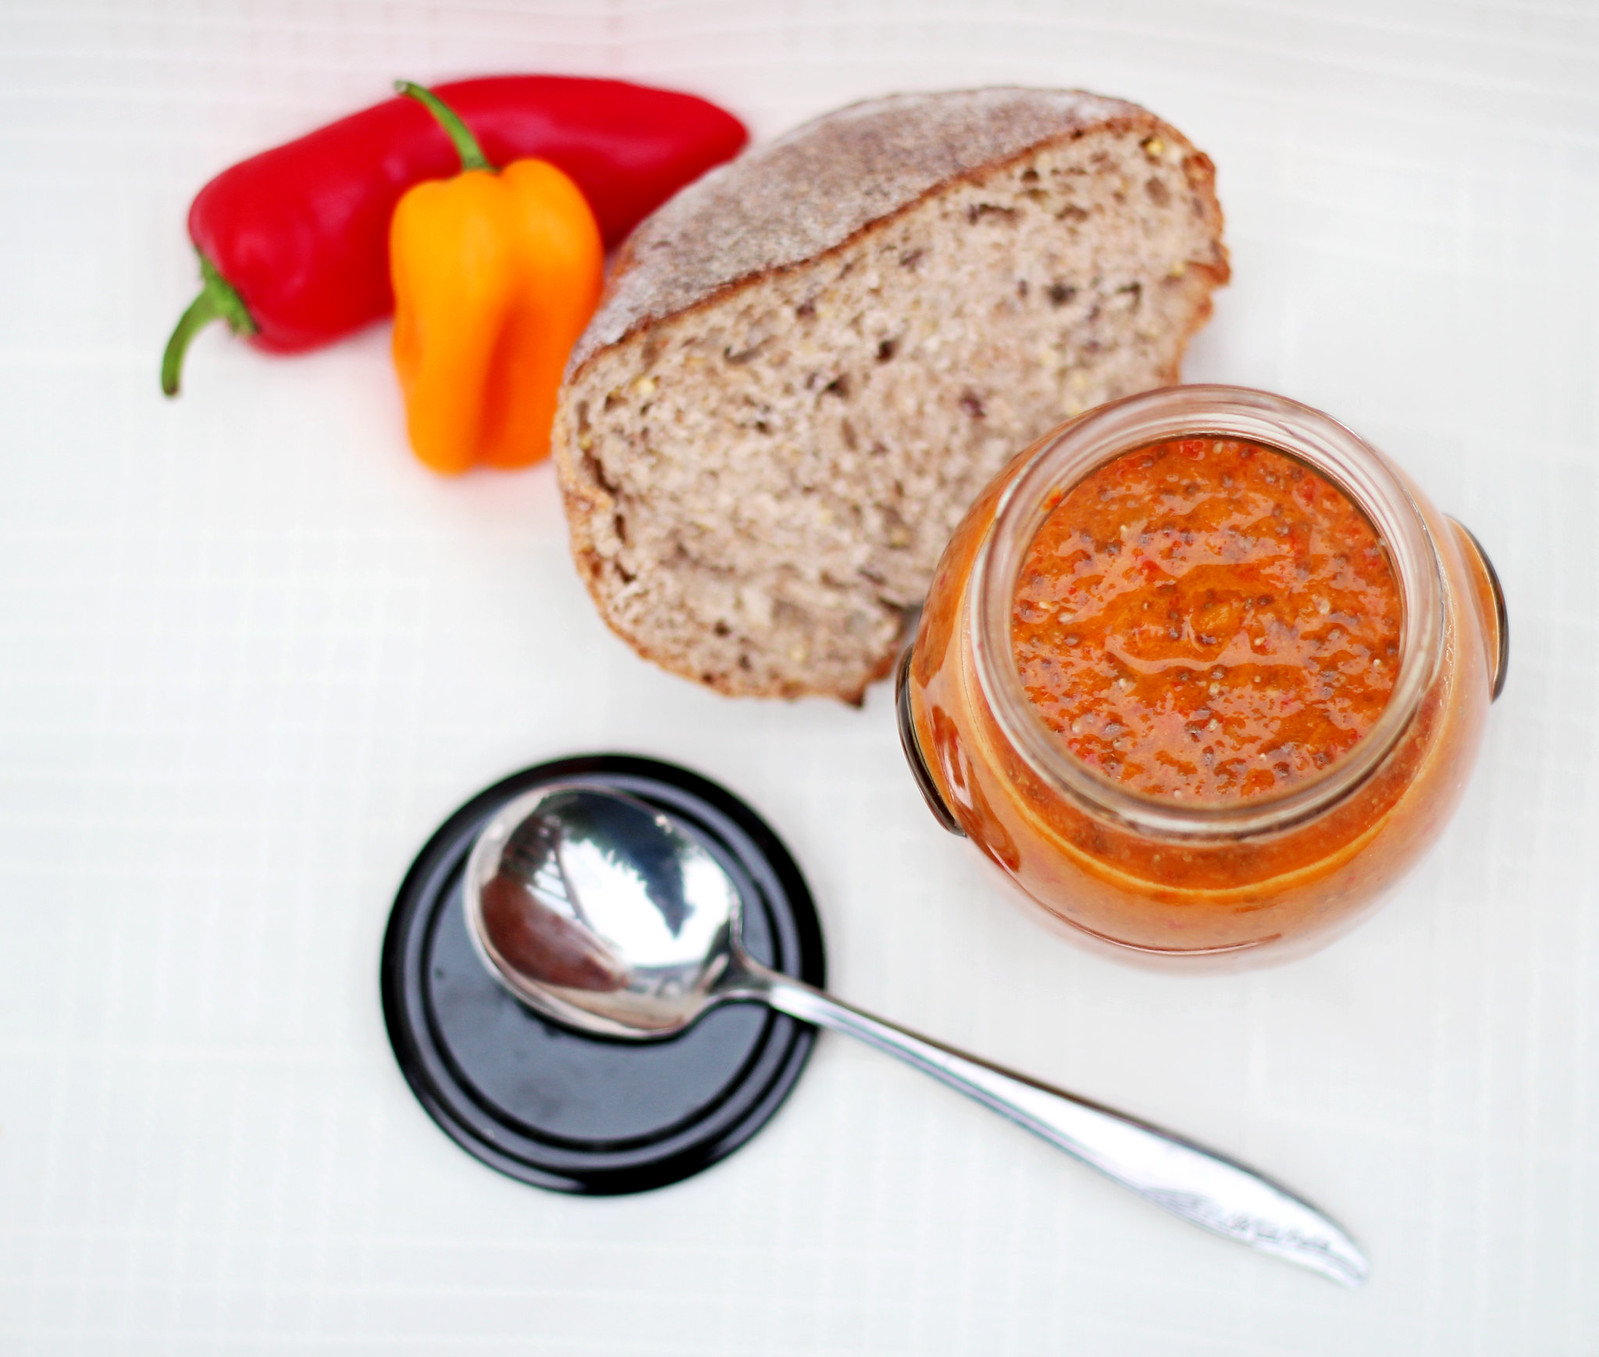
SPICY PEPPER CHIA SEED JAM!

Delicious with meats, on buttered bread, or as a condiment to 
sandwiches, crackers, etc!

Should last in refrigerator for approximately 2 weeks.

IMG_8138

IMG_8171

IMG_8203

THE RECIPE

You'll need:

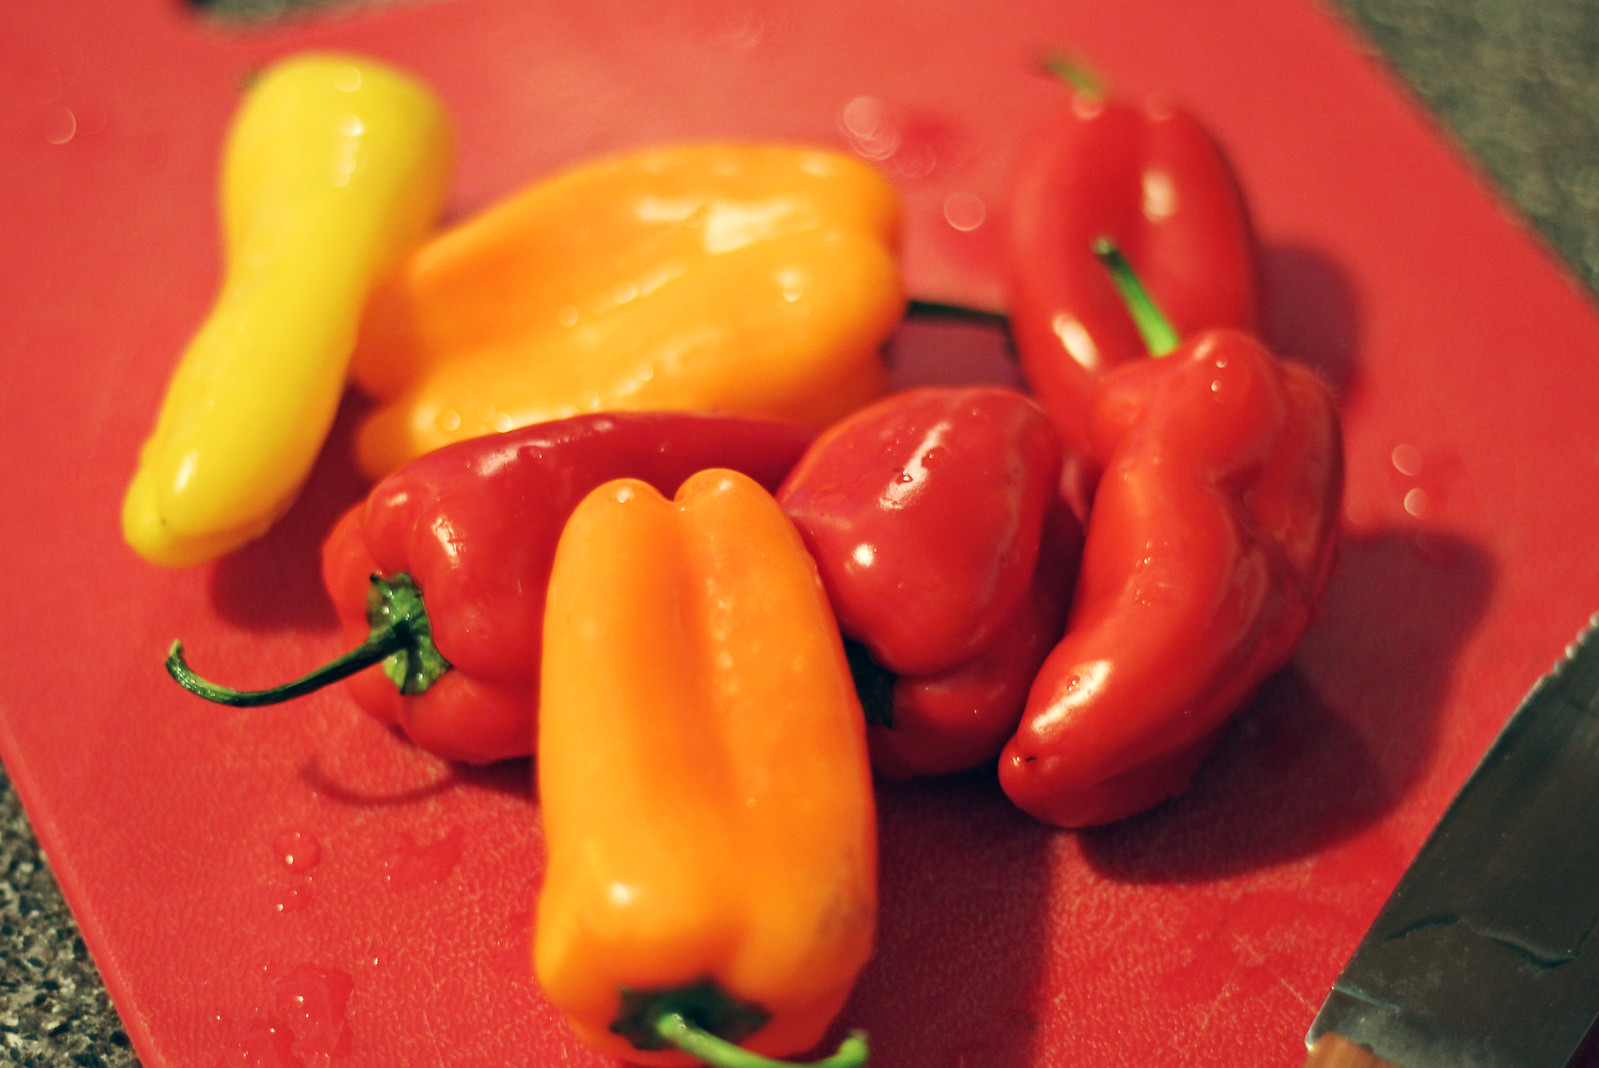
--7-8 mini colorful peppers (or 2 large colored peppers)
--1/4 cup chopped onion
--Sea salt and pepper (optional)
--Olive oil for sauteeing
--Dash of honey
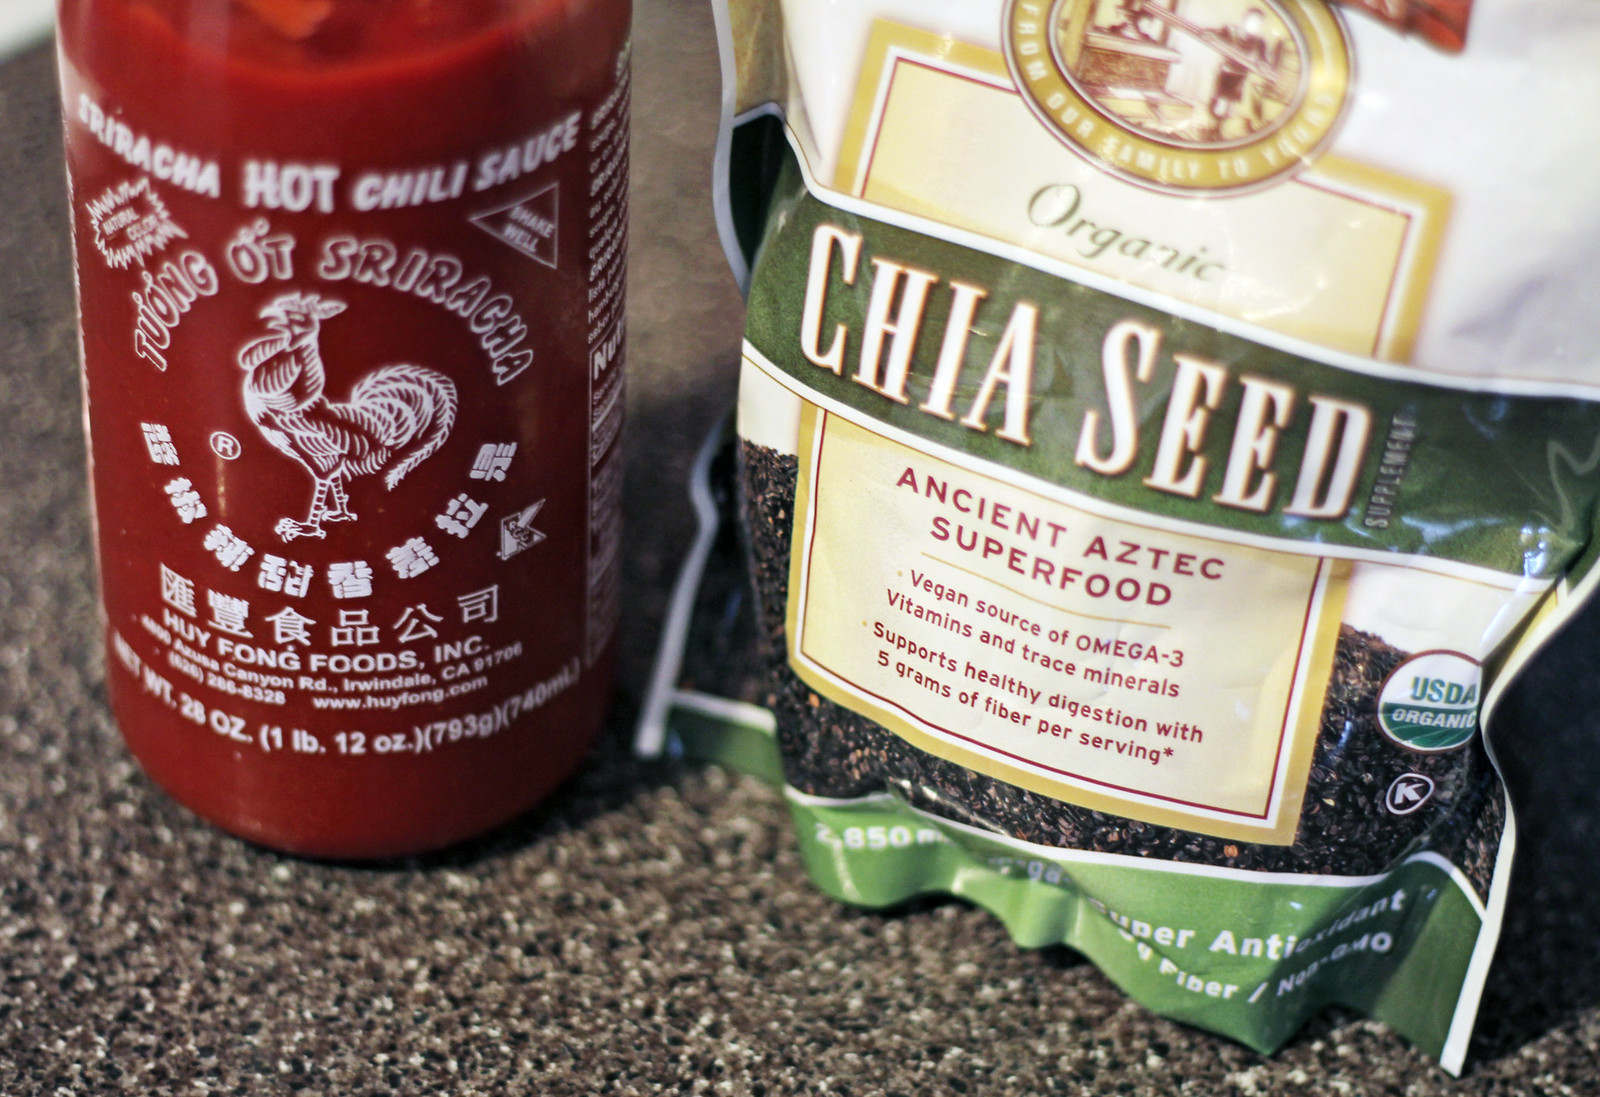
--Healthy TBSP of Sriracha (more if you like it hotter! You can also substitute hot peppers with your mild pepper mix, but I wanted a nice, controlled heat).
--1/4 cup dried chia seeds
--1/2 cup water

--Food processor, sauce pan, small to medium jar to hold jam while it cools.

IMG_8094

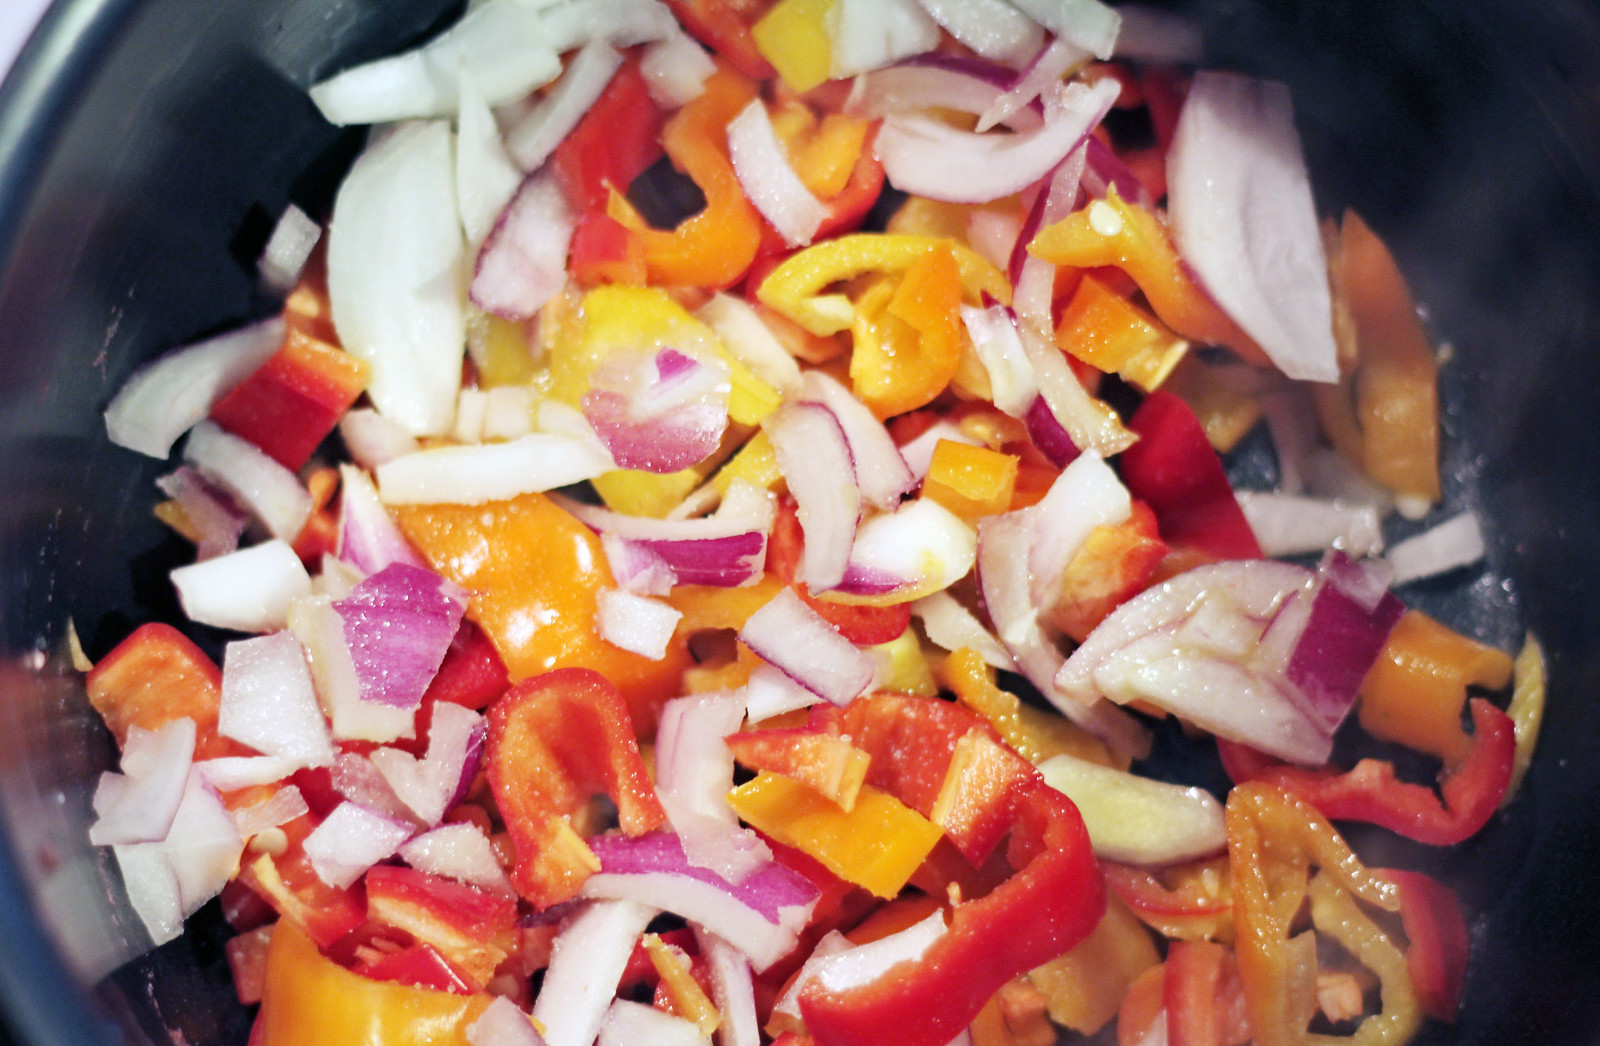
First, I de-seeded and diced my mini-peppers, along with the onion. I tossed them into my sauce pan with some sea salt on medium heat, and began to caramelize them for added flavor.

IMG_8098          IMG_8100

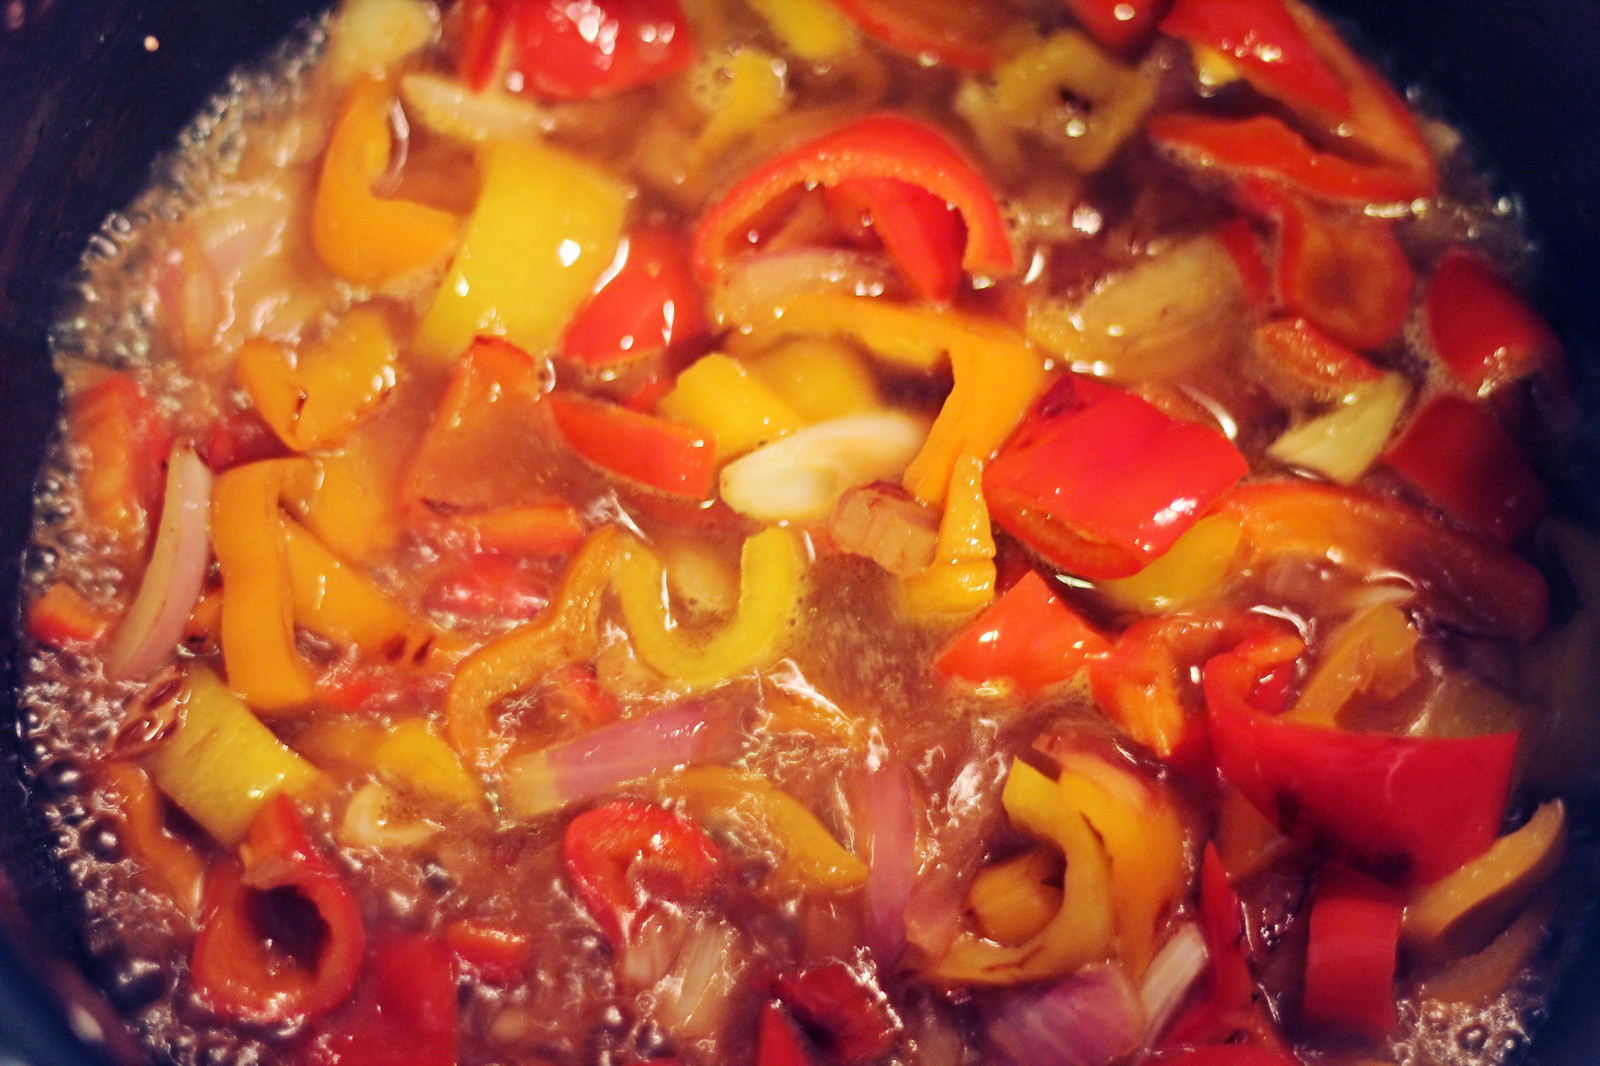
After they had become slightly browned, I added about 1/4 cup of water (additional water for simmering/cooking out and not listed in ingredients above). I let the peppers and onion simmer until they were soft, and the flavors had really been released. Most of the water cooked out, but I left what was there for blending in the next step.

IMG_8102         IMG_8104

I blended my pepper/onion mix on high, until quite smooth, with my food processor. It didn't yeild much--maybe about 1/2 cup of pureed peppers and onion. I spooned that, still warm, into my small jelly jar.

Rather than soak my chia seeds in flavorless water, I used the 1/2 cup of water in the ingredient list to rinse the mixing basin of the food processor. I then dumped that watery pepper solution in to a small dish and soaked my chia seeds in it, for added flavor. After about five minutes, I spooned the somewhat gelled chia seeds and excess liquid into the jelly jar with the pepper puree, stirring for smooth consistency. Then, I added a healthy tablespoon or two of Sriracha for some nice heat! 

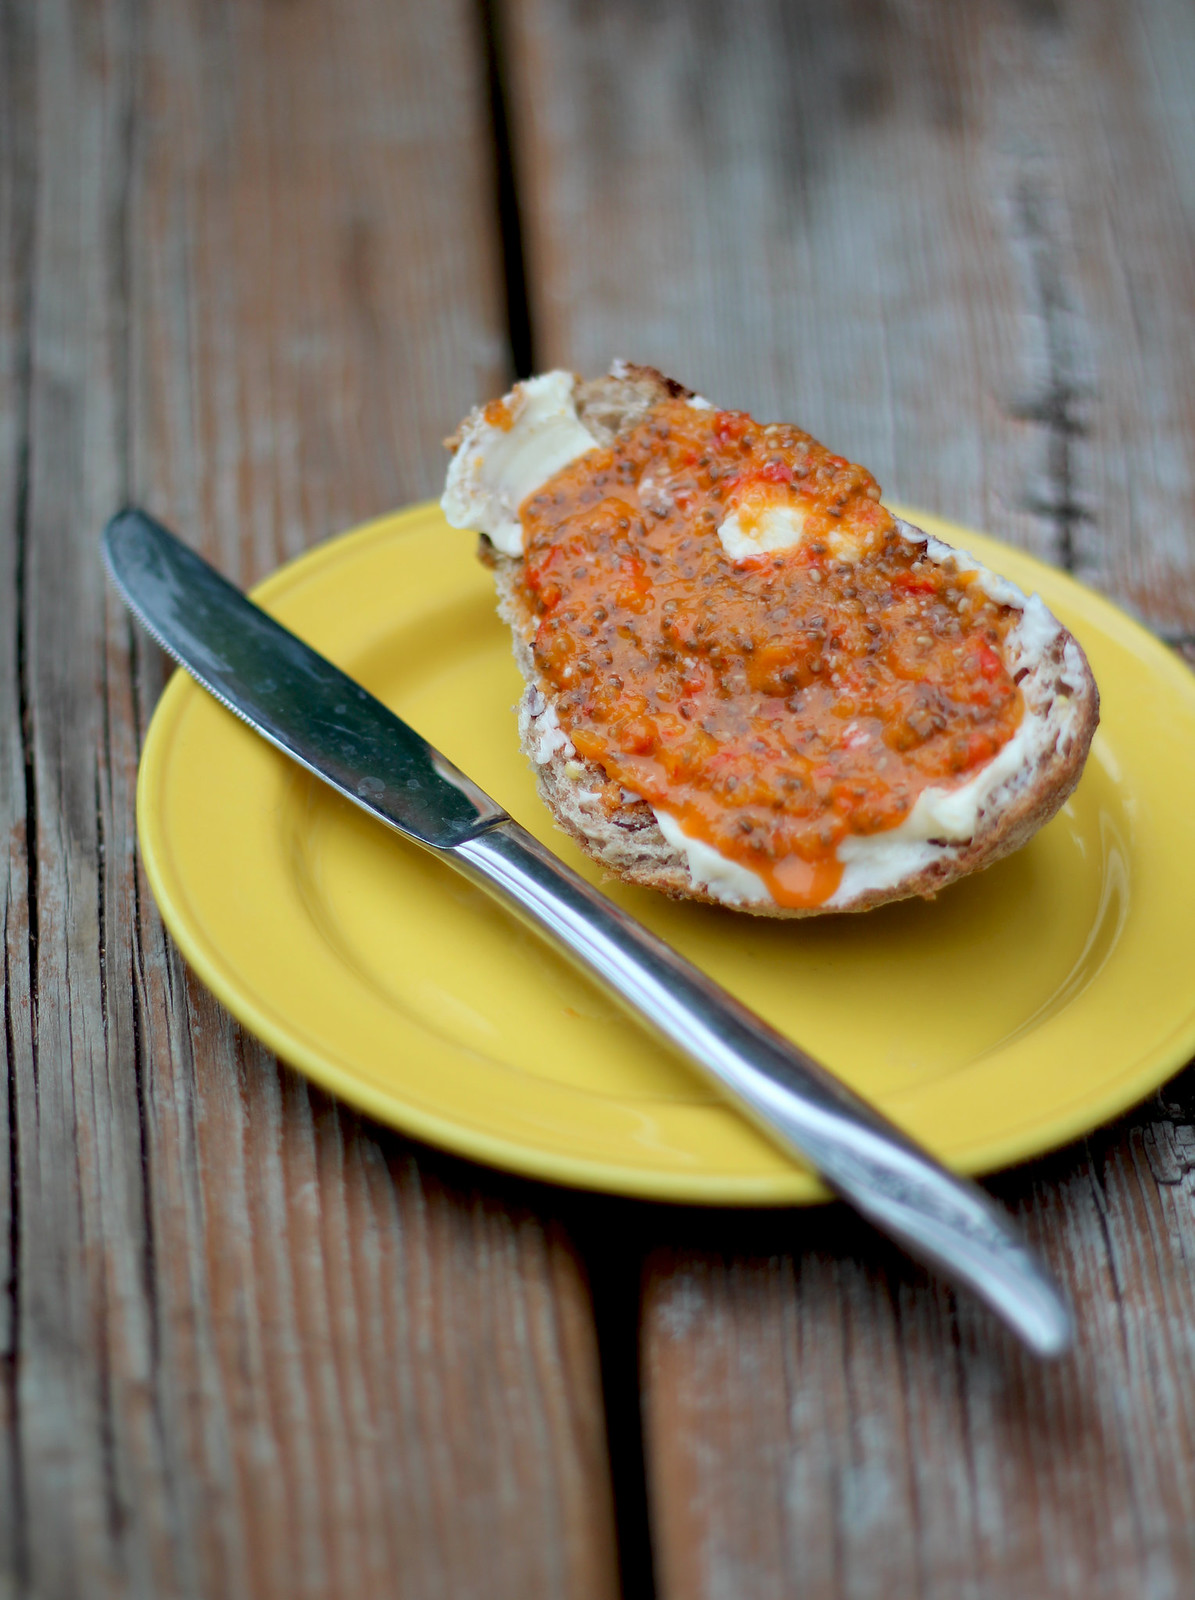
The consistency of the jelly is very much like a more textured mustard--chia seeds are soft, and don't present much flavor or texture, really. But they thicken the mixture nicely and add so much in the way of nutrition. I absolutely love the flavor of this jam, and even though I put the rest in the refrigerator to cool, I couldn't resist slathering some on a peice of 7 grain oval bread with some real butter to test it out.

YUM.

IMG_8154

ENJOY!

Popular Posts