visit counter for blogspot

Im getting married--follow along with me! | Be a fan on Facebook! | Follow ThriftTrick on Instagram! | Follow ThriftTrick on Twitter! | Follow ThriftTrick on Pinterest! | Follow ThriftTrick by email! | Take Me Home! | About your gal! | Follow ThriftTrick through email! | Fashion | Thrift
Positive Body Image | On the menu... | On the turntable... | Thrift Store Reviews... | DIYs and Tips


Showing posts with label repurpose. Show all posts

Sunday, January 11, 2015

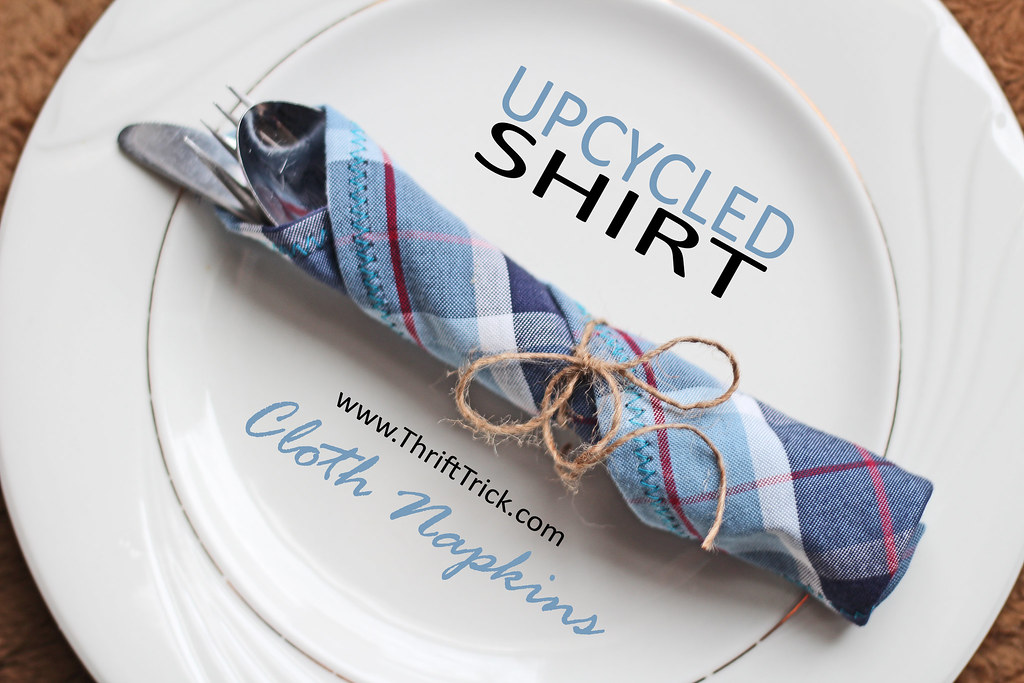
Upcycled Cloth Napkins From a Dress Shirt and a New Series: "Resolve to Repurpose!"


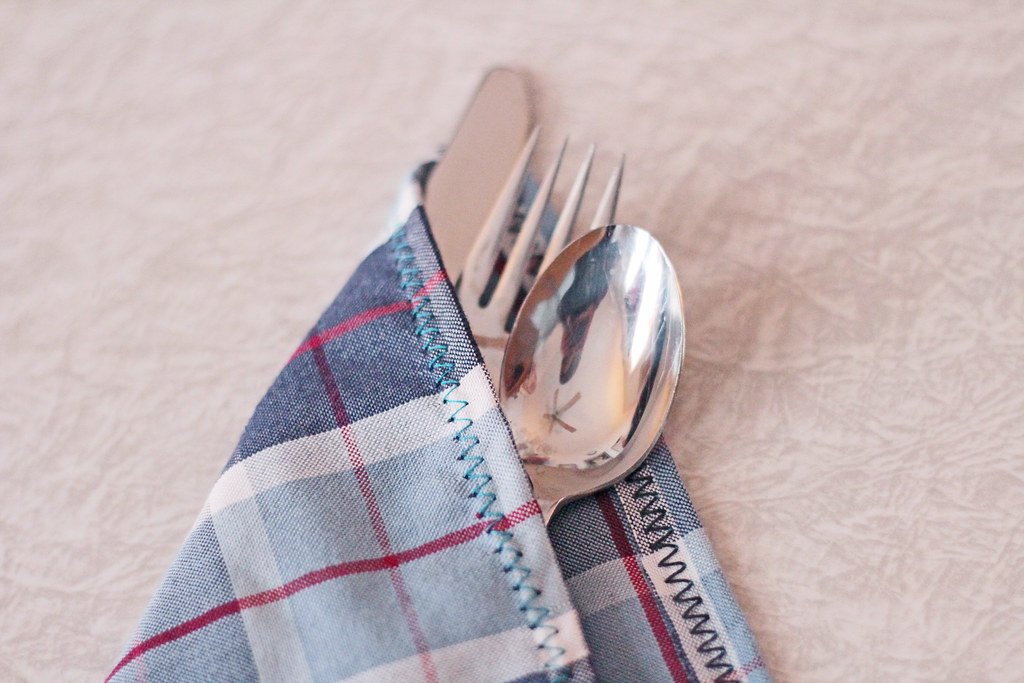
 Upcycled Cloth Napkins From a Dress Shirt
and a New Series: "Resolve to Repurpose!"

I'm always mixed on New Year's resolutions.
On one hand...goals are good, mmmkay?
But on the other, expectations are the devil.

This year, I've opted to continue the healthy self-care I've had in place for a long time, but that doesn't mean I don't have goals. In fact, I thought 2015 would be a great year to even further increase the ways I can up-cycle used and vintage things in to a new series called "Resolve to Repurpose!" 

There are many ways to do this without cluttering your home with toilet paper tubes and old coffee cans, and most importantly, you can do it with thrifted, gifted or free items!

So, without further ado, I present my first craft project of the new year: up-cycled cloth napkins! This project was so much fun and yielded a very useful product. If you have a few old dress shirts laying around then you won't need a thing--otherwise, you could easily pick up a large shirt at a thrift store like Hope's Outlet for around $2. Read the instructions below! 
IMG_0634

HOW TO DO IT

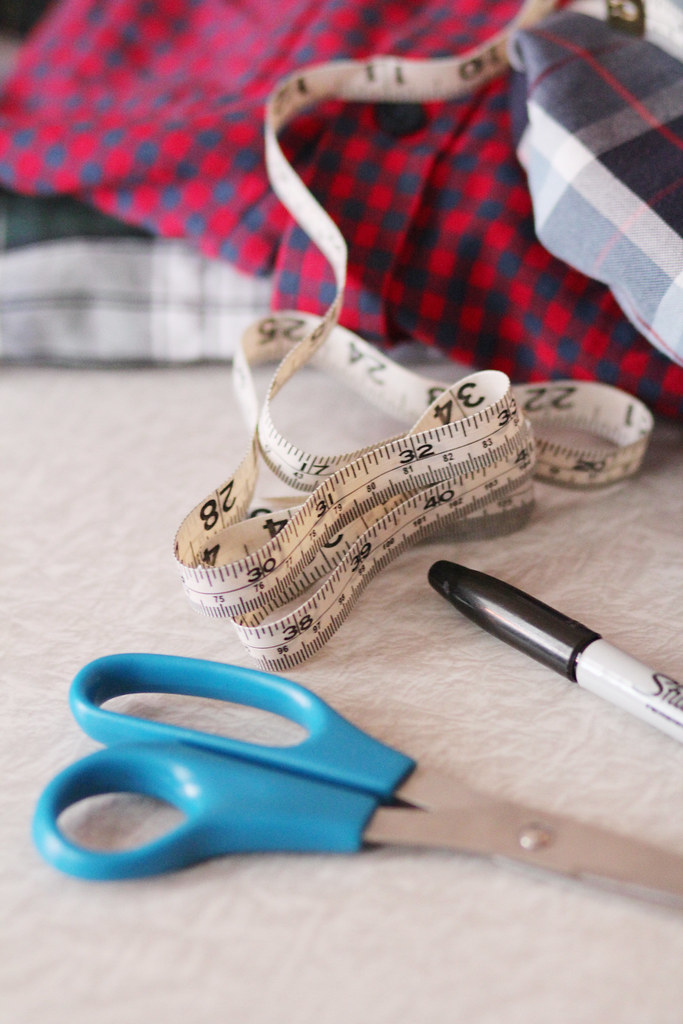
Gather up your materials! You'll need:


-At least one large or extra large dress shirt 
(I went with plaid because I love it, but any dress shirt will work nicely!) Each dress shirt of this size will yield about 6 napkins using the measurements I've provided and that is without using the sleeves, which I saved for a future project. ;)

-Scissors

-Measuring Tape

-Marker 

-Sewing machine with zig-zag stitch setting (optional)


MEASURE AND CUT THE FABRIC

Using a soft tape measure, I marked off 11x11 squares wherever I could fit them in! (You could easily do slightly smaller or larger, but I was also leaving a small amount of room for a 1/2" hem on each side). 
I was able to cut two squares from each side of the shirt in front, and a grid of four squares on the back. 

The next step is optional...
read on to find out why!
IMG_0639

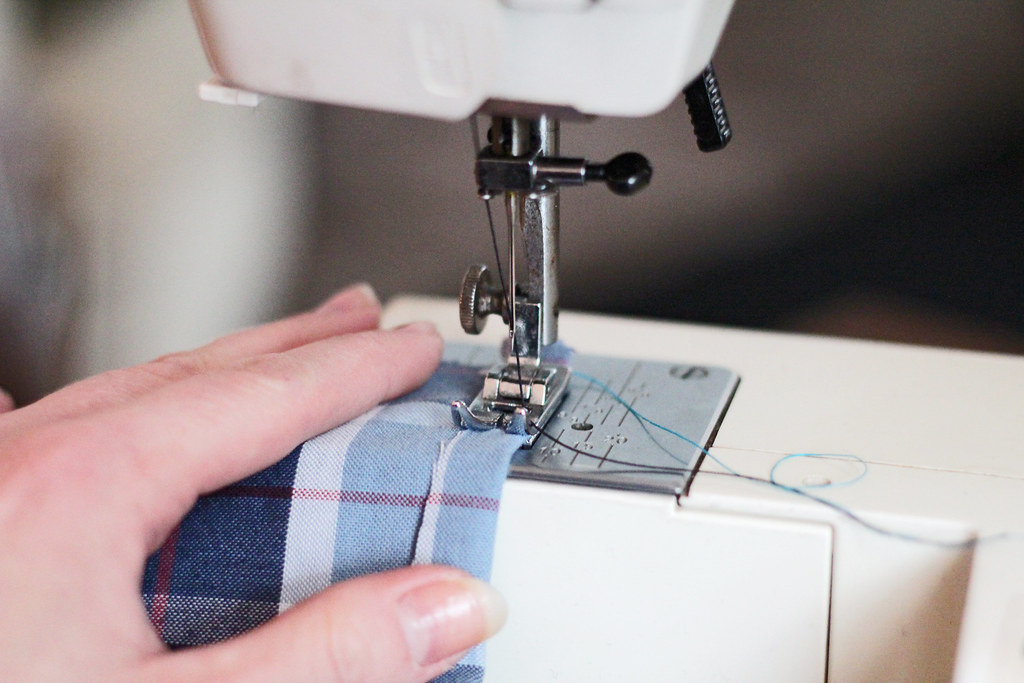
HEM YOUR SQUARES

IF you are particular and precise, you would carefully press the edges of your napkins to make a 1/2 inch zigzag hem on all sides before sewing.  

IF you are a un-apologetically lazy seamstress like I am, then you get on your sewing machine and start the party! 

IF you don't have a sewing machine at all or simply don't want to mess with that aspect of things--good news! You can gently pull out vertical threads and skip this step altogether to create a pretty fringe border. If that's the case, carefully rip out the vertical thread on each side of your napkins with a seam ripper or needle until you see the fringe border you want, in the thickness you like. This is a little time consuming but does work nicely!

Then, get an ice tea and sit back and appreciate what a domestic, up-cycling goddess (or god) you are!

If you're thinking that these would make an excellent gift...how right you are! Trust me, I'm keeping this project on my radar for next year's handmade Christmas giving, because who wouldn't want an adorable setof up-cycled plaid napkins? You could even get fancy and monogram them. More on that next season... ;) 

The next step is to enjoy your super cute cloth napkins and relish in the fact that you are helping to reduce consumption of paper products! Cloth napkins feel so much more fancy and they happen to look exceedingly adorable, as well. 

STAY TUNED FOR MORE UP-CYCLED PROJECTS! 

Follow me on Instagram or explore the hashtag, #ResolveToRepurpose2015. 

What can you re-purpose today?
 
IMG_0641

Friday, December 20, 2013

Tis the Season To Repurpose! 1 Minute Centerpiece DIY


IMG_0008
TIS THE SEASON TO REPURPOSE!
(Fa la la la....well, you get the picture.)

Thrifted, gifted or free...that's what I always say!


This retro plastic topiary was given to me in a bag of other things from "Christmas Past" and I decided to re-purpose it a little and turn it into a lovely little center piece! These little vintage snow owls were just waiting to be a Christmas focal point along with gold pinecone candles.

Truly, the only step in this DIY would be: spraybomb.

I love the look of white, cream or almond when it comes to holiday items, so the idea for me was to just cover the whole thing...and that's precisely what I did. To be honest, because I love the vintage kitsch, the original somewhat appealed to me! However, a little coat of paint really freshened and modernized the piece, and I'm very happy with the way it turned out! 


BeforeAndAfter

I'm still decorating! I love adding things here or there!

IMG_0032

These wonderfully "tassel-y" ornaments and extra silver bulbs were orphans, so I strung them on ribbon over the doorways. 

What can you re-purpose for the holidays? Is your shopping done yet? I'll see you soon for a last minute thrifted gift blog!

Wednesday, December 14, 2011

"Cool" little organizer DIY


I think I've mentioned in other blogs that I'm a music teacher, musician, mom and full time college student! The holiday season has me in a busy whirlwind. I've got three seperate performances this week! There have been so many outfits, reviews and ideas I've been thinking about posting in that time, but I think this week to save my sanity I'll post some helpful shorter entries.


Today I just want to share an organizational idea I found recently that I'm loving for my earrings. Obviously, you could use ice cube trays for many things! I'm proud of all my thrifted and vintage earrings and I've found many neat ways to display them much more artistically--picture frames covered with nylon, hooks, etc.--but with alot of vintage clip and screw ons, it was too much of a hassle to pull them on and off.


I thought at first I wouldn't like the LOOK of ice cube trays but I actually do! They are very organized and stackable and look just fine on my jewelry shelf. I don't mind the colors but a neat idea would be to spray paint them. You could even color code your jewelry--gold, silver, or a color to represent long earrings, short, etc.--but I took the easy route and let them be.


Easy to find my earrings now, and no struggles getting them off of a display!


Monday, November 21, 2011

InStyle Recreation and DIY Necklace!


This month in InStyle magazine (I subscribe, can't help it) there was an outfit layout that I thought was so cute. Actually, they are always at least a few outfit mockups that I love in each issue--usually almost all of them! The only problem is that one of their outfits usually totals up to somewhere around $1,000. Um, that's a used car. No thank you.

SO. I recreate these outfits using all second-hand, thrift, upcycled and pre-owned items from my own closet! If you love fashion and you haven't tried this, you should. It's so much fun and it gives you new perspective on things you might already have!

Here was the original outfit I loved. Super cute, classic, romantic, vintage-y. I knew I could recreate it at home but problem numero uno was this lovely Swarovski crystal necklace on black ribbon. Nope, don't have one of those lying around. Neither did I have black ribbon. But what I DID have was a bit of scrap black satin in my sewing room and this fantastic vintage starfish brooch that had broken last year and was hiding in my jewelry box. Time to repurpose!


Here's what I did:

-Cut a thin strip of satin long about 1.5 inches wide and long enough to go around my neck and attach to the starfish.

-Glued the underside with Elmer's--a light coat. Spread it evenly and waited until it was tacky. (You could do this with a paintbrush). Anyone who has sewn with satin knows what a pain it is to work with--especally thin spots. Uck. I opted for the quick easy way. And if the necklace doesn't last forever, I'm not going to have a tantrum.

-Rolled the satin into a thin strip and flattened it. Now I had a nice, thick ribbon effect. Once it had dried for the most part, I bound each end with string so it wouldn't come apart. I then made it attachable/detachable from the starfish pin by permanently hot glueing one end and sewing a hook on the other side, which attaches to what was left of my pin brooch. You could get creative with this part, and you could even glue the ends and do loose ends to tie, though the satin does become stiff after being glued. You would want to attach some pieces at the end for tying. I didn't want that with my necklace because I wanted something collar-style. It turned out just lovely. It keeps a nice shape and is stiff, but it looks soft and shiny still. It will look so nice with a black shift/cocktail dress, too!


So, the rest of the outfit I had under control! In another post, I have already talked about my favorite little polka dot t-shirt. I subbed that for the black and white heart shirt pictured in the original! Red cardigan was subbed for the jacket. Simple black polyester skirt for the ribbed one shown here. I did a black shoulder bag instead of a clutch, and added red shoes instead of black heels. And of course, I subbed my DIY necklace for the crystals!

So, only two items shown here were things I actually bought new, and that was the shoulder bag ($6 on clearance at Family Dollar) and the black skirt (also purchased at Family Dollar so long ago that I can't remember how much it was...it is literally seven or so years old, haha!) All other items were cheapo thrift things.

Here's my version of the outfit, with the original one more time for comparison:

ORIGINAL: Over $1,000 MY VERSION: Free, but if you take into consideration the collective amount paid, about $20.


AFTERTHOUGHTS: I do love this outfit but two things happened when I actually WORE it --things always look better on paper, don't they?

1) Retrospectively, black heels work better. There is so much going on with this outfit that the red shoes put things over the top.

2) I felt the same about the necklace WITH the outfit. I am glad I made it...and it looks great laid out, but when you put everything together, I felt like it was too much.

So, to sum things up, I love this outfit but in wearing it out, I would do a black flat, most likely, and skip the necklace. The red, black and white is strong enough on it's own! Put a red lip with it and it's all the flare you need, in my opinion!

Popular Posts