visit counter for blogspot

Im getting married--follow along with me! | Be a fan on Facebook! | Follow ThriftTrick on Instagram! | Follow ThriftTrick on Twitter! | Follow ThriftTrick on Pinterest! | Follow ThriftTrick by email! | Take Me Home! | About your gal! | Follow ThriftTrick through email! | Fashion | Thrift
Positive Body Image | On the menu... | On the turntable... | Thrift Store Reviews... | DIYs and Tips


Showing posts with label #channyskitchen. Show all posts

Wednesday, August 26, 2015

Lemon Lavender Whole Wheat Muffin Recipe | #Channyskitchen


Lemon Lavender Whole Wheat Muffins

This week, I had some unexpected “at home” time when my little one got sick (boo!). In Michigan, we are experiencing some very cool, fall-like weather (much to the chagrin of summer worshippers like me who aren’t QUITE ready for that). Still, it put me in a major cooking and baking mood, and I thought I would create a new muffin recipe that was hearty, low in fat and low in sugar as well.

Hope you enjoy!

Recipe yields 12 muffins. Nutritional information below.


INGREDIENTS

¾ tsp liquid stevia (or you could use ½ cup granulated sugar or sweetener of your choice, but remember, the calorie/macros in this recipe are adjusted for stevia. I use the handy conversion chart here.)

¾ cup nonfat Greek yogurt

1/3 cup plain applesauce (this is the same as one of the small, single servings which is what I always use. You’ll have about a spoonful left over. It can go directly in your mouth. J)

1 large egg (Vegan friends, check out this great article for replacement choices).

3 tsp. fresh grated lemon zest

2 tbsp. lemon juice

1 tsp vanilla extract

¼ tsp lemon oil or lemon extract

2/3 cup water

1 ½ cups whole wheat flour

¼ cup unbleached self-rising flour

¼ cup cornmeal (I used white)

3 tbsp. dried culinary lavender

2 tbsp. baking powder

1 tsp. baking soda

¼ tsp. salt

OPTIONAL:


Purple Granulated Sugar Topping

(Yeah, I couldn’t resist a little drop of artificial color for this because it looks pretty! But skip that if it makes you uncomfortable.)

1/8 cup granulated or coarse sugar (I used granulated because I never have coarse on hand. Oh well.)

3 drops red, 1 drop blue food coloring

2 drops lemon oil or extract

Mix food coloring on spoon before adding to sugar. After you've added the food coloring, smash the sugar around until the color is incorporated. Then add the lemon oil or extract and do the same.


DIRECTIONS:

Preheat oven to 400º. Grease 12 count muffin tin.

Mix wet ingredients (stevia, yogurt, applesauce, egg, lemon zest, lemon juice, lemon oil or extract and water) together well and set aside.

Mix dry ingredients (flours, cornmeal, dried lavender, balking powder, baking soda and salt) together.

Carefully stir or fold in wet mixture to dry mixture. Batter should be fairly thick—spoonable. Fill each hole in muffin tin to almost full.


Bake around 15-20 minutes, or until inserted toothpick comes clean, or your spider senses tell you the muffins are perfect. =)

When my muffins came out of the oven, I sprayed them lightly with butter flavored cooking spray, and sprinkled the sugar topping on them.

Then I ate one—while it was still steaming—with a big pat of butter. YUM!

CALORIE AND MACRO INFORMATION

Per serving size (1 muffin):

Calories:   103 calories
Fat:    .8g
Carbs:    19.8 g

Protein:    4.5 g

Tuesday, August 18, 2015

#MeatlessMonday Healthy Recipe: Black Bean Fritters with Yogurt Horseradish Dill Sauce


These black bean cakes didn't make it to a proper photo shoot, lol! This shot is courtesy of my iPhone from my Instagram account. Follow my #MeatlessMonday posts there, or explore the hashtag #ChannysKitchen!

#MeatlessMonday Healthy Recipe: 
Black Bean Fritters with Yogurt Horseradish Dill Sauce

I’m back with another quick #MeatlessMonday recipe! This one is light, filling and full of protein. It also happens to be super tasty! I had some recipe requests when I shared the Instagram photo yesterday, so I thought I would share the recipe with everyone here.

Enjoy!

Black Bean Fritters

1 ½ cups (or one can) of cooked black beans. (I processed mine slightly but left them on the chunky side. You could totally do this with a potato masher).
½ cup whole wheat flour (I used King Arthur brand).
½ cup diced peppers of your choice (I used red and yellow)
½ cup diced white onion or whatever you prefer
½ cup chopped baby spinach
2 tbsp egg whites OR leave this out to keep the fritters vegan (it doesn’t make too much difference).
2-3 tbsp water (may need a little more if you omit egg whites)
Salt, garlic powder, onion powder and lots of cumin to taste!

Mix all ingredients into a thick dough-like batter (not too runny, so watch the addition of water carefully) and form into patties with your hands. Using a greased pan (I used coconut oil spray) on medium to high heat, brown patties until crisp on both sides (usually takes around 8-10 minutes). This recipe yielded 9 fritters that were medium sized for me—and they were 70 calories a piece, with .3 grams of fat, 12.8 grams of carbs and 4 grams of protein each.

Serve with Greek yogurt horseradish dill sauce! (Recipe below)

Greek Yogurt Horseradish Dill Sauce

½ cup plain Greek yogurt (I used store brand non-fat)
3 tbsp creamy horseradish sauce
1 tbsp lemon juice
2 tbsp powdered dill weed
A few drops of stevia to taste (or a pinch of sugar)
Salt to taste

Cream all ingredients together. Serves 4-5. One serving is around 55 calories with 2.7 grams of fat, 2.4 grams of carbs, and 4.5 grams of protein.


Bon Appétit!

Sunday, June 14, 2015

Strawberry Rhubarb Lavender Chia Seed Jam


Strawberry Rhubarb Lavender Chia Seed Jam

This weekend, I was lucky enough to have a nice beautiful batch of rhubarb given to me! For a moment I thought maybe I would try a savory recipe with the rhubarb, or something a little off the beaten path. And then I remembered I had ripe berries ready to be used for something--and I couldn't resist. ;) I love cooking with chia seeds (I've posted a chia seed recipe for Spicy Pepper Jam here before), so I thought I'd cook up some jam! As a child, I remember loving the challenge of eating a sour, tangy stalk raw--and the joy of strawberry rhubarb pie. Rhubarb and strawberry are a class act together, no doubt.
 
Still, I wanted to add something exotic in to the mix, and then it hit me--culinary lavender. Oh yes.
 
Check out my finished product--a lovely little fresh spread that has only around 18 calories, 1.3 grams of healthy omega-3 fats, and over half a gram of protein per tablespoon! The lavender taste is very present but not overwhelming--it adds a fancy, perfumed quality to the jam that is just what I was going for. Great on toast, or a muffin...and I can't even imagine how yummy it would be over a scoop of vanilla ice cream or yogurt.
 
Recipe below. Enjoy!


WHAT YOU'LL NEED

-2 cups of diced strawberries (or any other berry of choice)
-1 1/2 cups chopped rhubarb (you don't HAVE to peel your rhubarb, but I did peel mine before chopping to avoid any stringiness)
-Roughly 1 1/3 cup of dried chia seeds
-3 tbsp. dried culinary lavender
-1 tbsp. stevia (or 1 cup of granulated sugar, or another sweetener to taste)
-Additional 2 tbsp. of sugar
-Estimated 2 1/2 cups of water
-Medium Sauce Pan
-Containers to hold somewhere around 32 ounces of jam (I used a 12 ounce jar and two 8 ounce jars, and filled to the brim).

YEILD: A little over 32 ounces, or around 64 tbsp. of jam.


DIRECTIONS

Add chopped berries, rhubarb, lavender and sweetener to a sauce pan with enough water to cover them plus a little extra. For me, this ended up being around 2 1/2 cups. Basically, you want to submerge the ingredients and leave a little room for liquid, without your mixture becoming too watery.
 
Bring to a boil and then quickly reduce to a simmer until fruit is tender--it doesn't take long, perhaps 4 minutes or so. Don't boil too long or you will lose the beautiful color in the berries!

At this point, I removed the pan from heat and used a masher to gently mash the ingredients in the pan.
 
I then added the chia seeds to each jar--I used about 1/3 of a cup of dried seeds for the two smaller 8 oz. jelly jars, and the remainder of seeds (around 1/2 a cup or a little more) for the 12 oz. jar.
 
Spoon/pour berry mixture in to each jar and stir well, incorporating the chia seeds. You may need to adjust the amount of seeds you use for each jar if the mixture seems too watery, but you'll need to wait a little while to gauge how thick the jam actually is while the chia seeds "set", or become jelly-like. They will expand and thicken the mixture.
 
After around 10-15 minutes, the chia should have expanded to their maximum thickness, so if you need to add more seeds by the tbsp., you can.
 
Allow the jars to cool before putting in to the refrigerator. Kept in the fridge, this spread should last about two weeks. You can also freeze this jam--but I will admit, I haven't tried that. We usually eat it up rather quickly. =)


NUTRITIONAL INFO

Serving Size: 1 tbsp.
Calories: 18
Total fat: 1.3 g
Sodium: .2 mg
Carbs: 1 g
Protein: .6 g
 

Monday, May 11, 2015

Southwestern Tofu Scramble for #MeatlessMondays--a quick vegan meal!

IMG_9399

Southwestern Tofu Scramble for #MeatlessMondays--a quick vegan meal!

Life has been INSANELY busy lately. My life as a blogger has been trumped by my demanding roles in every other aspect of my life. Finding time for self care (through healthy meals and exercise) trumps just about any other side project or hobby I may have, and that includes my re-branding work (which is slowly moving along) and so many other pots on the backburner. I hope you are taking time to take care of yourself!
 
But, speaking of pans on the stove, one of my ongoing nutritional goals is to ensure that I get my grams of protein in. This can be require much planning and dedication when you are trying to go as plant-based as possible. I am omnivorous--not vegan--but I prefer to eat vegetarian and vegan as much as I can. This is not only for health reasons but also for moral ones. Though I am not yet completely invested in a lifestyle that doesn't include consumption of any animal product, I am able to flow with a "reducetarian" mindset that focuses on the reduction of not only animal products and meat, but also all natural resources--including gas. I'm proud to say I've almost exclusively biked or walked to work for the last month, and though it started with vehicle issues, I'm glad to have begun what I hope is a permanent change for the season!

Life doesn't always have to be "all or nothing"...you can do your best. ;)
 
For our family, this means a happy dedication to "#MeatlessMondays" (click the link to find all of my meal ideas and recipes on Instagram, some of which are picture below).


It takes a little planning, but when it comes to easy, one pot meals, this Southwestern Tofu Scramble isn't anything complicated, yet it is hearty and a great serving of protein, low in fat, and moderate in carbs. It also packs almost 8 grams of fiber per serving and tastes awesome!
 
Check out the recipe below!

IMG_9362

Southwestern Tofu Scramble

Makes 5 hearty (approximately 2 cup) servings. Prep/Cook time: 20 minutes.

Nutritional Information: Calories per serving: 184, Carbohydrates: 29.5g,
Fiber: 7.7 g, Protein: 13.9 g (this information does not include avocado).

INGREDIENTS:

-(1) 14 oz container of firm tofu (I prefer to use Nasoyu Organic Lite Firm Tofu)
-(1) Can petite diced tomatoes
-(1) Bag of frozen mixed veggies (diced carrots, corn, green beans and peas)
-(1) Can black beans
-Half of red onion, diced
-Cumin, red pepper flakes, sea salt, pepper, garlic powder, onion powder, and any other seasoning your prefer to use.
 
IMG_9356

DIRECTIONS:

Dice tofu into cubes. Place large skillet on medium high heat. Spray with non-stick cooking spray or lightly grease with your favorite oil. Once the pan is hot, add tofu cubes. Season with cumin, sea salt and other spices. As tofu is browning, dice and add red onion. Allow the two to sauté until onion is slightly softened and tofu becomes browned and marinated well in seasoning.
 
Add tomatoes, frozen veggies, and black beans. Season to taste and reduce heat in skillet to medium. Cover with pan lid and stir periodically until frozen veggies are heated properly and flavors have blended. Cook time will vary but should only take about 10-15 minutes.
 
IMG_9349
 
Remove from heat and serve with a fresh halved avocado! I preferred to cream the avocado with a little sea salt and garnished my bowl with that, as well as a dash of hot sauce. Other ideas for toppings might include vegan or regular cheese, greek yogurt, or fresh cilantro.

ENJOY!

IMG_9334


Sunday, March 29, 2015

Gluten Free and Low Sugar Pineapple Upside Down Cake Recipe!

Pineaple Upside Down Cake

Gluten Free and Low Sugar 
Pineapple Upside Down Cake Recipe!

Due to some serious tummy distress I've been experiencing over the last year (and really, beyond that) I've recently decided to try and pinpoint any possible food allergies I might have, and I started with gluten. This has been exceedingly tough because I LOVE whole grains, and products made with gluten (such as seitan, which I make from scratch with vital wheat gluten). Also, for those who suffer with celiac or wheat allergy, it can be so frustrating when products have hidden gluten in them (I was definitely bummed about most soy sauces, lots of soups, and craft beer...sad times). Still, it's worth a shot to see if I can cure some of my tummy woes. If this doesn't work, dairy is up next! 

As far as gluten free baked products go, I've tried some that I really like, such as LiveGFree from Aldi (great taste and fabulous price) and Glutino (their pretzels are the best!!). Still, some of the gluten-free products leave something to be desired--that great, chewy texture, or softness that breads, tortillas and other baked goods have.

I was a little nervous, for that reason, to bake a cake using gluten-free ingredients simply because sometimes the texture of things like coconut flour and other wheat-free substitutes can seem too crumbly or pasty to me. Therefore, using other recipes as inspiration, I set out to create my own low fat, low sugar, gluten-free version, and it turned out awesomely! It even passed the gluten-loving eight-year-old boy test. =)

Recipe and directions below! Recipe serves 14. Or you might like a bigger slice...=)

PS--I feel fairly confident that you could sub just one of your favorite gluten free baking flours instead of what I used (as long as you keep the total amount of flour the same), or a different blend (again, same total amount). I intentionally used a blend of flours to create a complex taste with the batter.


INGREDIENTS:

--1 fresh pineapple, peeled (I use the core as well, as not to waste) OR about 2 1/3 cups crushed pineapple (you could reduce this amount if you prefer without any repercussion though your cake topping might not be as moist) 
--5-6 Maraschino cherries (optional)
--(1) pre-packaged 1/2 cup serving of natural, unsweetened applesauce (or 1/2 cup either way)
--1 whole large egg
--7 tablespoons of egg white OR an additional 2 whole eggs (will add more calories and fat to nutritional information)
--2 tbs butter (or your favorite fat--coconut oil or margarine, etc.)
--1/2 cup white sugar (or sweetener equivalent of your choice)
--2 tbsp brown sugar (save for pineapple topping)
--1 teaspoon of liquid or powder stevia (which is equivalent in sweetness to 1 additional cup of sugar)
--1 pre-packaged 1/2 cup serving of natural, unsweetened applesauce (or 1/2 cup either way)
--1 tsp vanilla
--1 tsp almond extract
--1/2 tsp salt
--1 1/2 cup coconut milk (or any other nut milk or dairy milk you prefer)
--1 cup all purpose gluten free baking flour (I used Bob's Red Mill, a blend of garbanzo, tapioca and potato flour)
--1/2 cup gluten free baking/pancake mix (I used Krusteaz brand, which is a blend of rice flours)
--1/4 cup coconut flour (I used Bob's Red Mill)
--1/2 cup gluten free corn starch (or tapioca starch)
--1 tsp gluten free baking powder (most brands seem to be)
--1 tsp baking soda 
--1/2 tsp salt 


 DIRECTIONS:

 Preheat oven to 350 degrees, spray or grease your pan very well. I used a typical bundt cake pan (that's how mom always did her pineapple upside down cake!) but you can also use a typical 9x13 or 2 round cake pans (you'd need to split your pineapple mixture up differently, so that's up to you!). For these purposes, the directions are geared toward baking in one pan.

Because I used a fresh, very ripe pineapple, my first step was to peel and chop my pineapple in to large chunks. I did not remove the core. I then blended it in the processor, just briefly, to create a crushed pineapple texture. It yielded just over 2 cups of pineapple, which I then set aside.

Next, blend your applesauce, white sugar, liquid stevia, vanilla, almond extract, 2 tbsp butter, whole egg and egg whites. I mixed this cake by hand, intentionally. You could absolutely use a mixer on a typical cake setting, which would lend a lighter and fluffier cake. I appreciated the density of the hand mix on this cake though--it made it moist and a little heavier, which was tasty!

Combine with dry ingredients (all flours, baking soda, baking powder, salt, cornstarch) while also incorporating the coconut milk. Beat by hand for around 2 minutes, or around 150 strokes. If you prefer to use a mixer, this would be about 1 minute. If your mixture is too thick and not a nice pouring batter consistency, you may want to consider carefully adding more liquid. I do believe that different gluten free flours may change this variable a bit, so use your best judgment.

Pour pineapple into the bottom of your VERY well greased pan. Add crumbles of brown sugar and maraschino cherries if desired (I placed mine in a little pattern around the bundt cake). 
 
Carefully pour cake batter over the top of pineapple, evenly distributing around pan.

Bake at 350 degrees for around 40 minutes (or less if you use two small cake pans), until cake springs back to the touch or a toothpick inserted comes out clean.

Allow to cool for at least 20 minutes. Carefully use a spatula or another tool to gently loosen the sides of cake from pan. Pay special care to this part if you are using a bundt pan. In a quick motion, carefully tip pan upside down on to your serving tray (or, if you prefer, leave the cake "right side up"--who cares!).


We served our pineapple upside down cake with a dollop of whip cream! ENJOY!

NUTRIENT INFORMATION:

Yeilds 14 slices.

Calories: 158 per slice
Total fat: 3 grams
Cholesterol: 19.3 mg
Sodium: 30.6 mg
Carbs: 26.1 grams
Fiber: 1 gram
Sugars: 10 grams
Protein: 2.6 grams 


Wednesday, July 30, 2014

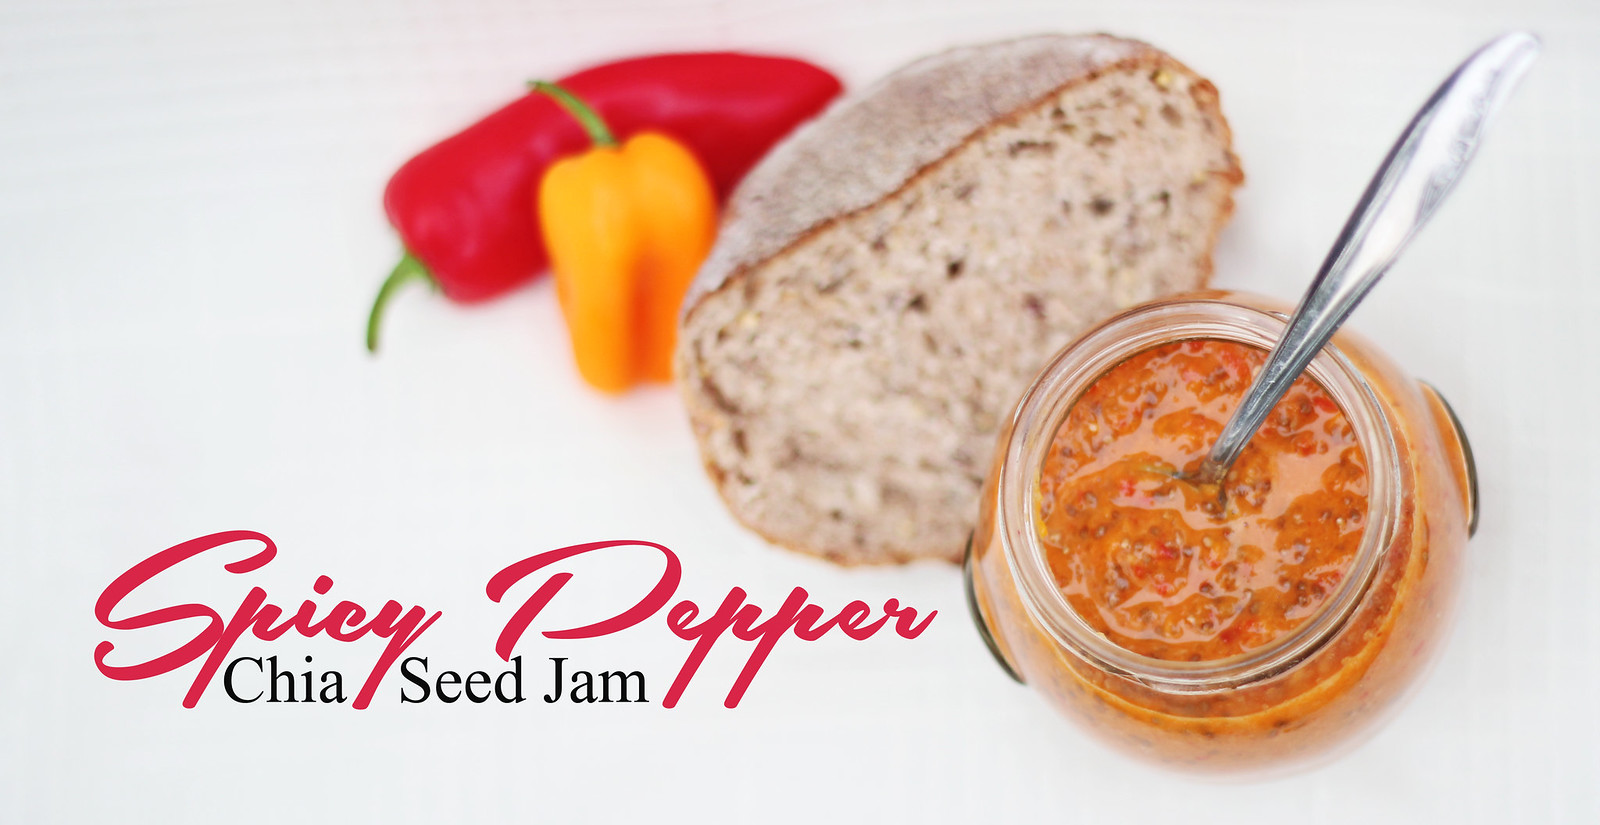
Spicy Pepper Chia Seed Jam: #Channyskitchen

IMG_8189 copy

I was SO excited to try cooking with chia seeds (mostly for their amazing Omega 3 and fatty acid benefits, but also because I love to cook!), even though they were pricey. (The organic chia seeds I bought at my local health food store were about 12 dollars for a somewhat small bag!) I have heard about buying them in bulk for cheaper prices, but I wanted to get the hang of cooking with them before I committed to a large quantity.

I started with soaked chia seed pudding a few days ago--just a simple coconut milk/lemon zest chia pudding sweetened with stevia. That was pretty good! I knew, however, that my real interest was in making "jam" type concoctions. I made some strawberry chia preserves (and they were super yummy!) but it wasn't long before my mind started going down a savory path...to a road less traveled. 

I present to you, my:

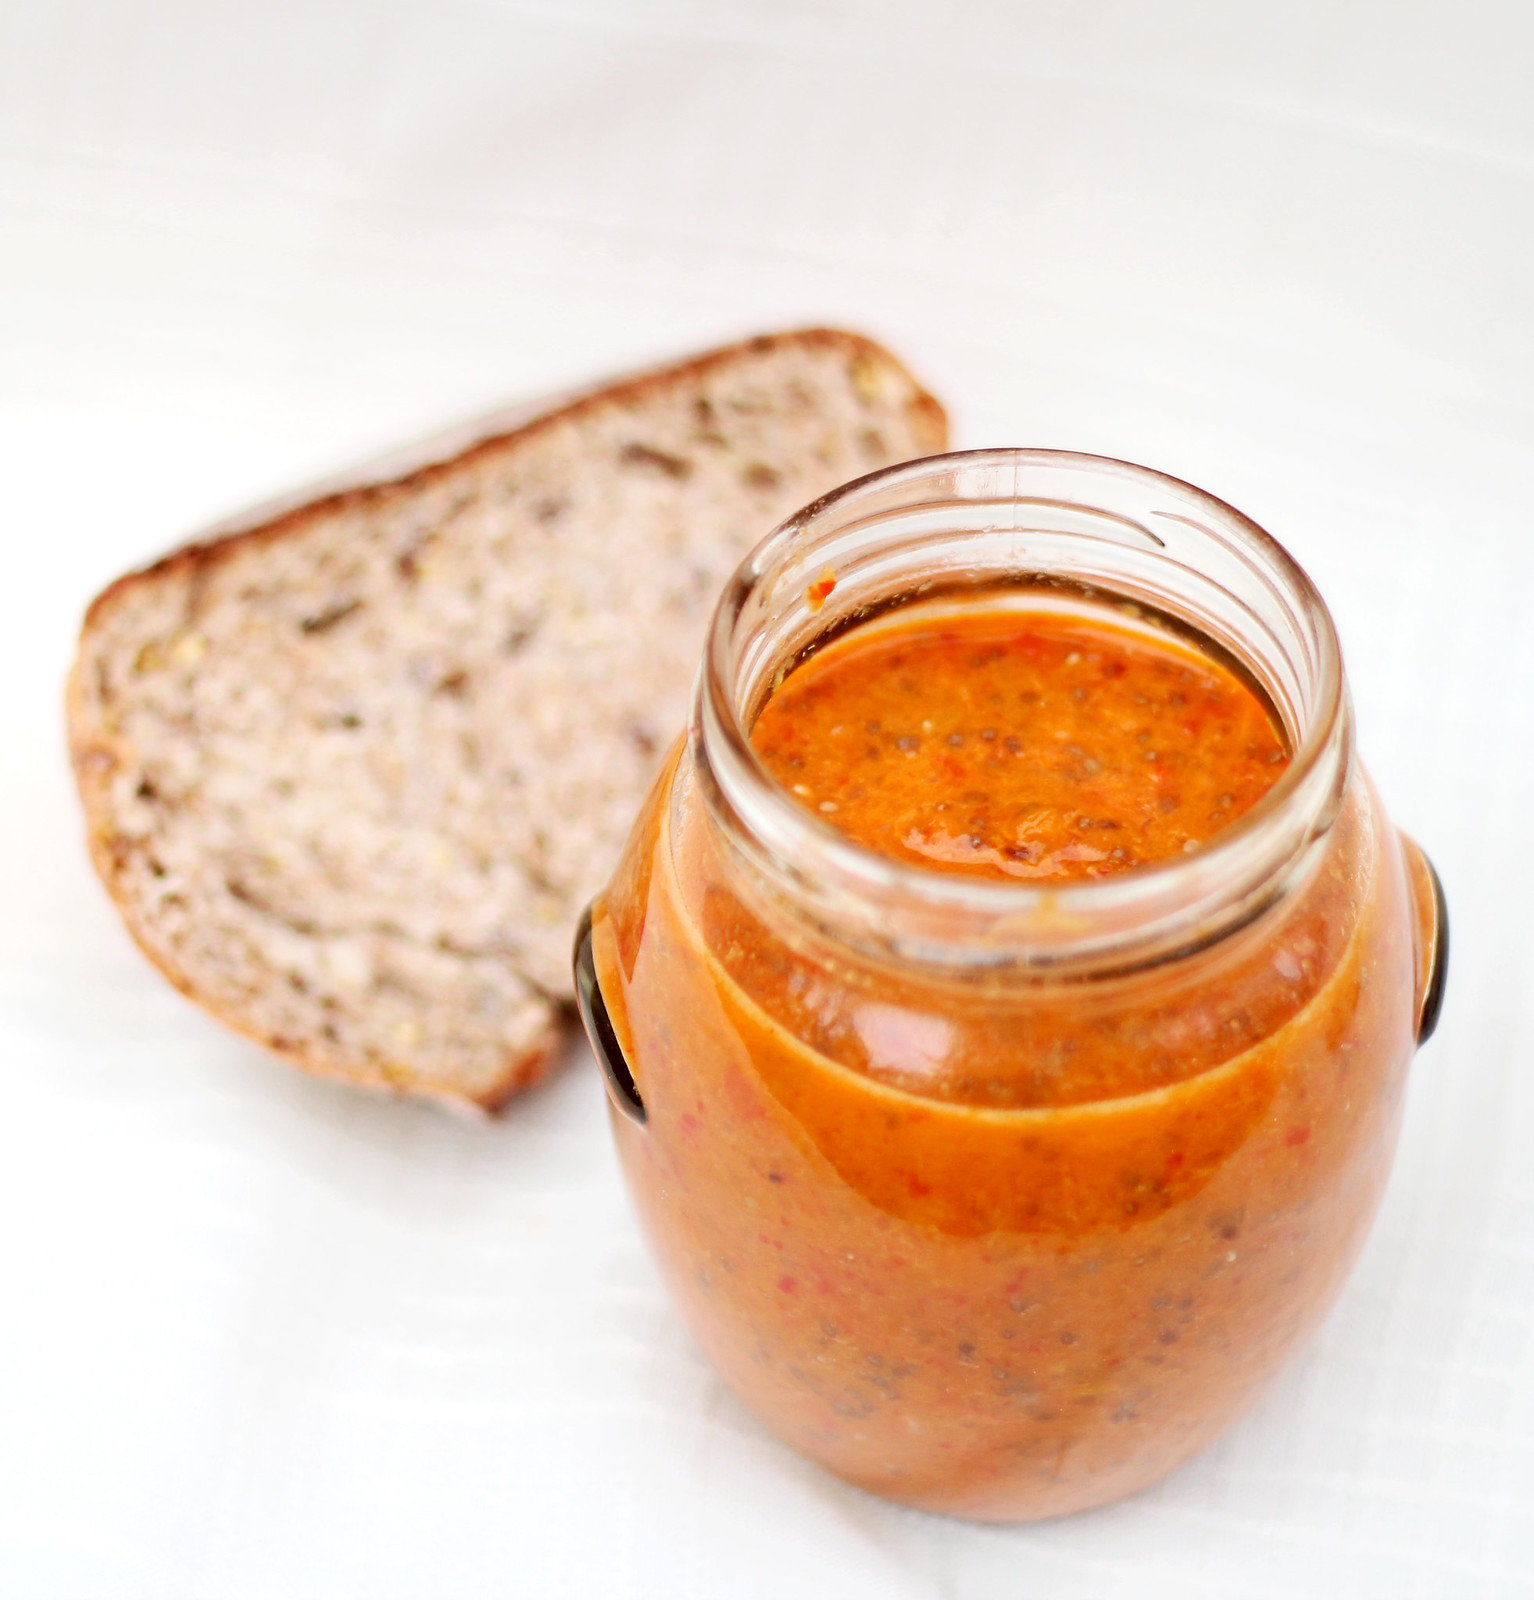
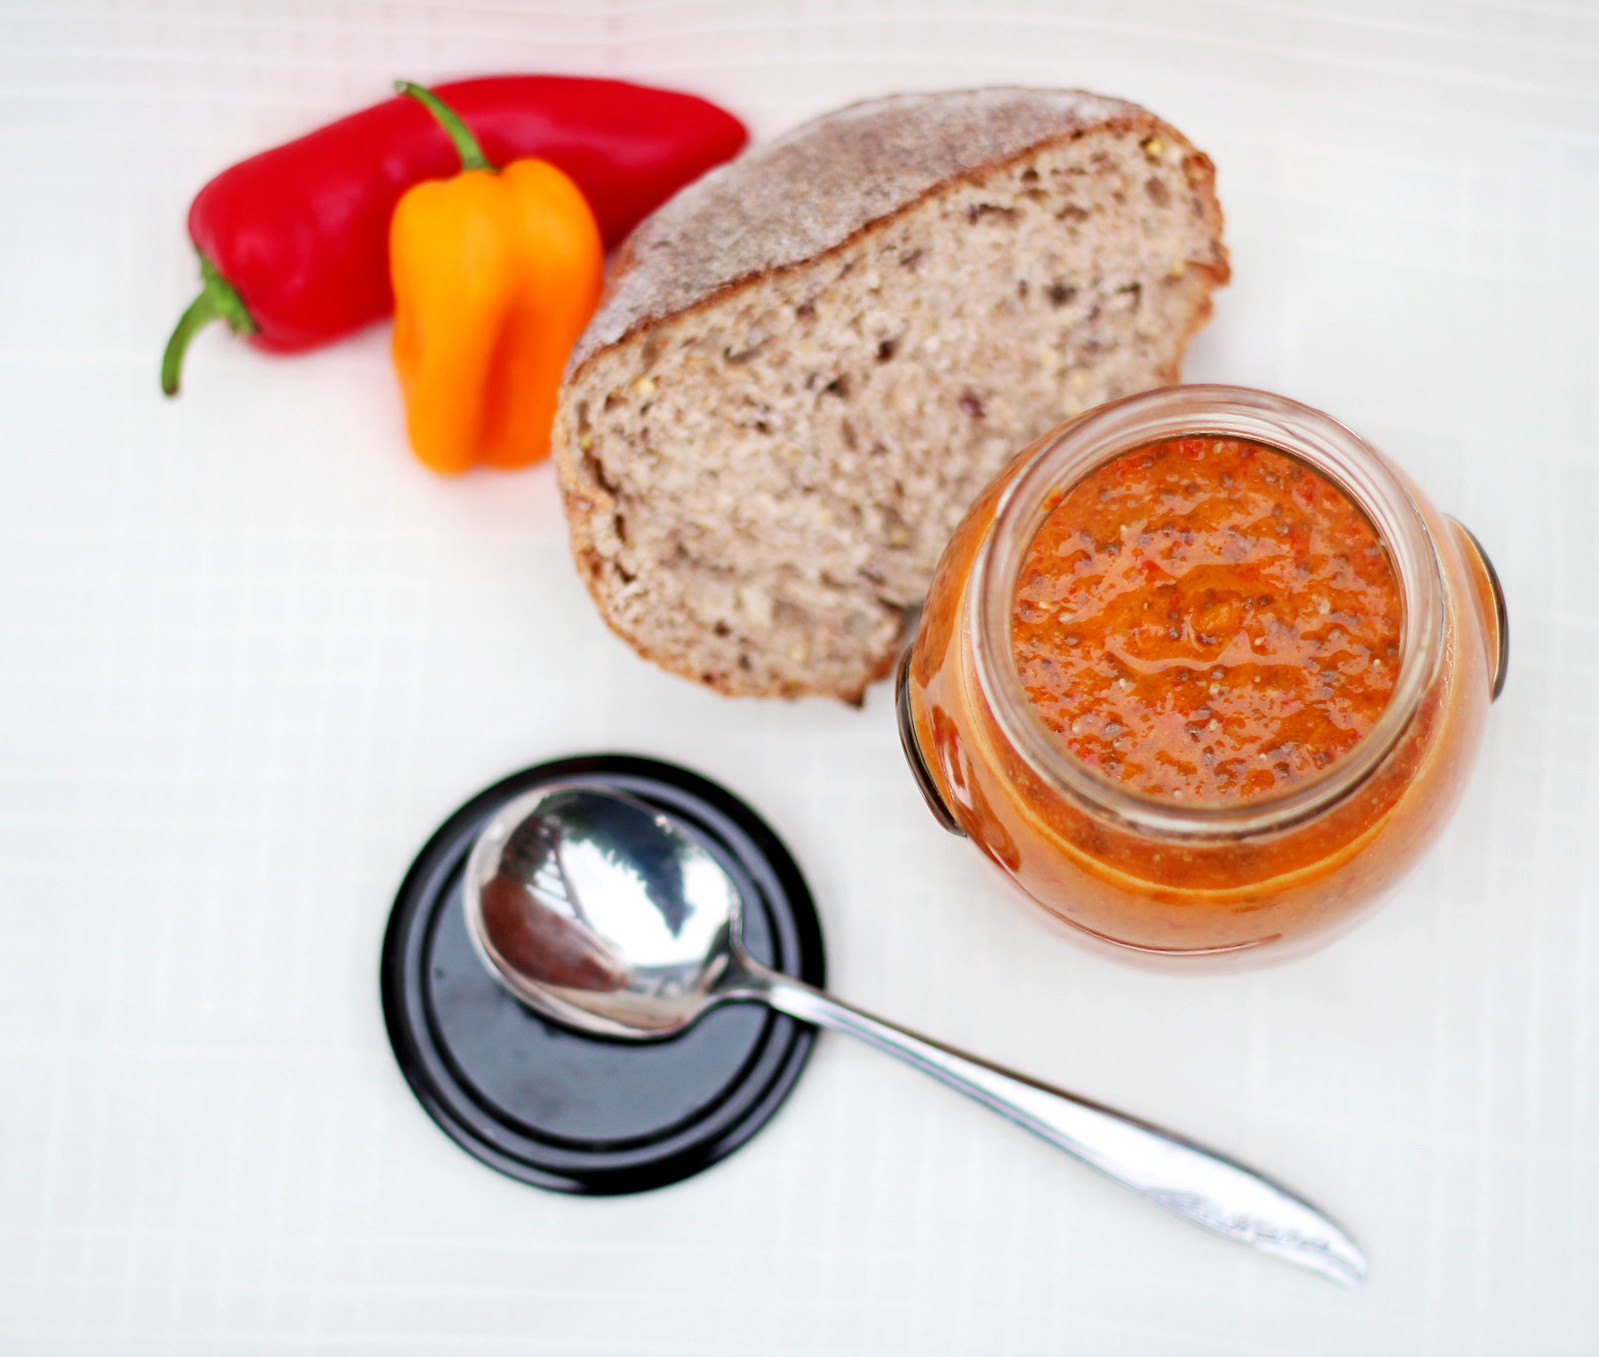
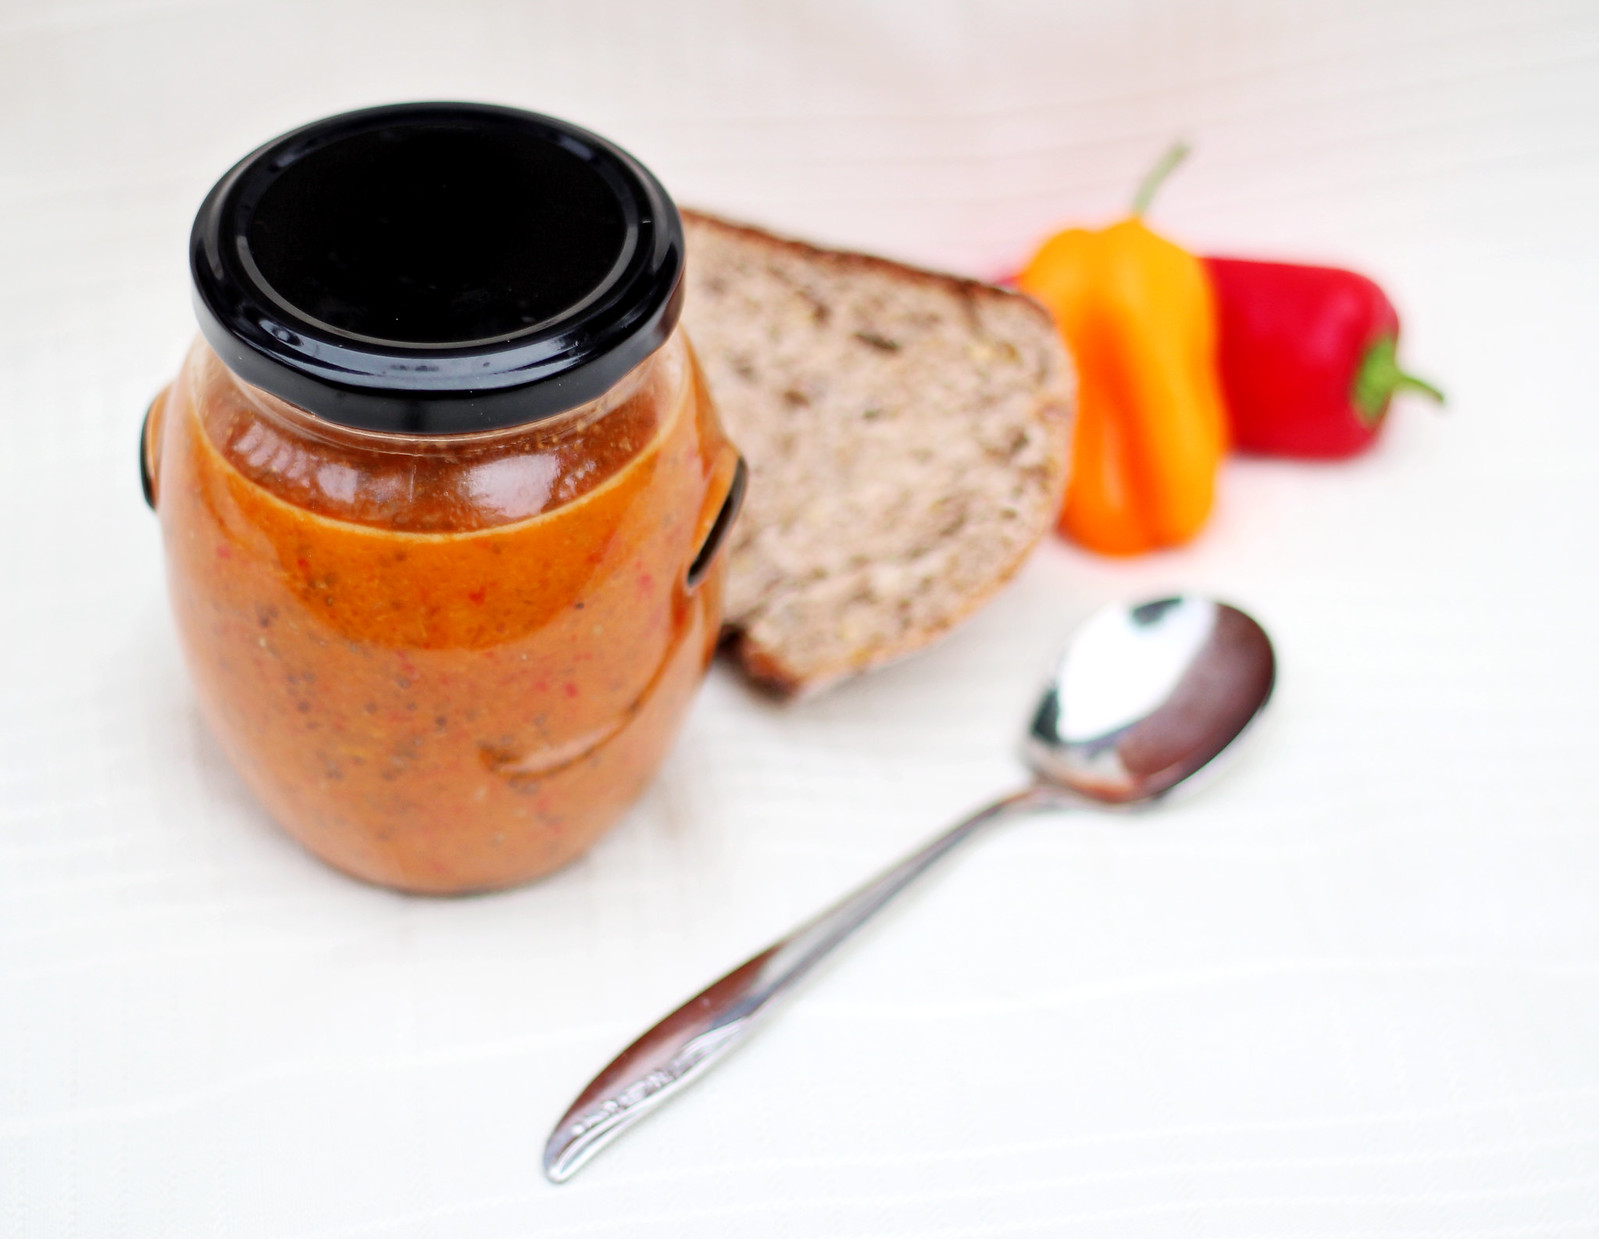
SPICY PEPPER CHIA SEED JAM!

Delicious with meats, on buttered bread, or as a condiment to 
sandwiches, crackers, etc!

Should last in refrigerator for approximately 2 weeks.

IMG_8138

IMG_8171

IMG_8203

THE RECIPE

You'll need:

--7-8 mini colorful peppers (or 2 large colored peppers)
--1/4 cup chopped onion
--Sea salt and pepper (optional)
--Olive oil for sauteeing
--Dash of honey
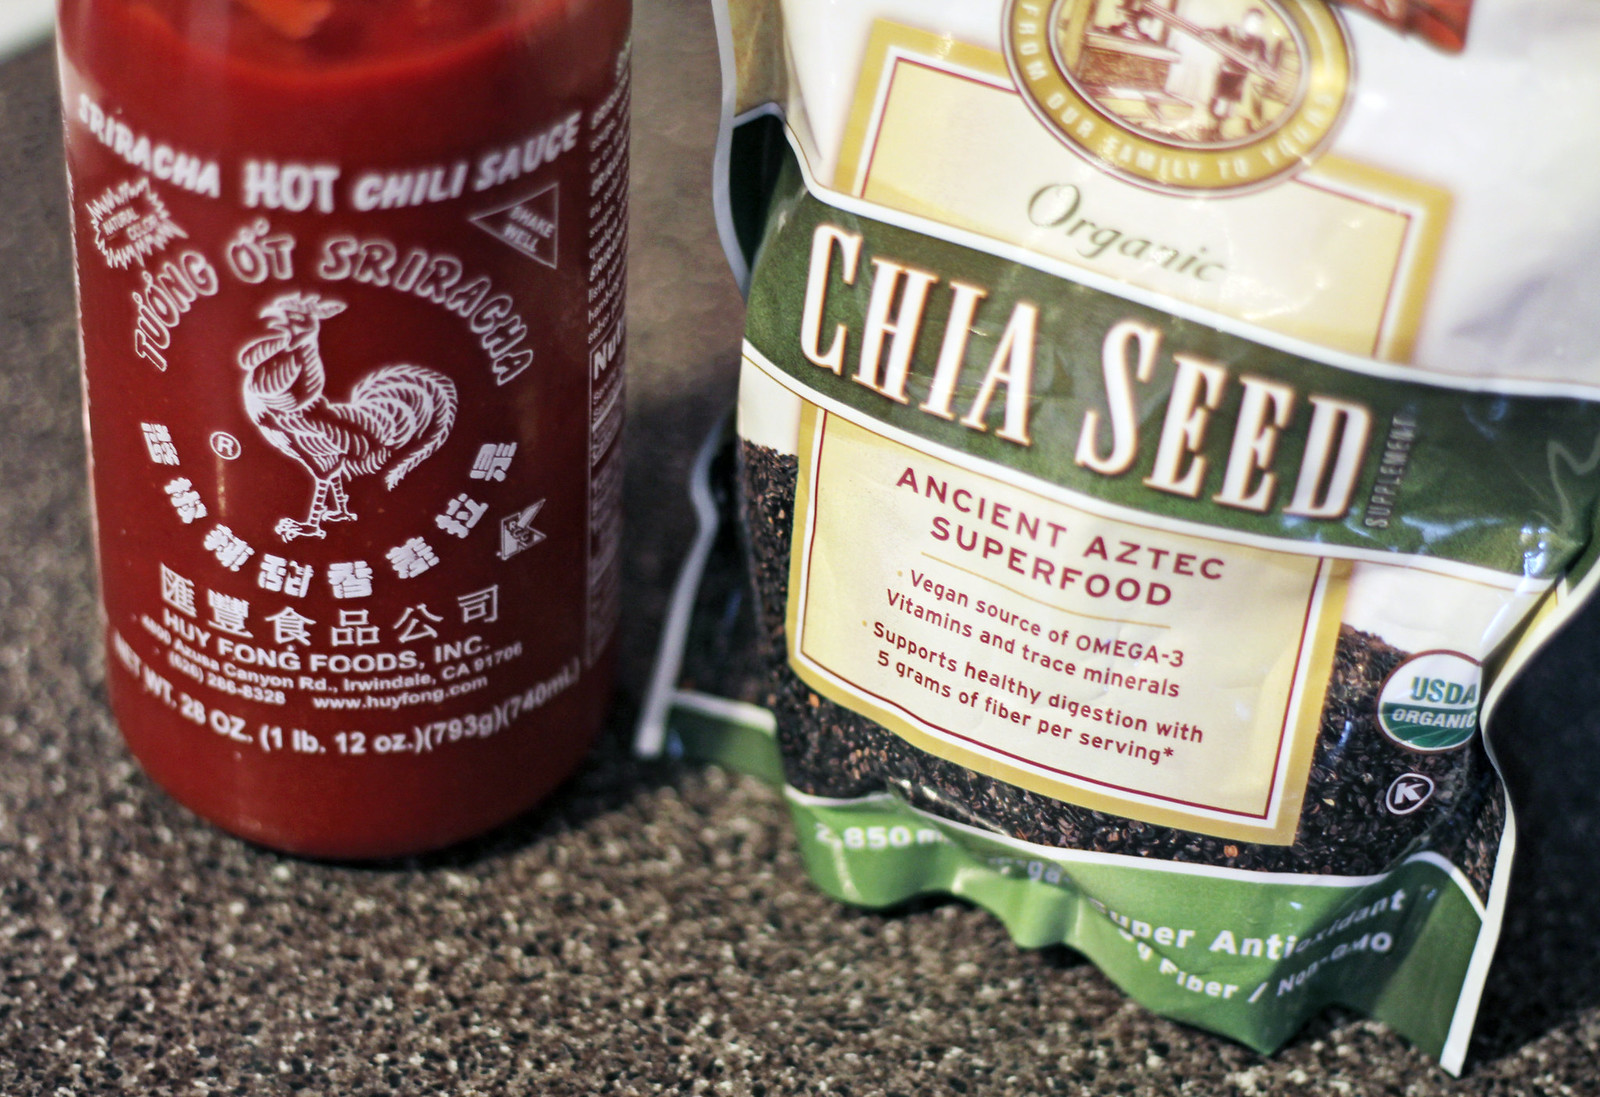
--Healthy TBSP of Sriracha (more if you like it hotter! You can also substitute hot peppers with your mild pepper mix, but I wanted a nice, controlled heat).
--1/4 cup dried chia seeds
--1/2 cup water

--Food processor, sauce pan, small to medium jar to hold jam while it cools.

IMG_8094

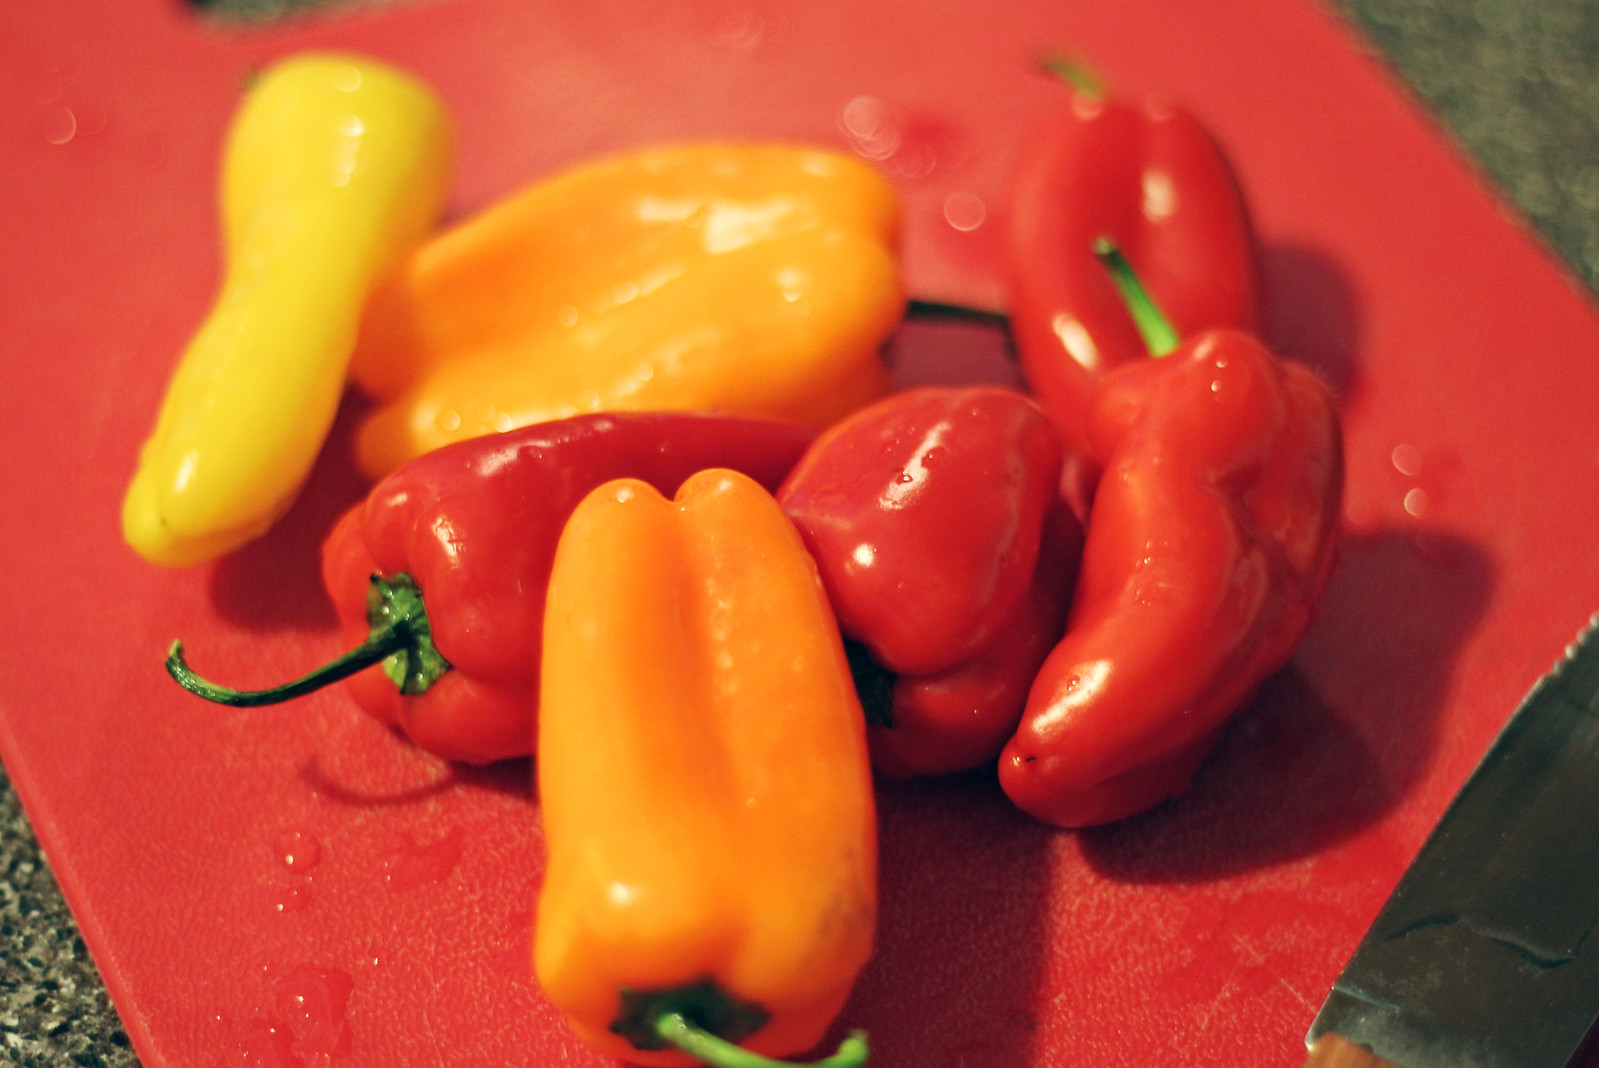
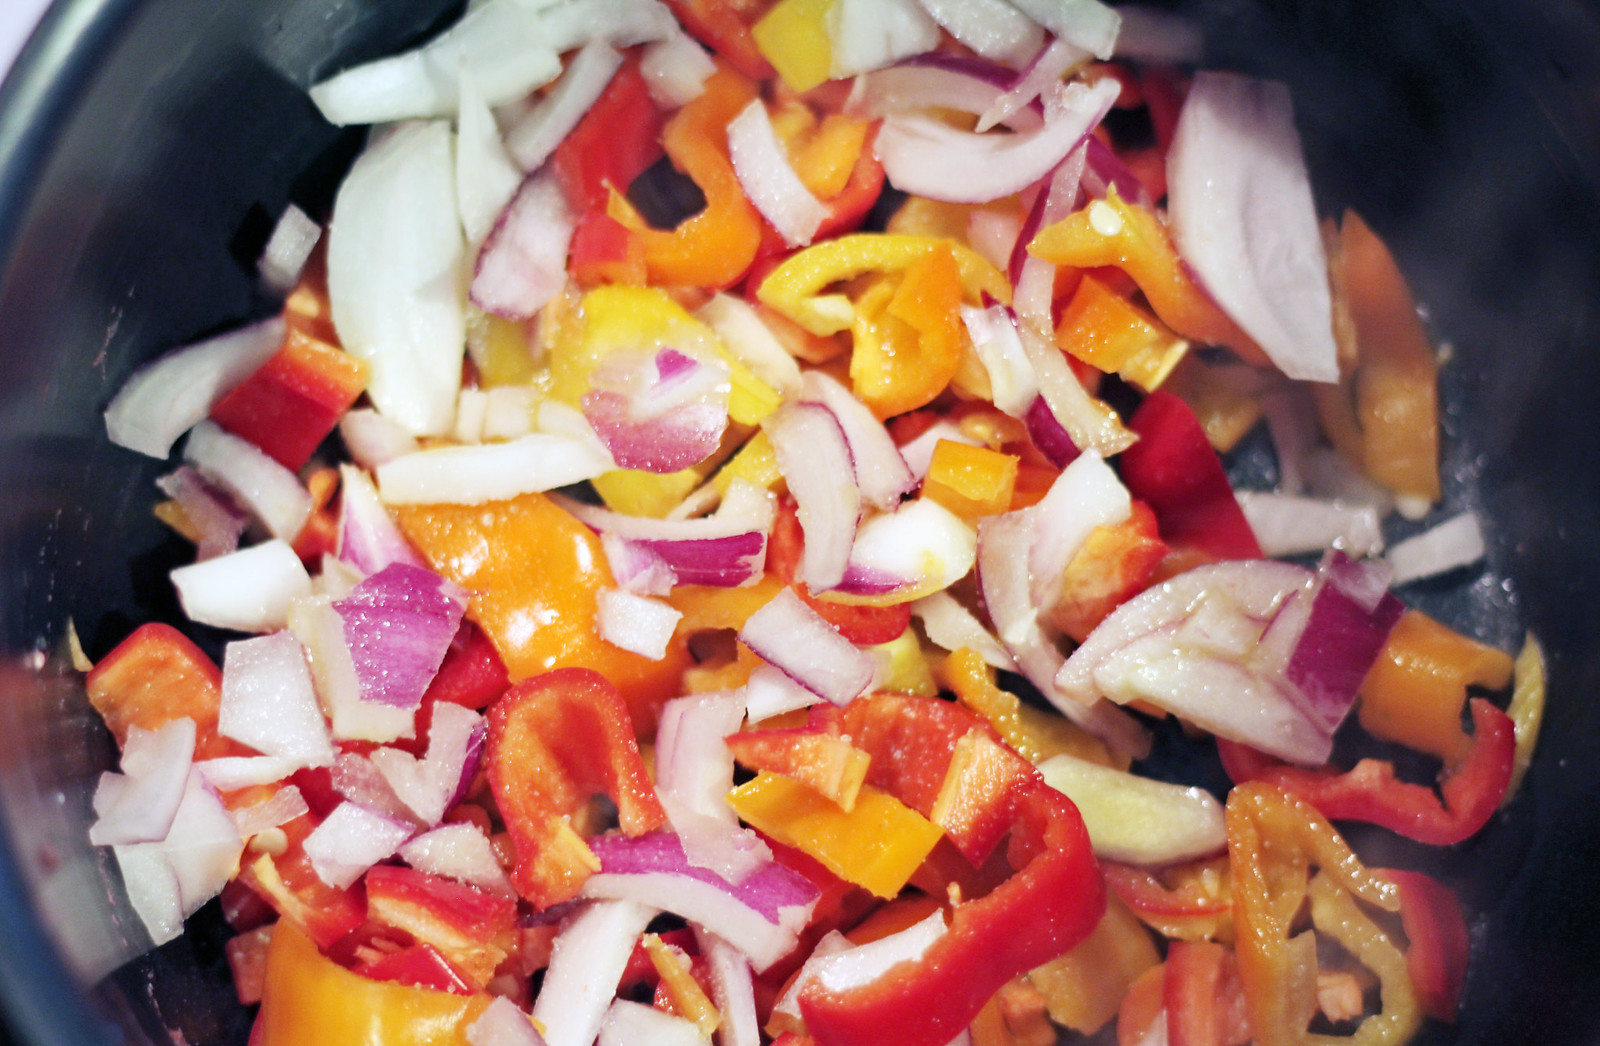
First, I de-seeded and diced my mini-peppers, along with the onion. I tossed them into my sauce pan with some sea salt on medium heat, and began to caramelize them for added flavor.

IMG_8098          IMG_8100

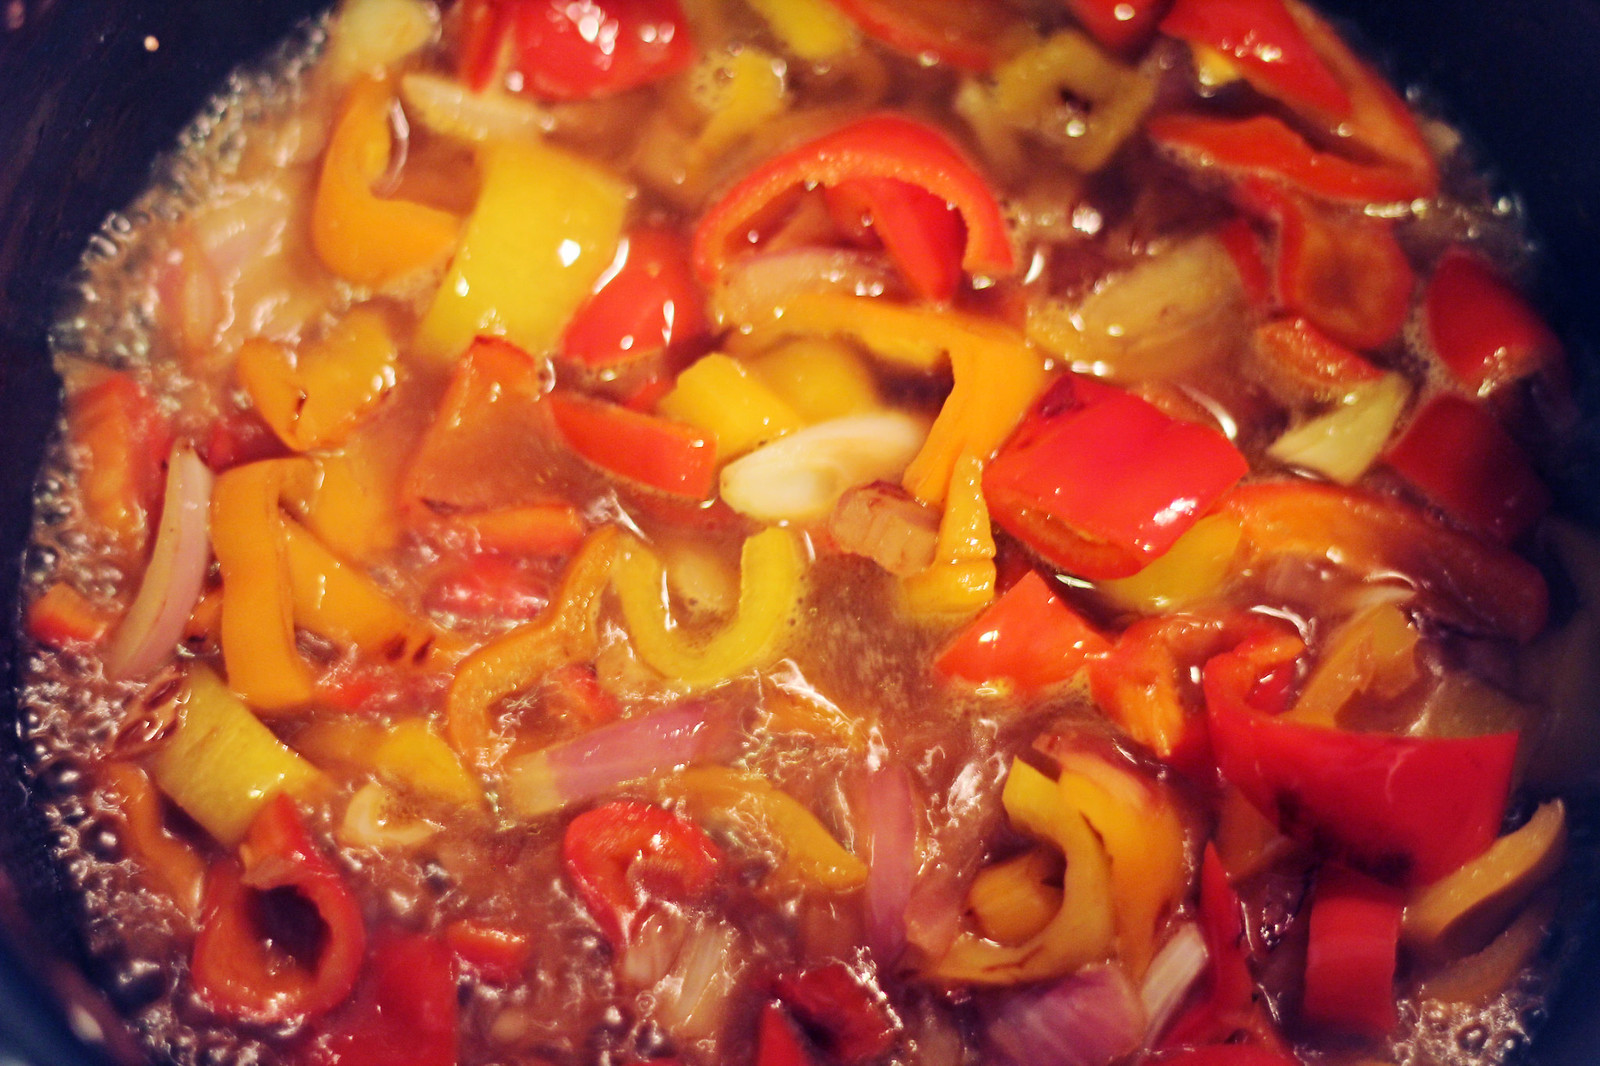
After they had become slightly browned, I added about 1/4 cup of water (additional water for simmering/cooking out and not listed in ingredients above). I let the peppers and onion simmer until they were soft, and the flavors had really been released. Most of the water cooked out, but I left what was there for blending in the next step.

IMG_8102         IMG_8104

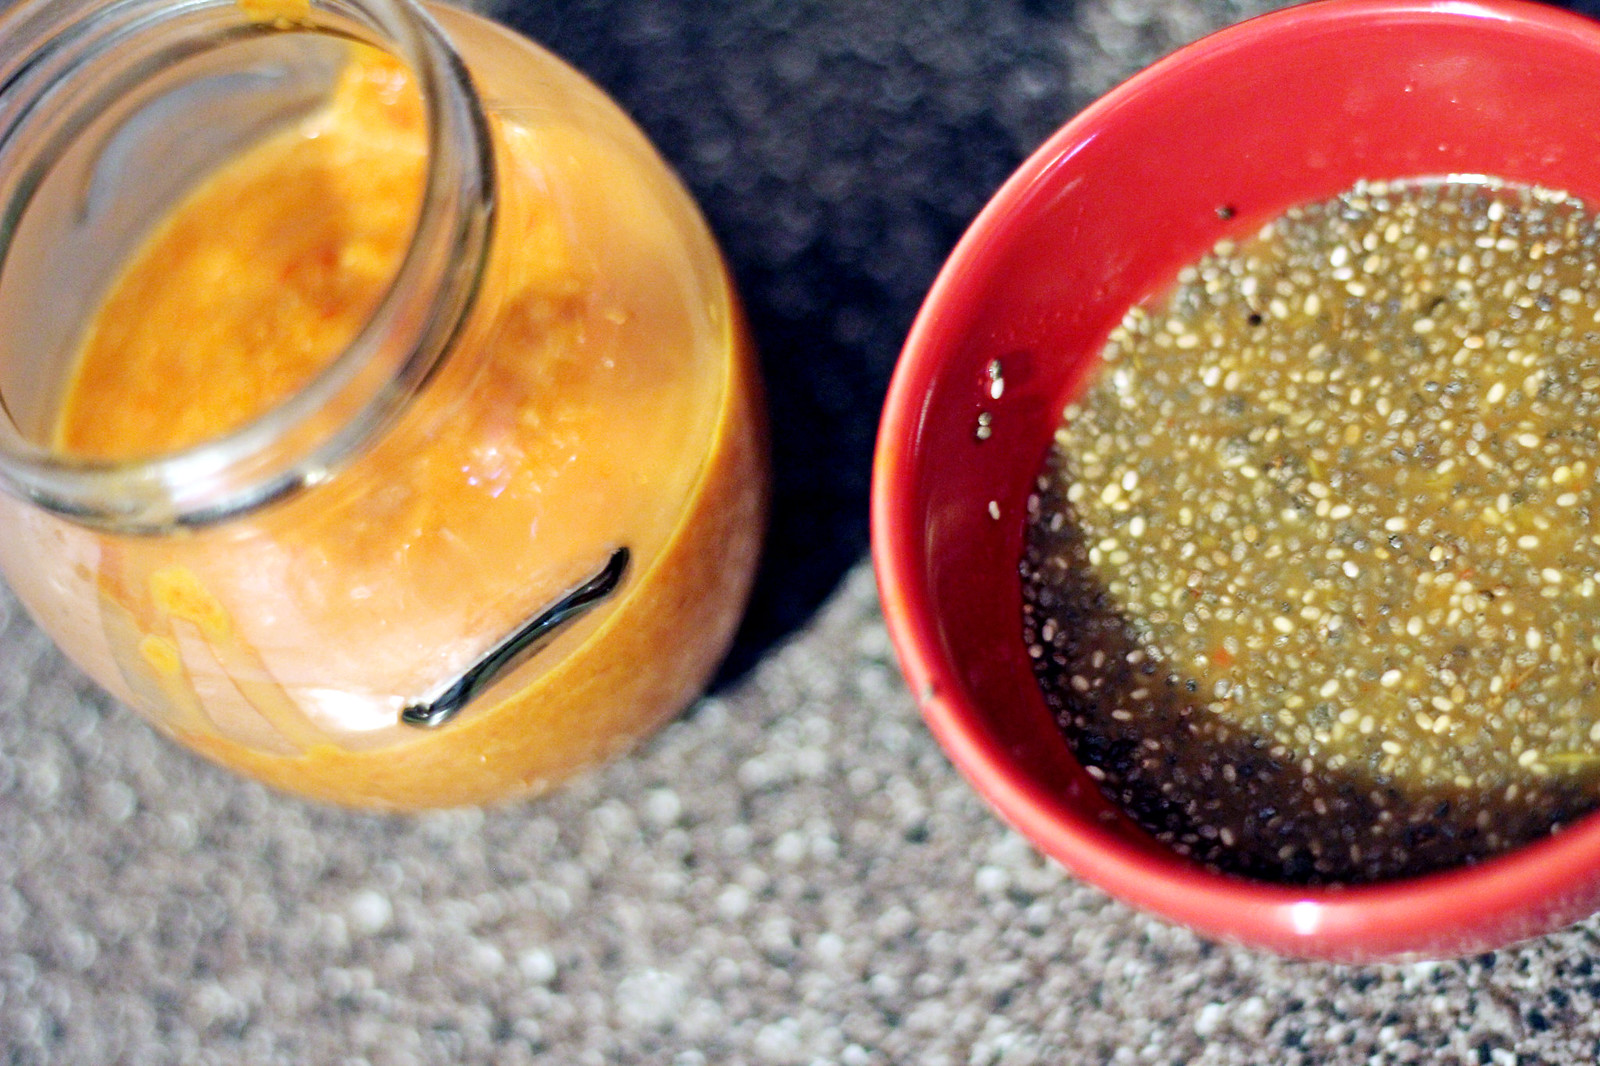
I blended my pepper/onion mix on high, until quite smooth, with my food processor. It didn't yeild much--maybe about 1/2 cup of pureed peppers and onion. I spooned that, still warm, into my small jelly jar.

Rather than soak my chia seeds in flavorless water, I used the 1/2 cup of water in the ingredient list to rinse the mixing basin of the food processor. I then dumped that watery pepper solution in to a small dish and soaked my chia seeds in it, for added flavor. After about five minutes, I spooned the somewhat gelled chia seeds and excess liquid into the jelly jar with the pepper puree, stirring for smooth consistency. Then, I added a healthy tablespoon or two of Sriracha for some nice heat! 

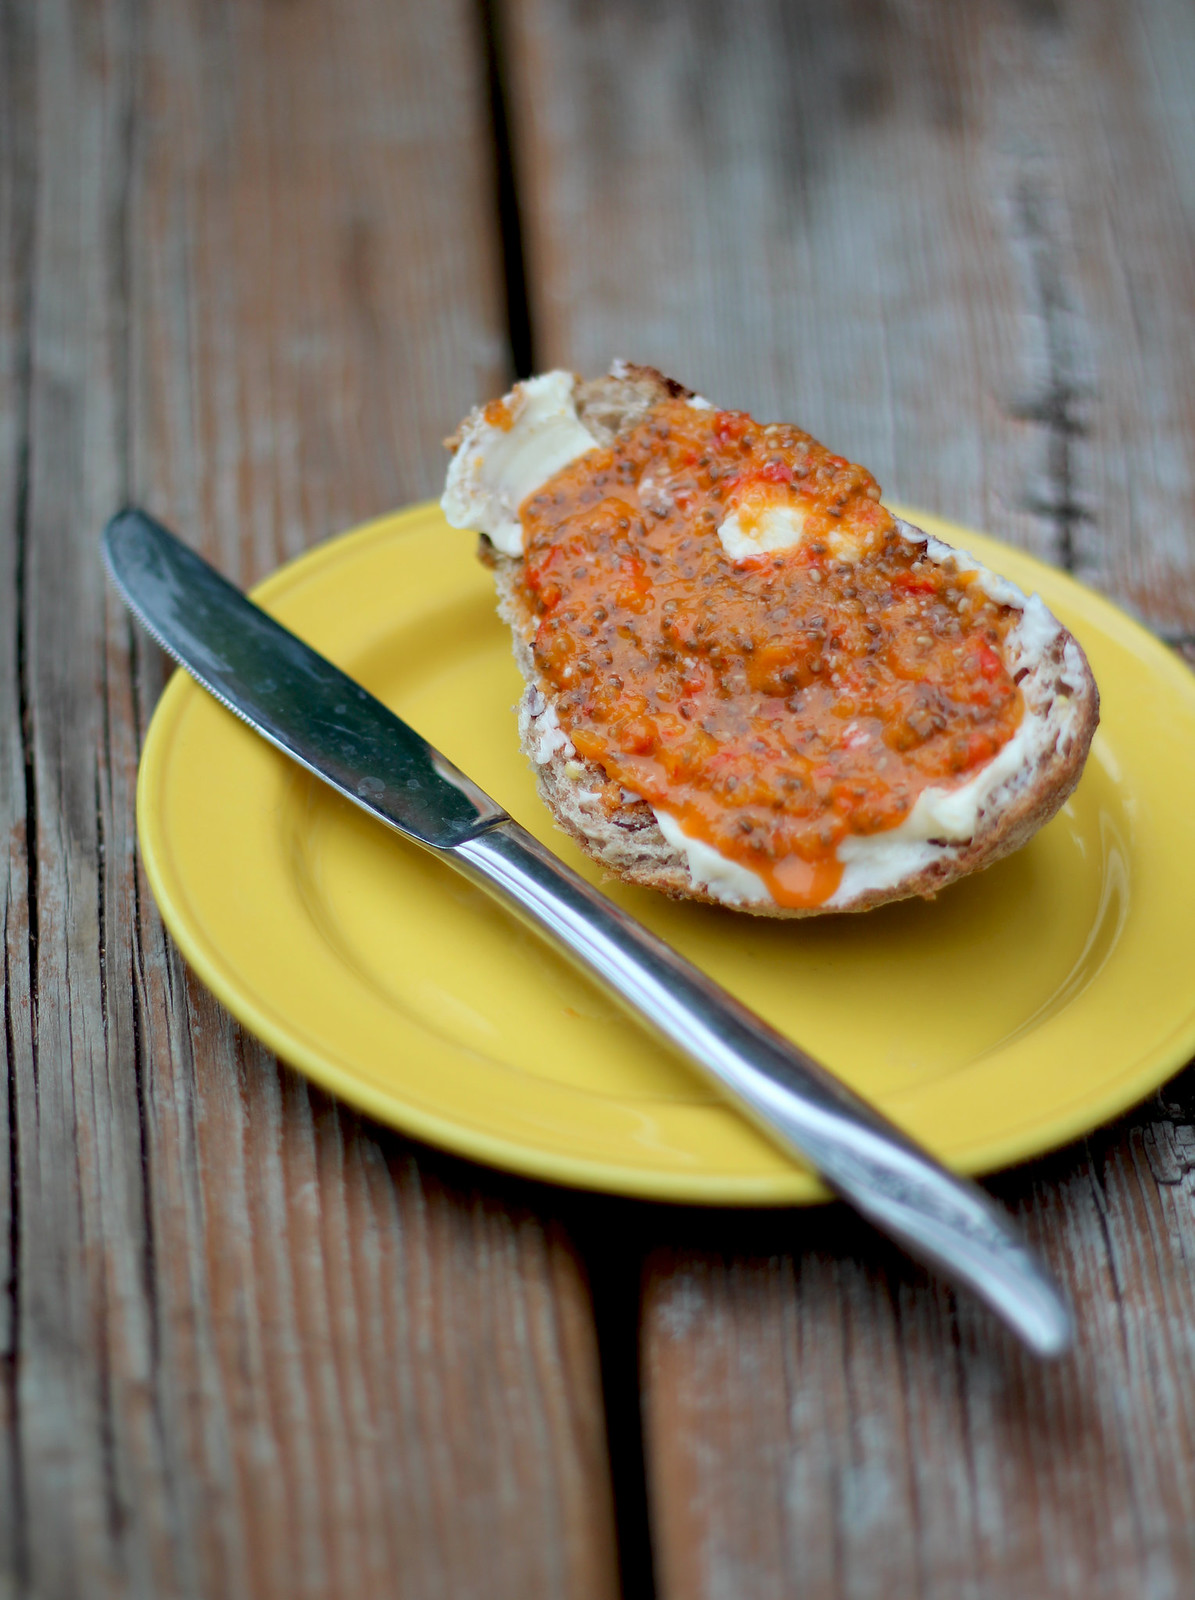
The consistency of the jelly is very much like a more textured mustard--chia seeds are soft, and don't present much flavor or texture, really. But they thicken the mixture nicely and add so much in the way of nutrition. I absolutely love the flavor of this jam, and even though I put the rest in the refrigerator to cool, I couldn't resist slathering some on a peice of 7 grain oval bread with some real butter to test it out.

YUM.

IMG_8154

ENJOY!

Wednesday, June 18, 2014

Sugar-Free Pumpkin Flax Porridge (Low carb, Vegan/Gluten & Dairy Free)

IMG_6688

SUGAR FREE PUMPKIN FLAX PORRIDGE
with healing spices

(Gluten/Dairy Free/Vegan/Low Carb...Serves 2-3)


It was such a dark, dreary morning. A storm has been rolling through since last night (SO much rain!) and it was just one of those stormy days when you want a nice, warm bowl of hot cereal.

There was just one problem: I was not supposed to be eating grains and carbs! 

For the past few months, I've been having some tummy issues: acid reflux, irritation, etc. As a veteran of such conditions I started taking my normal meds, but they didn't seem to be helping at all (and they haven't exactly been a magic cure in the past). At a bit of a loss last week, I visited a naturopath who was certain my problems were actually Candida, or yeast, based. Given my history and symptoms, I'm really thinking she might be right! Therefore, I was willing to accept the low-carb challenge she prescribed me, along with probiotics and some other supplements.

I'm no stranger to low carb eating; however, my diet is SO much healthier than it was years ago, when I was struggling to drop quick pounds and hopping on various diet bandwagons. It can be tempting to add artificial sweeteners and junk BACK into your diet when trying to cut out carbs, because...SUGAR CRAVINGS! However, I'm bound and determined to make this (perhaps temporary, perhaps more permanent) lifestyle change happen so that I can see if it is really the secret to a healthy gut. I've suffered so long!


Therefore, I set my mind on creating a warm, hearty and healthy cereal that would be low carb and sugar free. Here's what I came up with!


But first...the grey we West Michiganders woke up to this morning...

darkoutthere      IMG_6660

IMG_6662

RECIPE AND INSTRUCTIONS HERE:


INGREDIENTS:

-One can of pumpkin puree (if you have time to make fresh cooked pumpkin, yay! You'll need about a 1 1/4 cups).

-One cup of flax meal seed

-2 tbsp coconut oil (so good for you and also has great anti-microbial/anti-fungal properties because of the lauric acid it contains).

-2 tbs nut butter of your choice (I used almond butter this morning)

-Stevia to taste (I used organic liquid). If you don't care for stevia, honey would be amazing. I think a dash of molasses would be extra yummy, too!

-Vanilla extract to taste (I used about 1 tsp).

-Healing spice combo: cinnamon, cardomom and turmeric for their anti-microbial and anti-inflammatory properties.

-Coconut milk and sunflower seeds (dry roasted if you are watching the carbs) as a garnish on top.

*If you aren't watching the carbs, there are some wonderful grains you could add in--anything from quinoa to rolled oats! Also, chia seeds would be a great addition, along with any nut or seed you like!

IMG_6680

DIRECTIONS:

Add together pumpkin puree, flax meal, spices, vanilla, coconut oil, nut butter and sweeteners to taste. Blend until smooth and heat in a pan to desired temperature (stir constantly as it will heat quickly).

Remove from heat and serve in bowl topped with coconut milk and sunflower seeds. Enjoy!


IMG_6665


Tuesday, June 3, 2014

Vegan Ginger and Soy Tofu Stirfry with Spicy Peanut Sauce

IMG_6470

VEGAN GINGER AND TOFU STIR FRY
With Spicy Peanut Sauce

Makes 3-4 servings 
(add more vegetables to stretch things farther, or serve with rice or bean threads)

YUM. It's one of our go-to "Meatless Monday" entrees! It's a quick, easy, meatless dish that offers lots of plant based protein, healthy fats, and deliciously healthy veggies! We rarely have left overs. ;)

You can stretch or modify this recipe by serving it over rice or bean threads if you prefer--but I like to cut the calories and up the healthy fiber with lots of yummy stir fry veggies.

INGREDIENT LIST:

-(1) 14 oz container of firm tofu (I prefer to use Nasoyu Organic Lite Firm Tofu)
-Stir fry veggies (show here are cubed zuchinni, red and orange sweet peppers, green onions, broccoli and sugar snap peas)
-Preferred oil for cooking and sauce (I used raw vegan coconut oil this time, but you could easily sub olive, peanut, or another oil throughout the recipe)
-Fresh minced ginger (or powder if you prefer) and fresh chopped garlic (or powder if you prefer)
-Soy and teriyaki sauce
-Sriracha Sauce
-Natural peanut butter or PB2
-Sesame seeds for toasting (optional) and orange for garnish (optional)


HOW TO MAKE IT:

IMG_6440

I start by cubing my tofu. If I have time, I will marinate it in soy, teriyaki, or a blend of both! When I'm running short, I toss it into a hot pan with a tsp or so of oil and sautee it while adding the sauce on top. Add the finely minced ginger half way through cooking. Carefully stir periodically and once tofu chunks are brown, remove from pan to be added to vegetables later.

IMG_6439

I wash, chop and stirfry my vegetables using the same method: a little oil, a little soy and teriyaki, and a little fresh garlic. Stir fry veggies are best, in my opinion, seared in a hot pan, slightly al dente. Once they are cooked, gently toss together the tofu and vegetables. 

IMG_6446  IMG_6448

The spicy peanut sauce:  First, I warm a few tablespoons of soy, water, and oil (in this instance I used raw coconut oil) in the microwave. (This is no exact science--feel free to taste as you go, I know I do!) Though I usually use natural peanut butter (2-3 heaping tablespoons), I decided to try PB2 this time (3-4 heaping tablespoons). It blended nicely and the flavor was good--in fact, a very nice substitute!-- but I can't lie: natural peanut butter is the overall winner. Be careful with the soy--it is VERY salty. If you do accidentally have too much in the mix, level it out with more peanut butter and oil. I also add a nice healthy squirt of sriracha (it's a mellow heat, but add more or less to your tastes) and blend until it is creamy! It will thicken as it stands; warm just before serving so that it drizzles onto stir fry nicely.

IMG_6467

IMG_6450

Mmm...toasted sesame seeds set things off! Of course, this is an optional step along with the sliced orange (and so is the pretty design you see below, but hey, this vegan tofu stirfry was the star in a photo shoot)! Plate the combined tofu and veggies and serve with peanut sauce for drizzling.

IMG_6469

ENJOY!

Wednesday, April 30, 2014

Turkey, Sweet Potato and Pea Curry {Plus Kale!} Crockpot Dinner


Turkey, Sweet Potato and Pea Curry {Plus Kale!} Crockpot Dinner

You can easily subtract the meat (and garnish of yogurt) from this dish to make a wonderful vegan dinner! 

Serves 2 for dinner, or perhaps 3 smaller lunch servings

YUM. This was dinner last Friday, and it was all just "thrown" together with creativity in the crockpot with delicious results. I had to share this quick, healthy and tasty recipe with you! Remember, curry spices are absolutely wonderful for your health, as well! Here's what I did:

INGREDIENTS:

1/2 lb lean ground turkey
2 large sweet potatoes, washed and sliced into thick rounds
1 bag of frozen peas
5-6 green onions, diced into small pieces
4 large leaves of Kale, chopped into small pieces
1 cup of water
Turmeric
Cumin
Curry Powder
Cinnamon
Garlic
Pepper
Kosher Salt

Garnish: Greek yogurt and fresh chopped cilantro

DIRECTIONS:
Add the turkey (raw) into the crockpot (I have a medium sized pot which was plenty big). You can brown meat ahead of time if you like, I didn't to save time. This created somewhat bigger chunks of turkey in the curry, which we really liked, rather than fine bits. Add potatoes, peas, chopped onions and kale. Add cup of water. Stir ingredients. Add spices to taste, and stir once more to incorporate everything.

Turn crockpot on high (depending on the power of your crockpot) and allow to simmer for about 4 hours with lid on. This was an easy "lunchbreak" dinner for me, because I threw all of the items together on my lunchbreak from work, and when I returned...voila!


You will know your curry is done when potatoes are soft. Yes, the rounds will fall apart. Gently stir and break apart any extra large chunks of turkey if you have included the meat. Once you have stirred and incorporated all the ingredients carefully, serve in bowls with a garnish of Greek yogurt and chopped fresh cilantro!

Wednesday, May 1, 2013

Orange Mint Julips--low calorie style!

IMG_6404

ORANGE MINT JULIPS (low cal version!)


It was, hands down, the most gorgeous day of the new year in Michigan today! (Well, at least for us here in Grand Haven, Michigan). It was the kind of weather that carries you to the beach, on bike rides, and out to the front stoop with a tasty cocktail. It was 80 degrees with not a cloud in the sky!

I grilled some tasty turkey burgers for dinner and decided to whip up this yummy drink to compliment; an alternative to higher calorie versions I've seen in the past! If you're not into stevia, you could try agave syrup in its place, or honey, cane sugar, or any other sweetener you prefer!

P.S.--easily omit the alcohol for a fresh alcohol-free version!

Enjoy!

INGREDIENTS (Serves one):

1 tsp orange zest
1/2 orange, sliced (save one slice for garnish)
5-6 small mint leaves or 2-3 large ones. (My mint came from my herb garden that I shared with readers last week!) Save one leaf for garnish if you like. 
1 shot or fluid oz of whatever clear liquor you prefer--I used vodka, but gin or rum would work as well!
3 stevia packets (or about 1 1/2 tsp of stevia powder according to this serving chart which also helps for sugar substitution should you prefer!), or you could use agave syrup, honey, cane sugar or any other sweetener if you wish!
4-5 ozs boiling water (the heat helps to extract flavor from the orange and mint)
Lots of ice, a bowl, and a strainer 


IMG_6380

DIRECTIONS: I first took the orange zest from my orange before slicing. I added this to a glass mixing bowl along with 3-4 slices of orange, the stevia and my mint leaves. I heated boiling water in a tea kettle and added this to the bowl, using a pestle to grind and smash the essence out of the mint and orange. (This simple syrup could also be cooked down and reduced in larger batches to save time. The reduced syrup would be more powerful and could be added to water, but I was really only in the market for a drink or two, so I was simply making on demand!!)  I then strained the mixture.

At that point, I added the syrup to my vodka on ice...and tossed in extra ice as well, to compensate for the heat.

Garnished with a mint leaf and a slice of orange. Voila! Sweet, cool. Enjoy!

IMG_6383

IMG_6390

Popular Posts