visit counter for blogspot

Im getting married--follow along with me! | Be a fan on Facebook! | Follow ThriftTrick on Instagram! | Follow ThriftTrick on Twitter! | Follow ThriftTrick on Pinterest! | Follow ThriftTrick by email! | Take Me Home! | About your gal! | Follow ThriftTrick through email! | Fashion | Thrift
Positive Body Image | On the menu... | On the turntable... | Thrift Store Reviews... | DIYs and Tips


Showing posts with label DIY. Show all posts

Sunday, June 28, 2015

Easy Peasy DIY Halter | Thrifted Summer Floral


Easy Peasy DIY Halter
Thrifted Summer Floral

I thrifted this dress a few weeks ago at Hope's Outlet in Muskegon on Glade Avenue for $2. I have a thing for floral and I knew it would be great paired with browns and blacks...plus red lips! The only problem was that the shoulder straps were driving me crazy...they were slightly loose.
 
Adjusting the straps would have been fairly easy with my sewing machine, but I was feeling too lazy for that...like, "Wouldn't it just be nice to fix this problem in twenty seconds and be laying in a hammock?" kind of lazy.
 
The simple solution? Snip. Cut the straps from the back, and tie around my neck--BOOM. Instant halter. Can you find something similar at the thrift store for a few bucks and give it some new life?


Wavy post-French braid hair and fringy brown peep toe booties added some nice boho flair to this outfit. The cute little Lulu cross body was a $5 clearance item. Merona belt thrifted as part of another dress, from Goodwill. Bracelets and earrings were inexpensive secondhand finds, as well.


Special thanks to my photographer...AKA, fiancé. =)


Sunday, January 11, 2015

Upcycled Cloth Napkins From a Dress Shirt and a New Series: "Resolve to Repurpose!"


 Upcycled Cloth Napkins From a Dress Shirt
and a New Series: "Resolve to Repurpose!"

I'm always mixed on New Year's resolutions.
On one hand...goals are good, mmmkay?
But on the other, expectations are the devil.

This year, I've opted to continue the healthy self-care I've had in place for a long time, but that doesn't mean I don't have goals. In fact, I thought 2015 would be a great year to even further increase the ways I can up-cycle used and vintage things in to a new series called "Resolve to Repurpose!" 

There are many ways to do this without cluttering your home with toilet paper tubes and old coffee cans, and most importantly, you can do it with thrifted, gifted or free items!

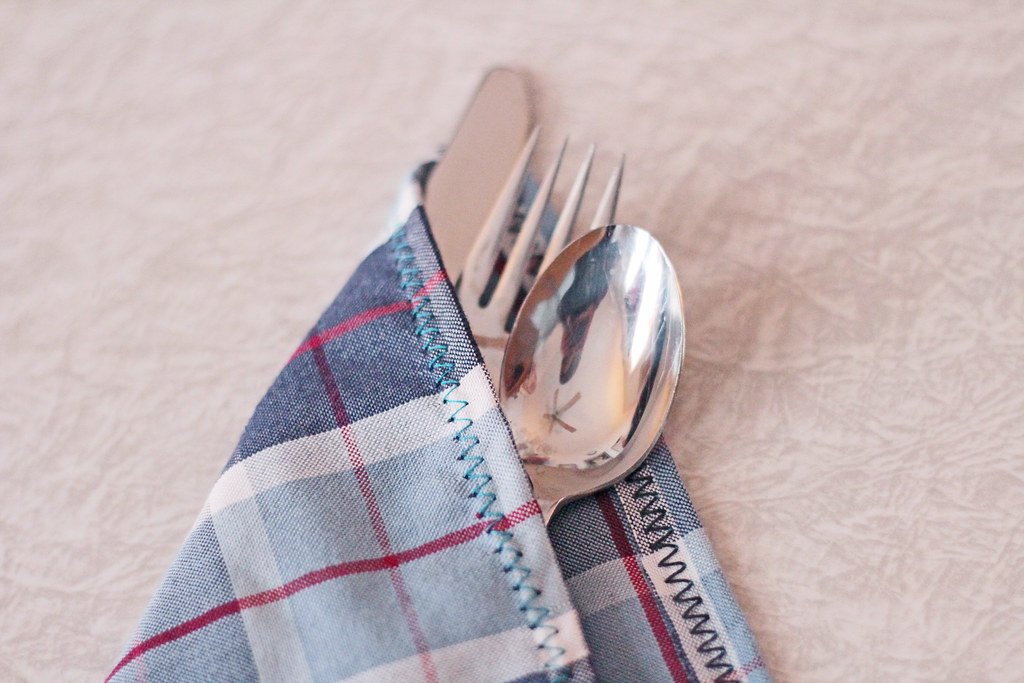
So, without further ado, I present my first craft project of the new year: up-cycled cloth napkins! This project was so much fun and yielded a very useful product. If you have a few old dress shirts laying around then you won't need a thing--otherwise, you could easily pick up a large shirt at a thrift store like Hope's Outlet for around $2. Read the instructions below! 

IMG_0634

HOW TO DO IT

Gather up your materials! You'll need:


-At least one large or extra large dress shirt 
(I went with plaid because I love it, but any dress shirt will work nicely!) Each dress shirt of this size will yield about 6 napkins using the measurements I've provided and that is without using the sleeves, which I saved for a future project. ;)

-Scissors

-Measuring Tape

-Marker 

-Sewing machine with zig-zag stitch setting (optional)


MEASURE AND CUT THE FABRIC

Using a soft tape measure, I marked off 11x11 squares wherever I could fit them in! (You could easily do slightly smaller or larger, but I was also leaving a small amount of room for a 1/2" hem on each side). 
I was able to cut two squares from each side of the shirt in front, and a grid of four squares on the back. 

The next step is optional...
read on to find out why!

IMG_0639

HEM YOUR SQUARES

IF you are particular and precise, you would carefully press the edges of your napkins to make a 1/2 inch zigzag hem on all sides before sewing.  

IF you are a un-apologetically lazy seamstress like I am, then you get on your sewing machine and start the party! 

IF you don't have a sewing machine at all or simply don't want to mess with that aspect of things--good news! You can gently pull out vertical threads and skip this step altogether to create a pretty fringe border. If that's the case, carefully rip out the vertical thread on each side of your napkins with a seam ripper or needle until you see the fringe border you want, in the thickness you like. This is a little time consuming but does work nicely!

Then, get an ice tea and sit back and appreciate what a domestic, up-cycling goddess (or god) you are!

If you're thinking that these would make an excellent gift...how right you are! Trust me, I'm keeping this project on my radar for next year's handmade Christmas giving, because who wouldn't want an adorable setof up-cycled plaid napkins? You could even get fancy and monogram them. More on that next season... ;) 

The next step is to enjoy your super cute cloth napkins and relish in the fact that you are helping to reduce consumption of paper products! Cloth napkins feel so much more fancy and they happen to look exceedingly adorable, as well. 

STAY TUNED FOR MORE UP-CYCLED PROJECTS! 

Follow me on Instagram or explore the hashtag, #ResolveToRepurpose2015. 

What can you re-purpose today?
 
IMG_0641

Thursday, October 16, 2014

What I wore to the Lumber Baron's Ball: 1920's style and Event Recap


IMG_8318


What I wore to the Lumber Baron's Ball: 

1920's style and Event Recap!


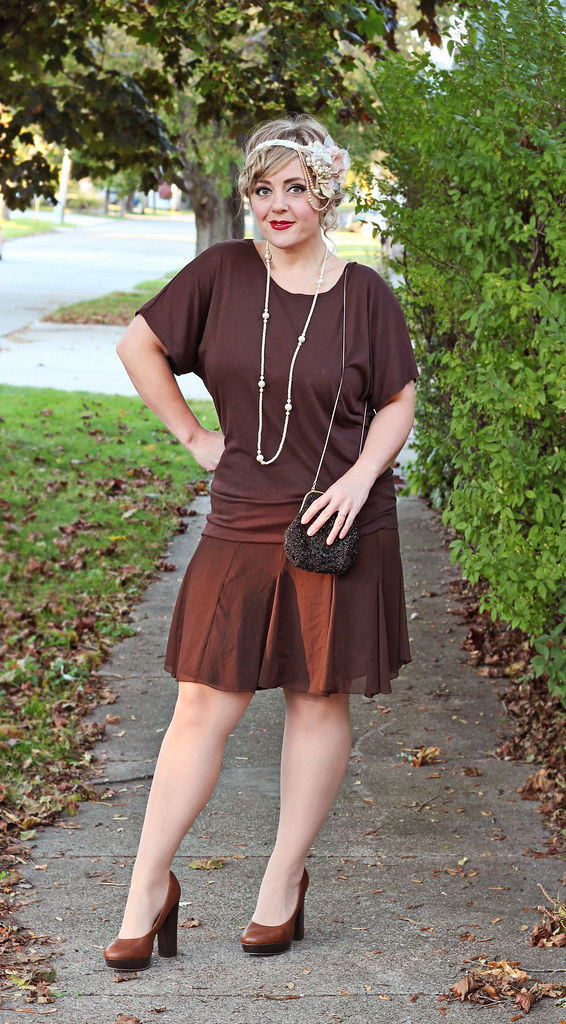
We had a great time at the Lumber Baron's Ball! The staff of Watermark 920 did an excellent job as usual, elegantly decorating and creating a perfect 1920's atmosphere! The food from Ryke's was delicious, of course, and the band was great, too. 

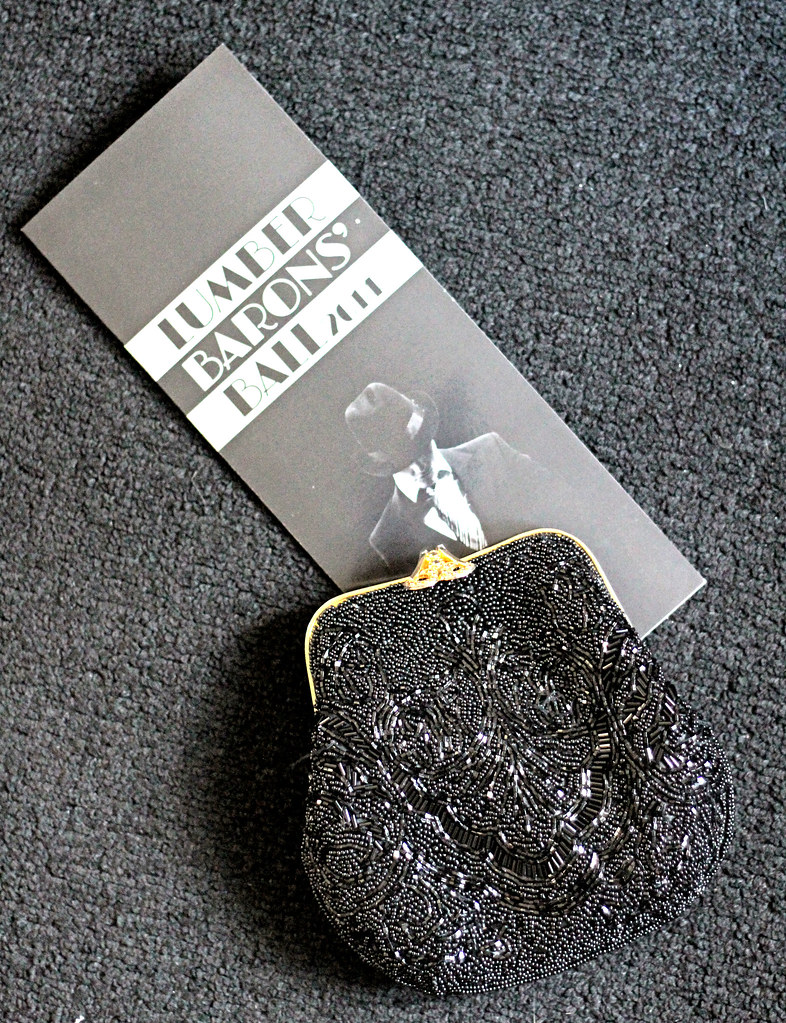
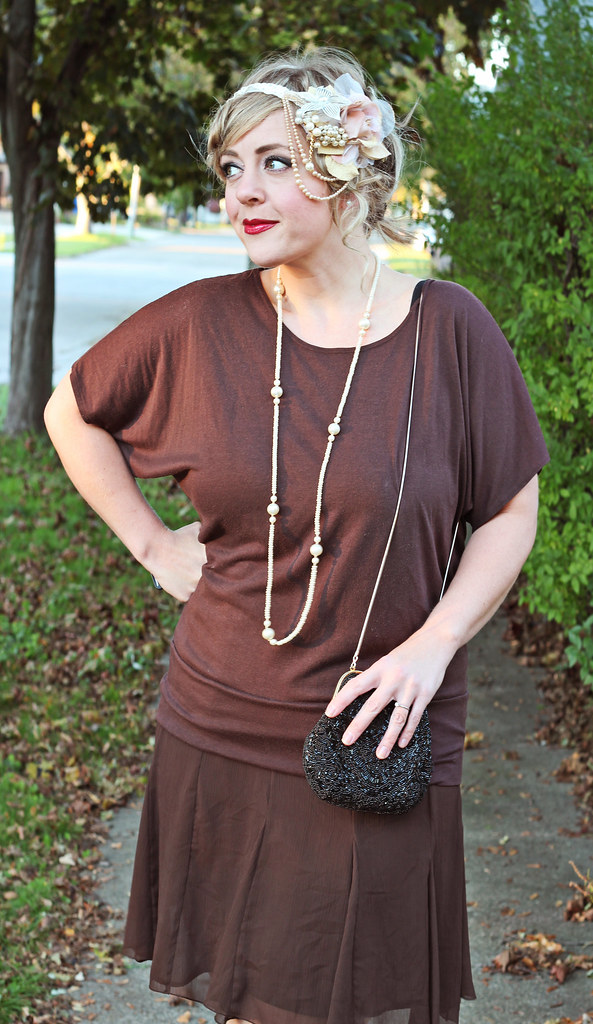
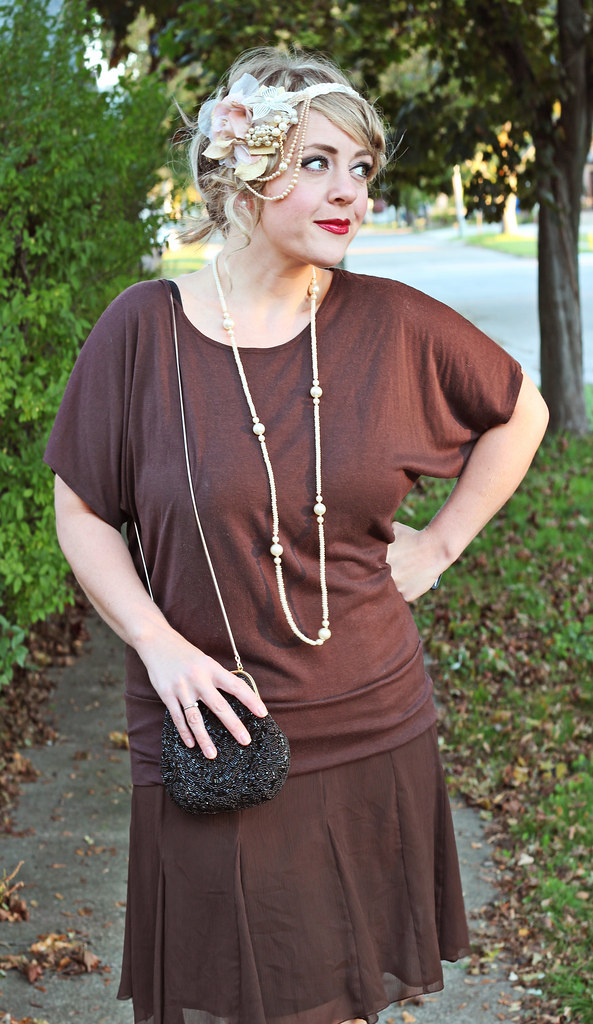
The outfit I wore was totally secondhand and pulled from my own closet--I couldn't really find a fab sequin-y number and so I opted to create a softer look with a 1920's waistline utilizing a brown skirt and shirt combo. The pearl string was thrifted for 99 cents from Hope's Outlet--and the beaded purse was as well, some time ago, for two dollars.  The brown rounded toe heels (though a little tall for that decade) were purchased secondhand at Love Inc. last year for around 5 dollars. If you've followed my blog, you may have already seen that the flapper style headband was a DIY from completely secondhand items I had laying around the house!


If you consider that none of these items were truly new, that brings my outfit cost down to absolutely nothing!

Check out the pics below for more of my recap and also see the entire album on my photography page!

IMG_8715


IMG_8319IMG_8319

IMG_8297


^^^ This gal had the right idea about snagging something glitzy for the event--a budget friendly and eco-friendly RENTAL at Rent The Runway! Have you checked out this website? Wear a pricey dress for a night or two, at a fraction of the cost. =)


Thursday, September 25, 2014

My 1920's Hair Inspiration for the Lumber Baron's Ball!


Image courtesy of Arabia Weddings

My 1920's Hair Inspiration for the Lumber Baron's Ball!

So...what was trending for 1920's hair? Well, definitely shorter 'dos: bobs, finger waves and closely coiffed hairstyles were all the rage.


Images courtesy of  Best of Hairstyles, Hair Archive and Wikipedia

But, what to do if you have longer hair like me? 

You have a few options:

1) Rock a cloche or similiar period hat! Tuck hair underneath and allow some curls to pop out.

2) Fake a bob. It's easier than you think; check out this article on Elle for directions on how to do it in six easy steps.

3) No matter your length, curl and adorn. Add waves and beautiful accessories to your hair to transform any length 'do into a respectable 1920's statement!


Check back with me soon as I have an accessory DIY, as well as "trial run", planned for my Lumber Baron's Ball hairstyle!


Thursday, September 11, 2014

Five Looks from Michael Kors Spring 2015 that you can Thrift or DIY

Five Looks from Michael Kors Spring 2015 
that you can Thrift or DIY


RLWL Michael Kors

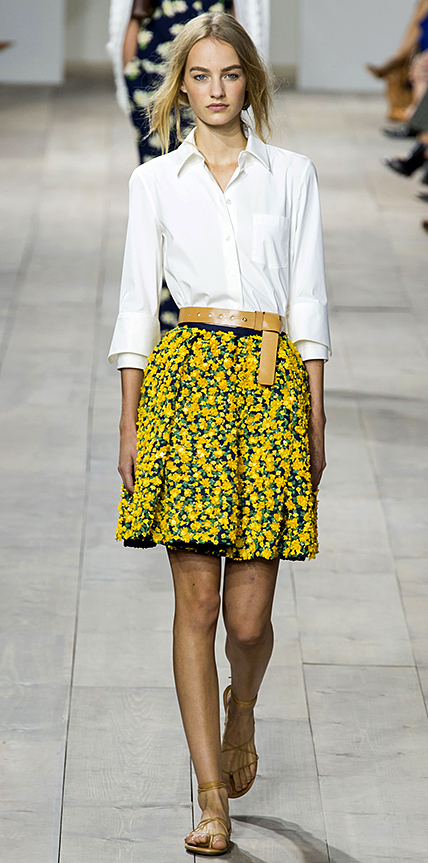
1. Crisp white dress shirt, floral skirt, cute knotted belt (instructions here courtesy of FashionRolla.com), sandals.

RLWL Michael Kors

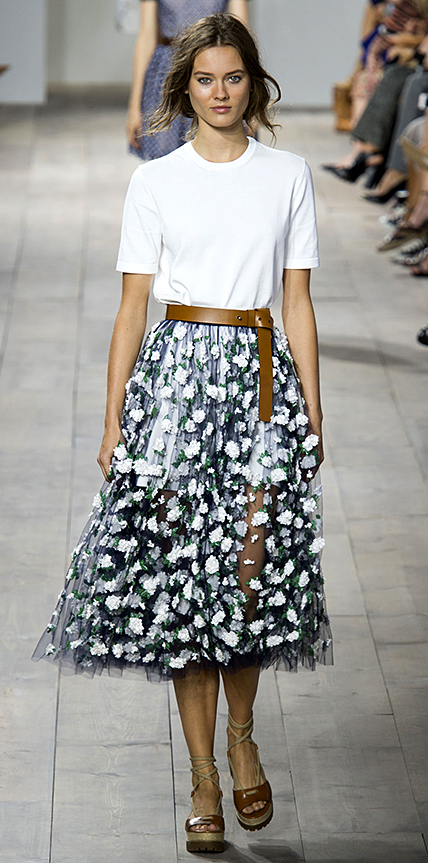
2. Extra long white t-shirt, with sheer or tulle calf length skirt overlay (easy sewing DIY!), cute knotted belt, sandals. 

RLWL Michael Kors

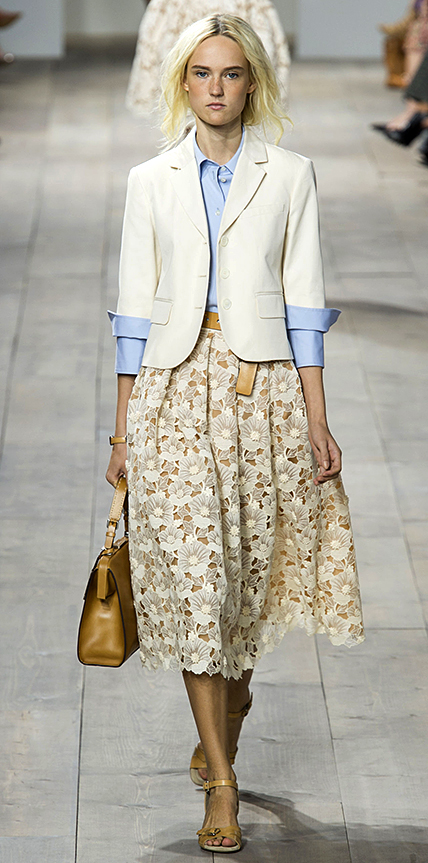
3. Cream or white blazer with chambray blouse, neutral calf length skirt, cute knotted belt, sandals, neutral handbag. 


RLWL Michael Kors

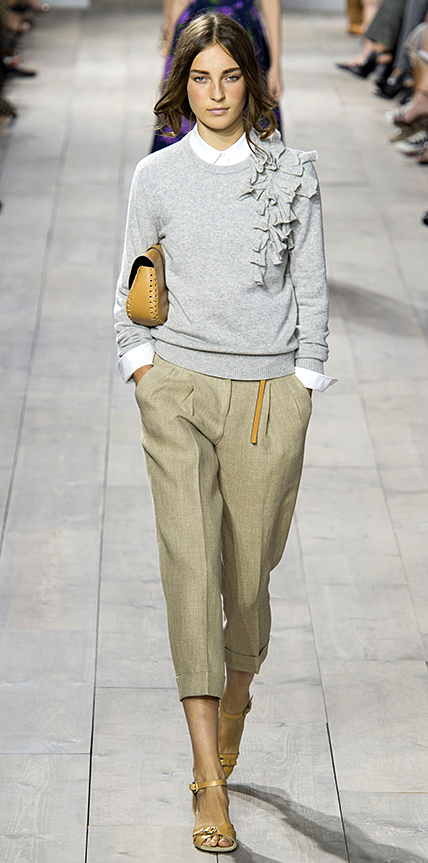
4. White dress shirt under a grey knit OR sweatshirt (DIY rouching?), 3/4 trousers or rolled trousers in a neutral shade, sandals, neutral handbag. 

RLWL Michael Kors

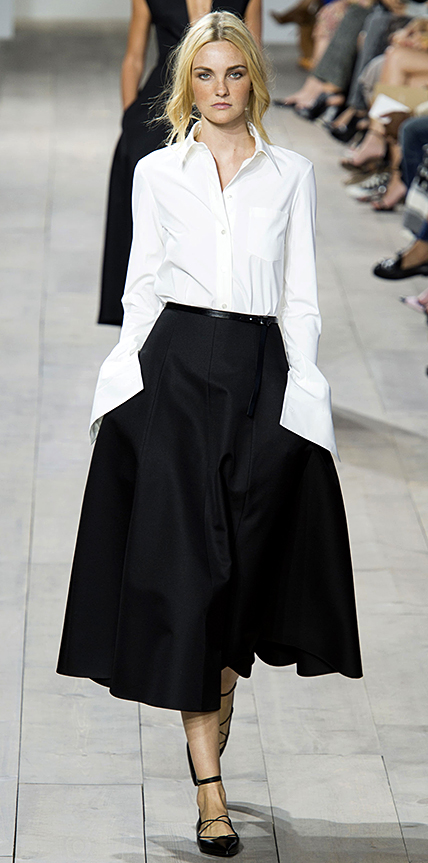
5. The ultimate classic: crisp white dress shirt with a calf length or full length black skirt, plus black sandals or ballet flats.

Wednesday, July 30, 2014

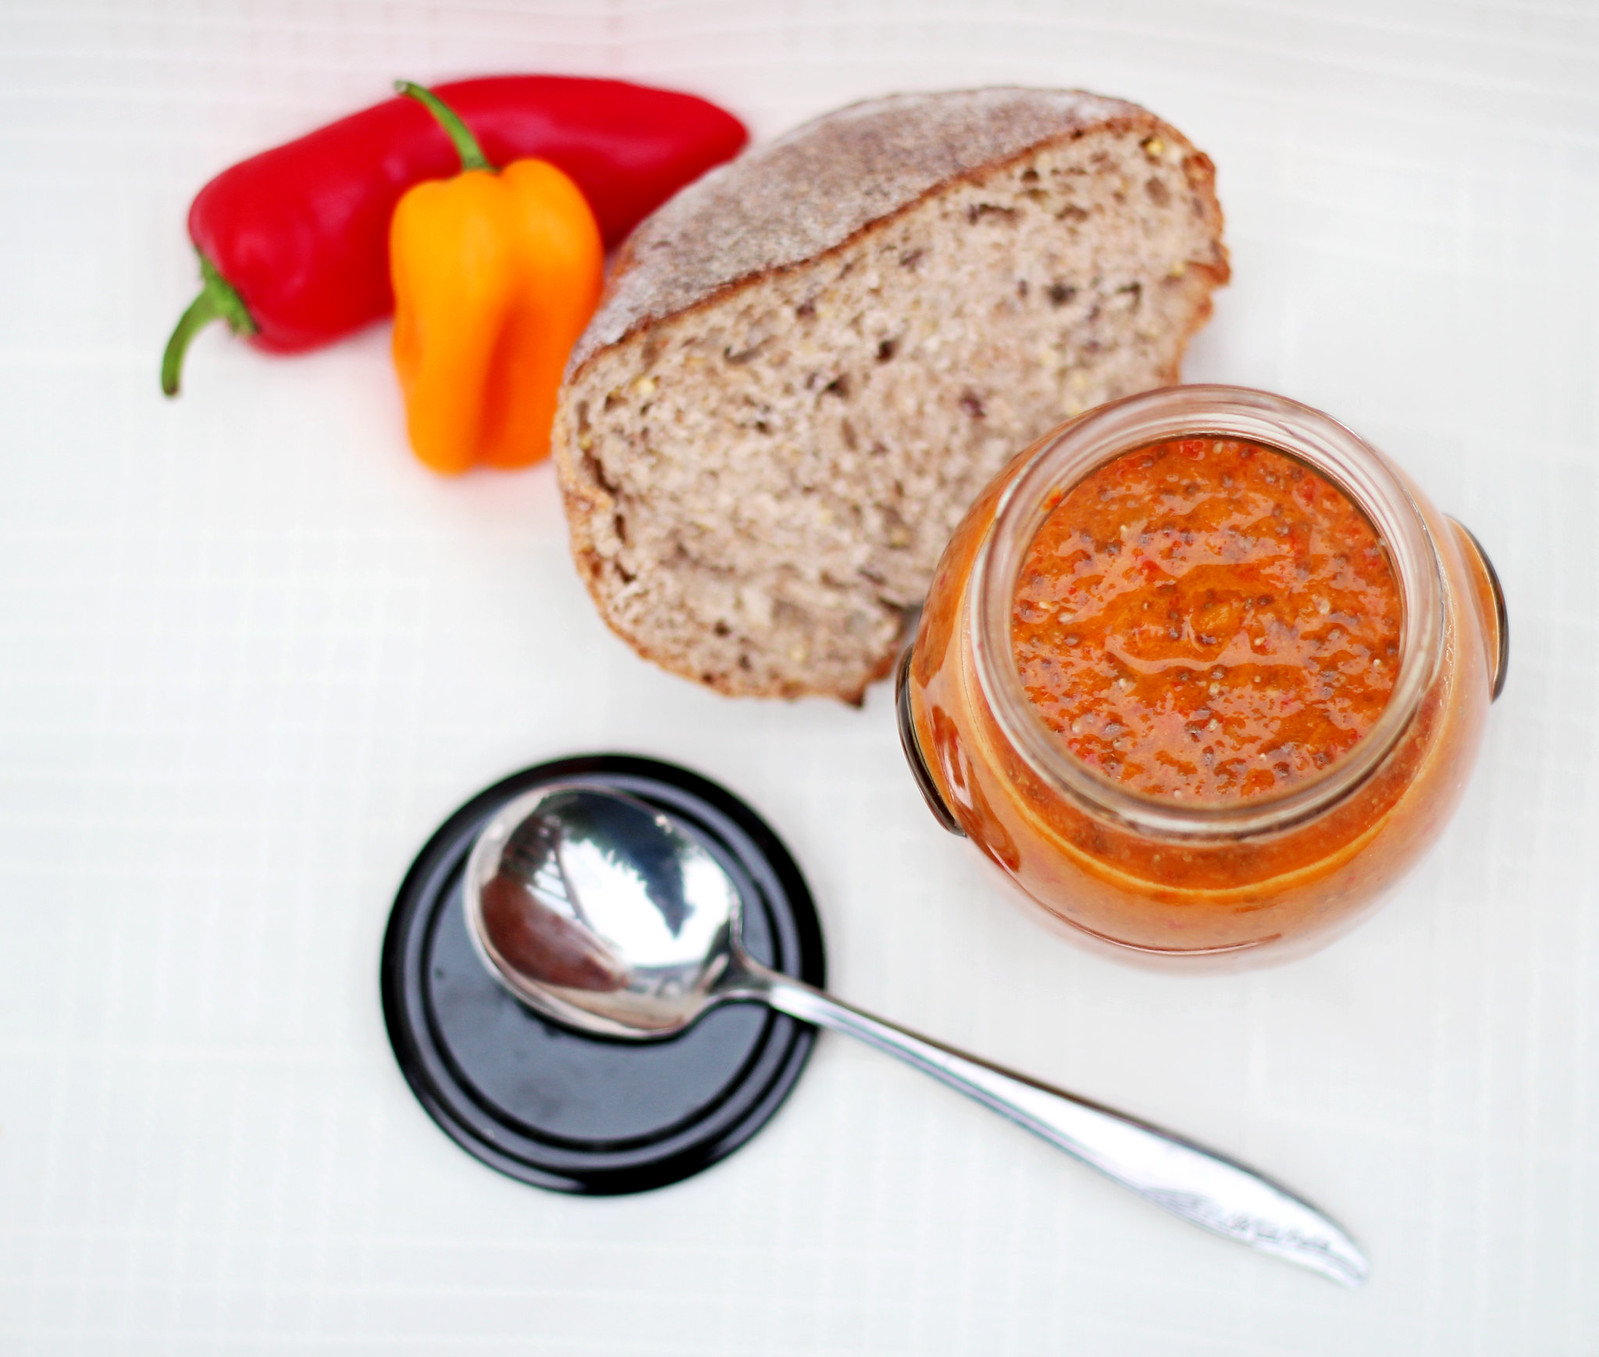
Spicy Pepper Chia Seed Jam: #Channyskitchen

IMG_8189 copy

I was SO excited to try cooking with chia seeds (mostly for their amazing Omega 3 and fatty acid benefits, but also because I love to cook!), even though they were pricey. (The organic chia seeds I bought at my local health food store were about 12 dollars for a somewhat small bag!) I have heard about buying them in bulk for cheaper prices, but I wanted to get the hang of cooking with them before I committed to a large quantity.

I started with soaked chia seed pudding a few days ago--just a simple coconut milk/lemon zest chia pudding sweetened with stevia. That was pretty good! I knew, however, that my real interest was in making "jam" type concoctions. I made some strawberry chia preserves (and they were super yummy!) but it wasn't long before my mind started going down a savory path...to a road less traveled. 

I present to you, my:

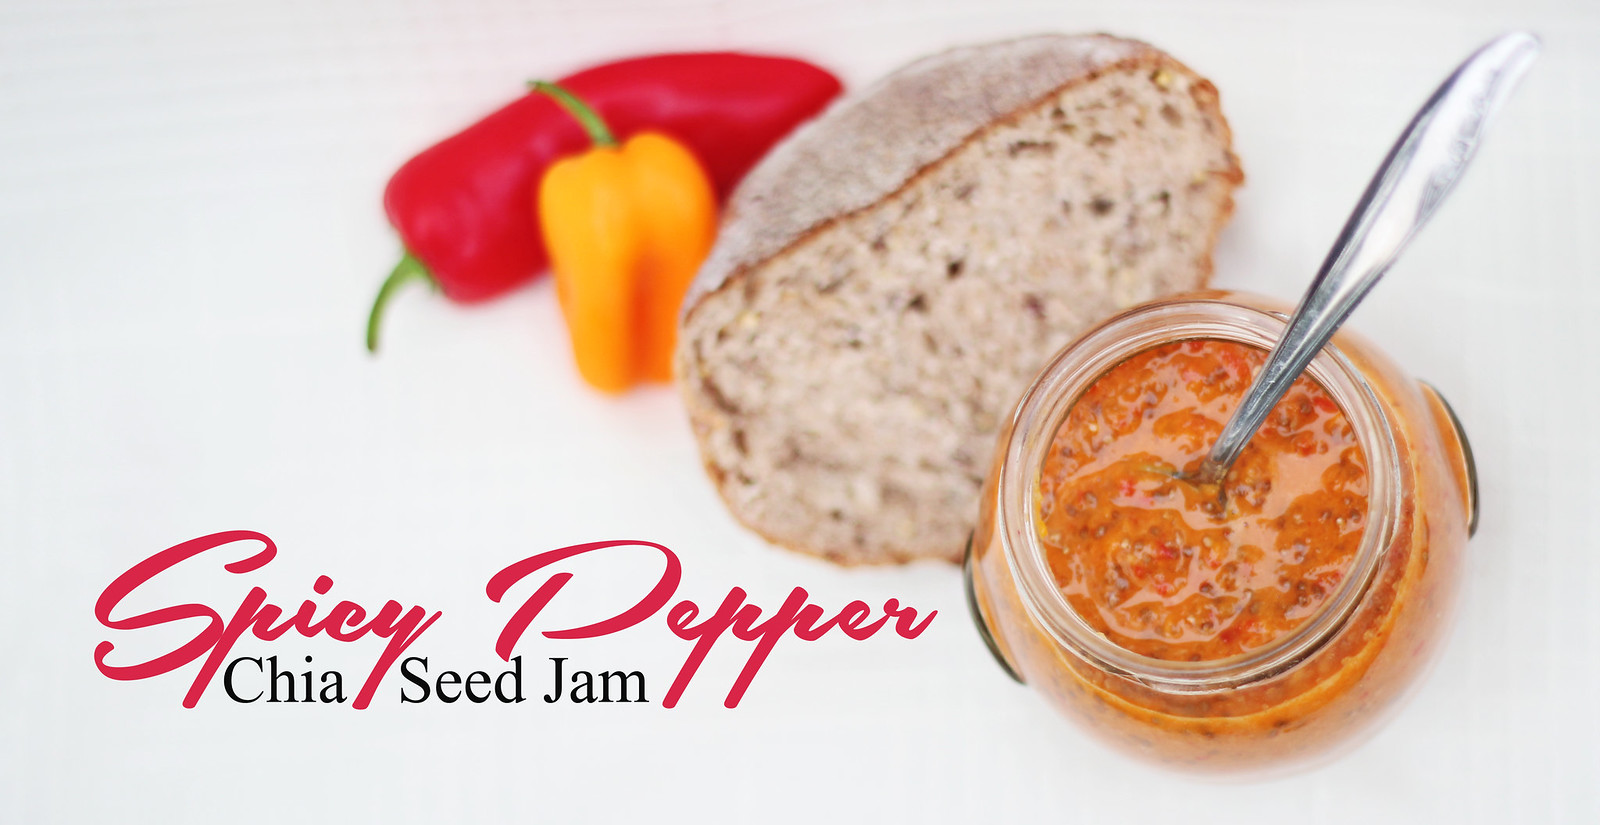
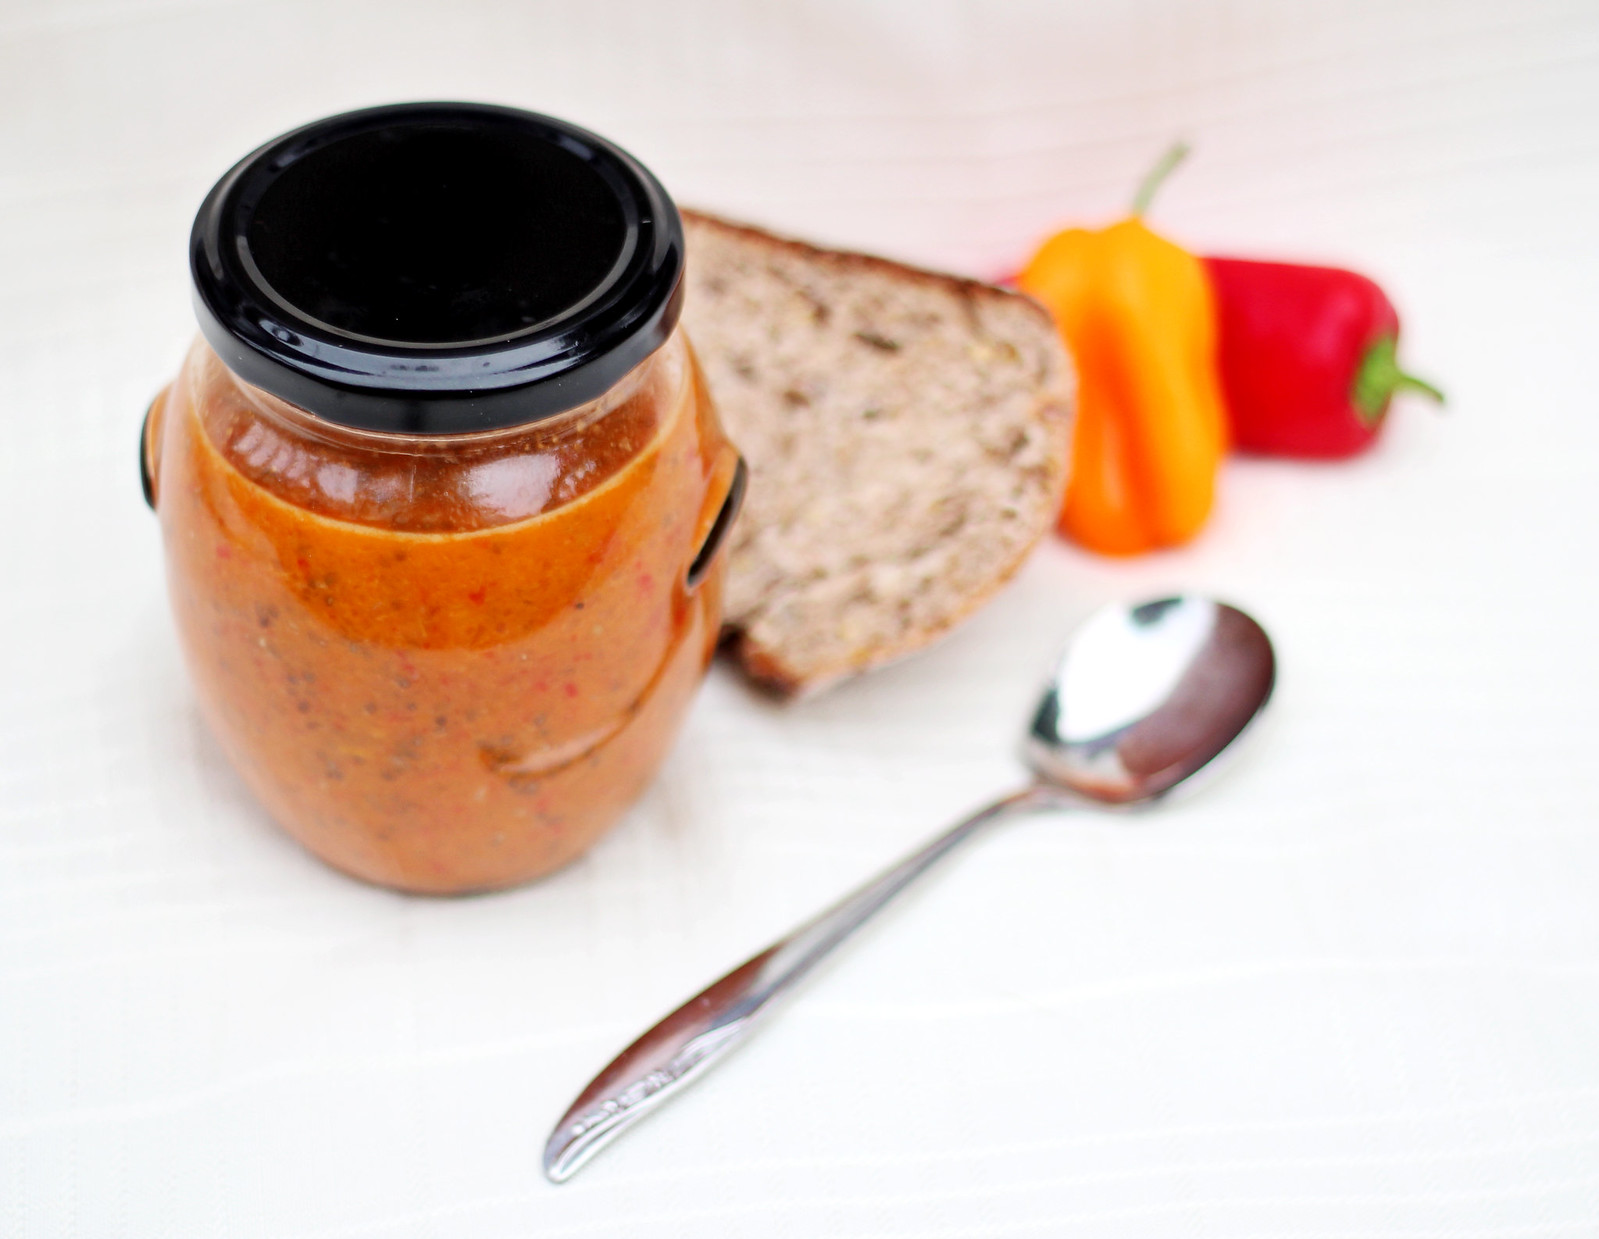
SPICY PEPPER CHIA SEED JAM!

Delicious with meats, on buttered bread, or as a condiment to 
sandwiches, crackers, etc!

Should last in refrigerator for approximately 2 weeks.

IMG_8138

IMG_8171

IMG_8203

THE RECIPE

You'll need:

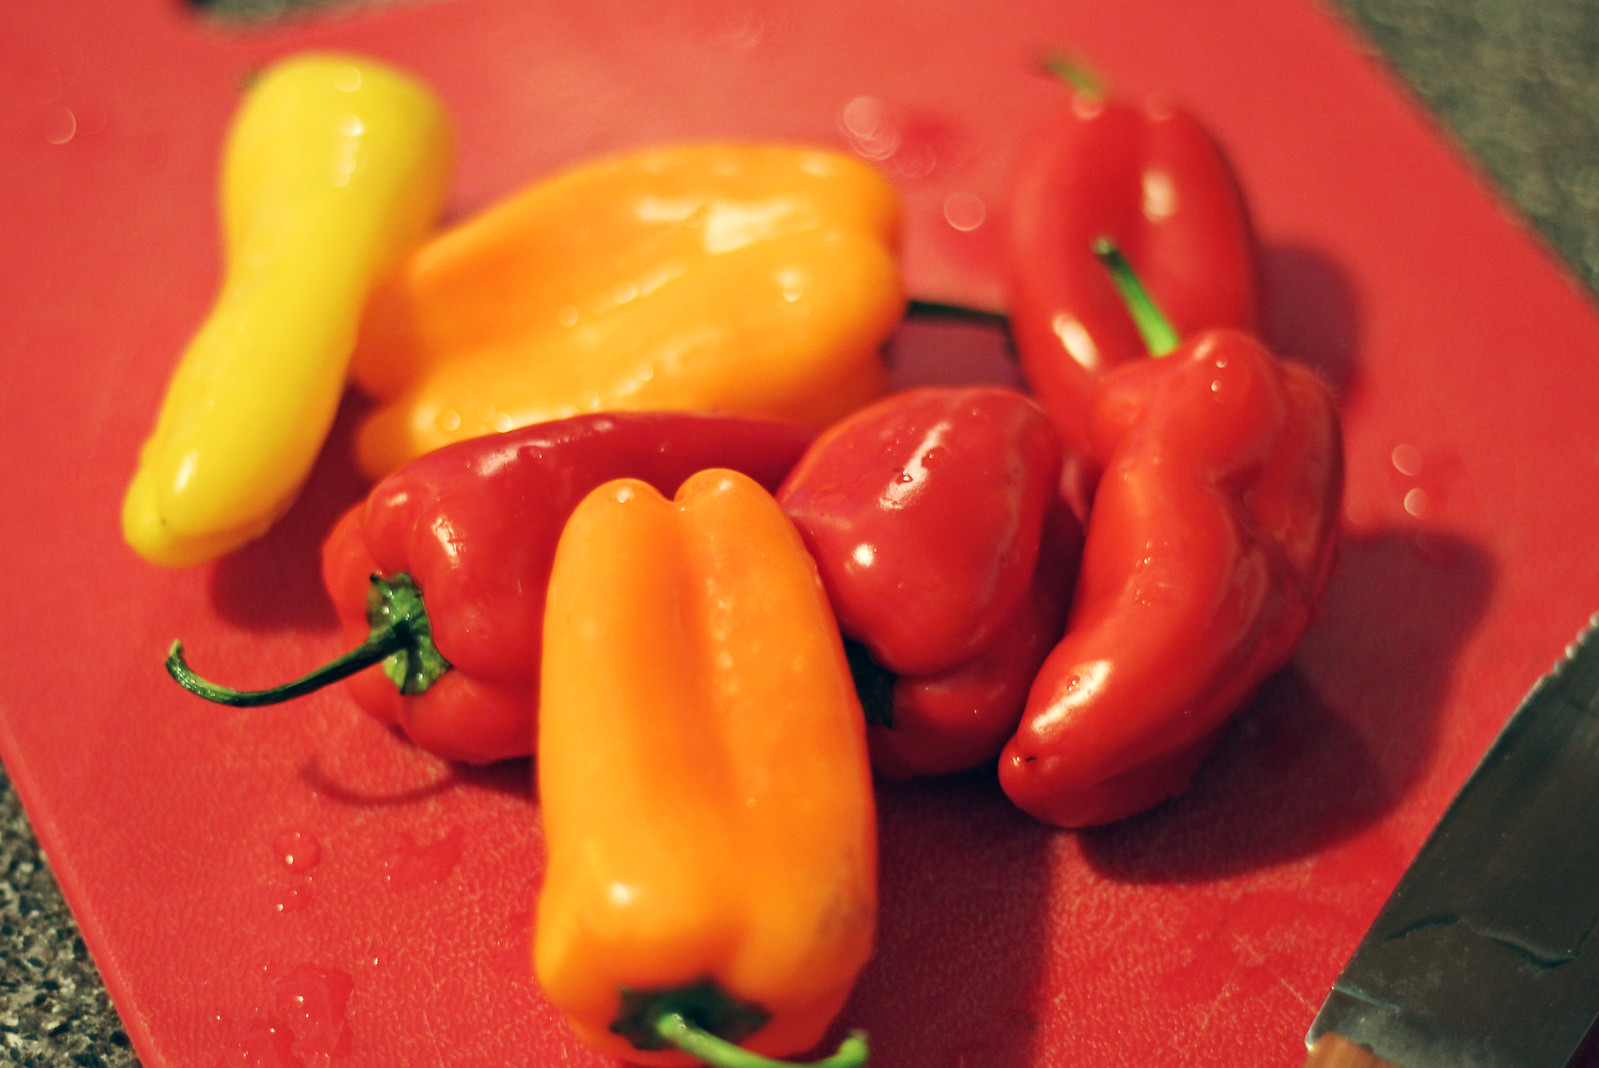
--7-8 mini colorful peppers (or 2 large colored peppers)
--1/4 cup chopped onion
--Sea salt and pepper (optional)
--Olive oil for sauteeing
--Dash of honey
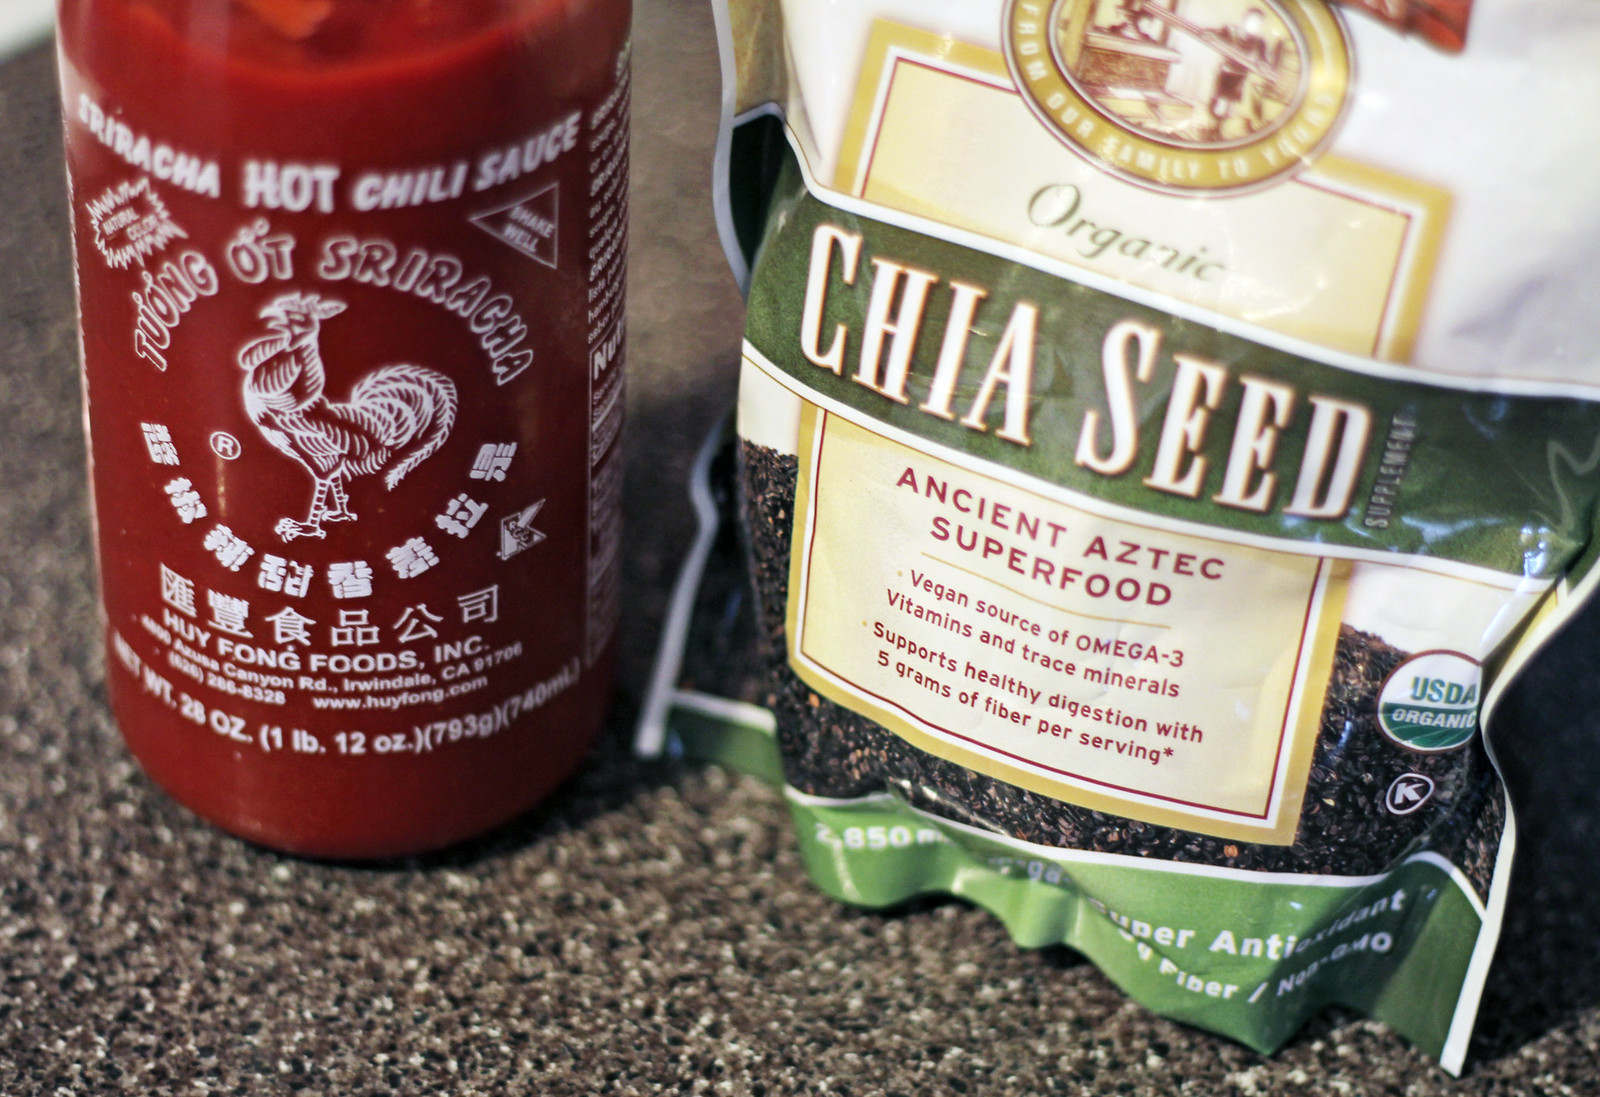
--Healthy TBSP of Sriracha (more if you like it hotter! You can also substitute hot peppers with your mild pepper mix, but I wanted a nice, controlled heat).
--1/4 cup dried chia seeds
--1/2 cup water

--Food processor, sauce pan, small to medium jar to hold jam while it cools.

IMG_8094

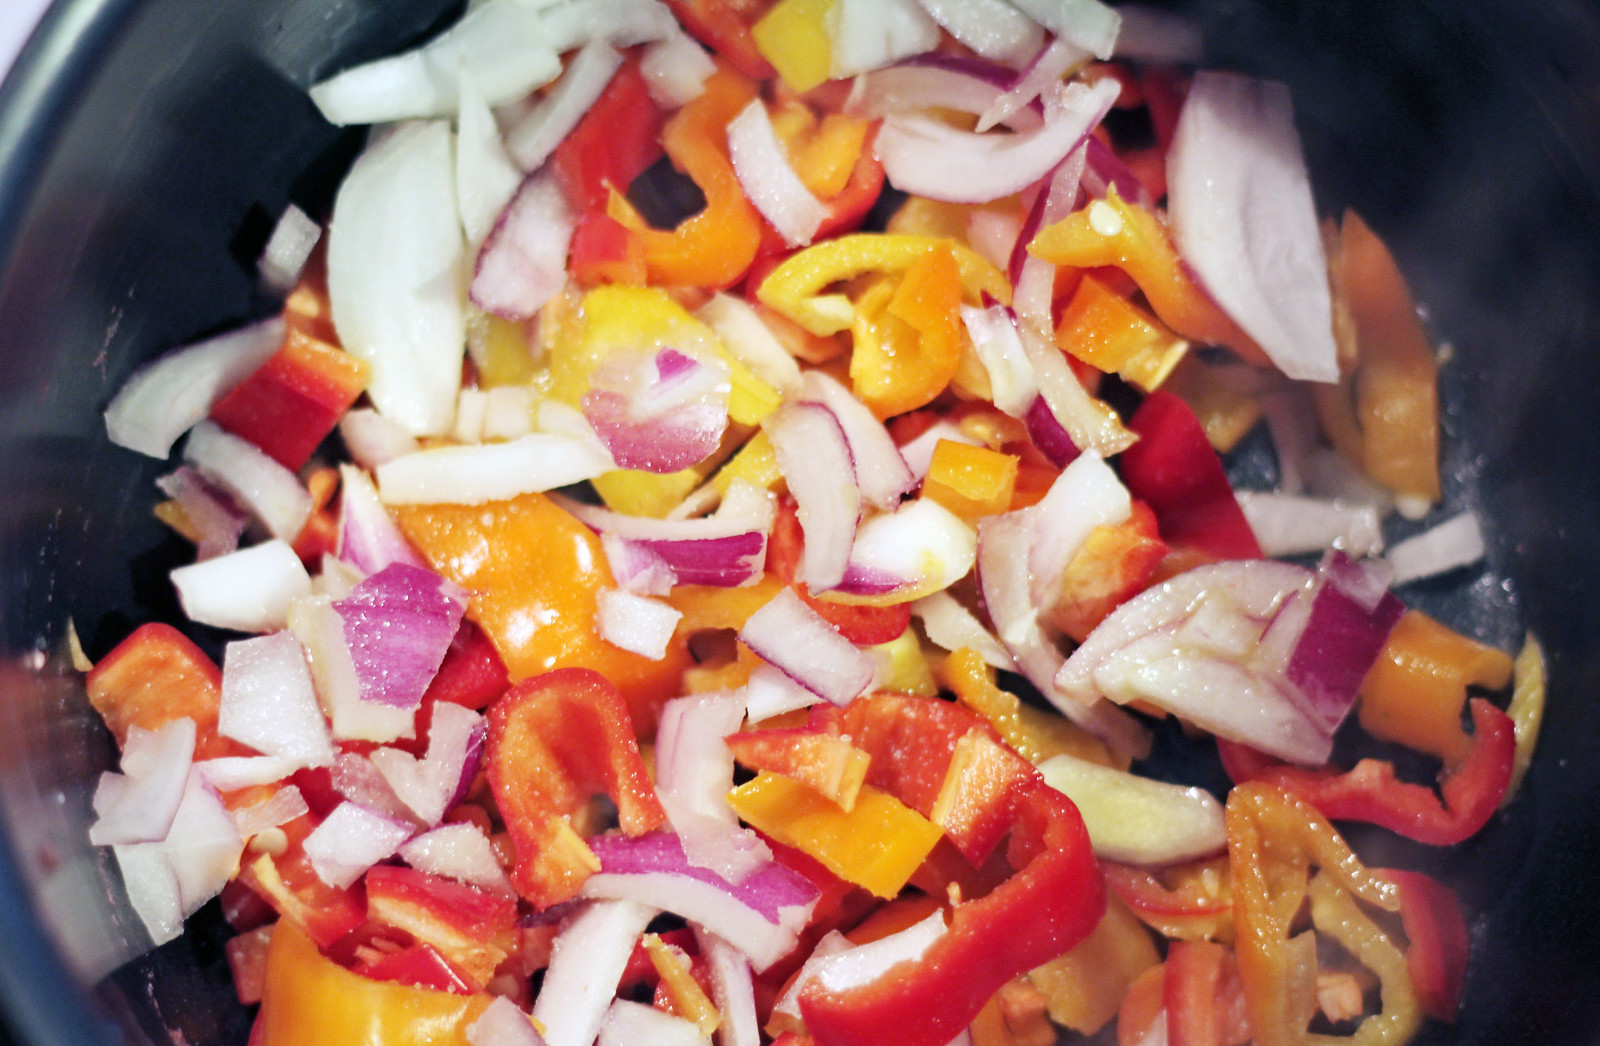
First, I de-seeded and diced my mini-peppers, along with the onion. I tossed them into my sauce pan with some sea salt on medium heat, and began to caramelize them for added flavor.

IMG_8098          IMG_8100

After they had become slightly browned, I added about 1/4 cup of water (additional water for simmering/cooking out and not listed in ingredients above). I let the peppers and onion simmer until they were soft, and the flavors had really been released. Most of the water cooked out, but I left what was there for blending in the next step.

IMG_8102         IMG_8104

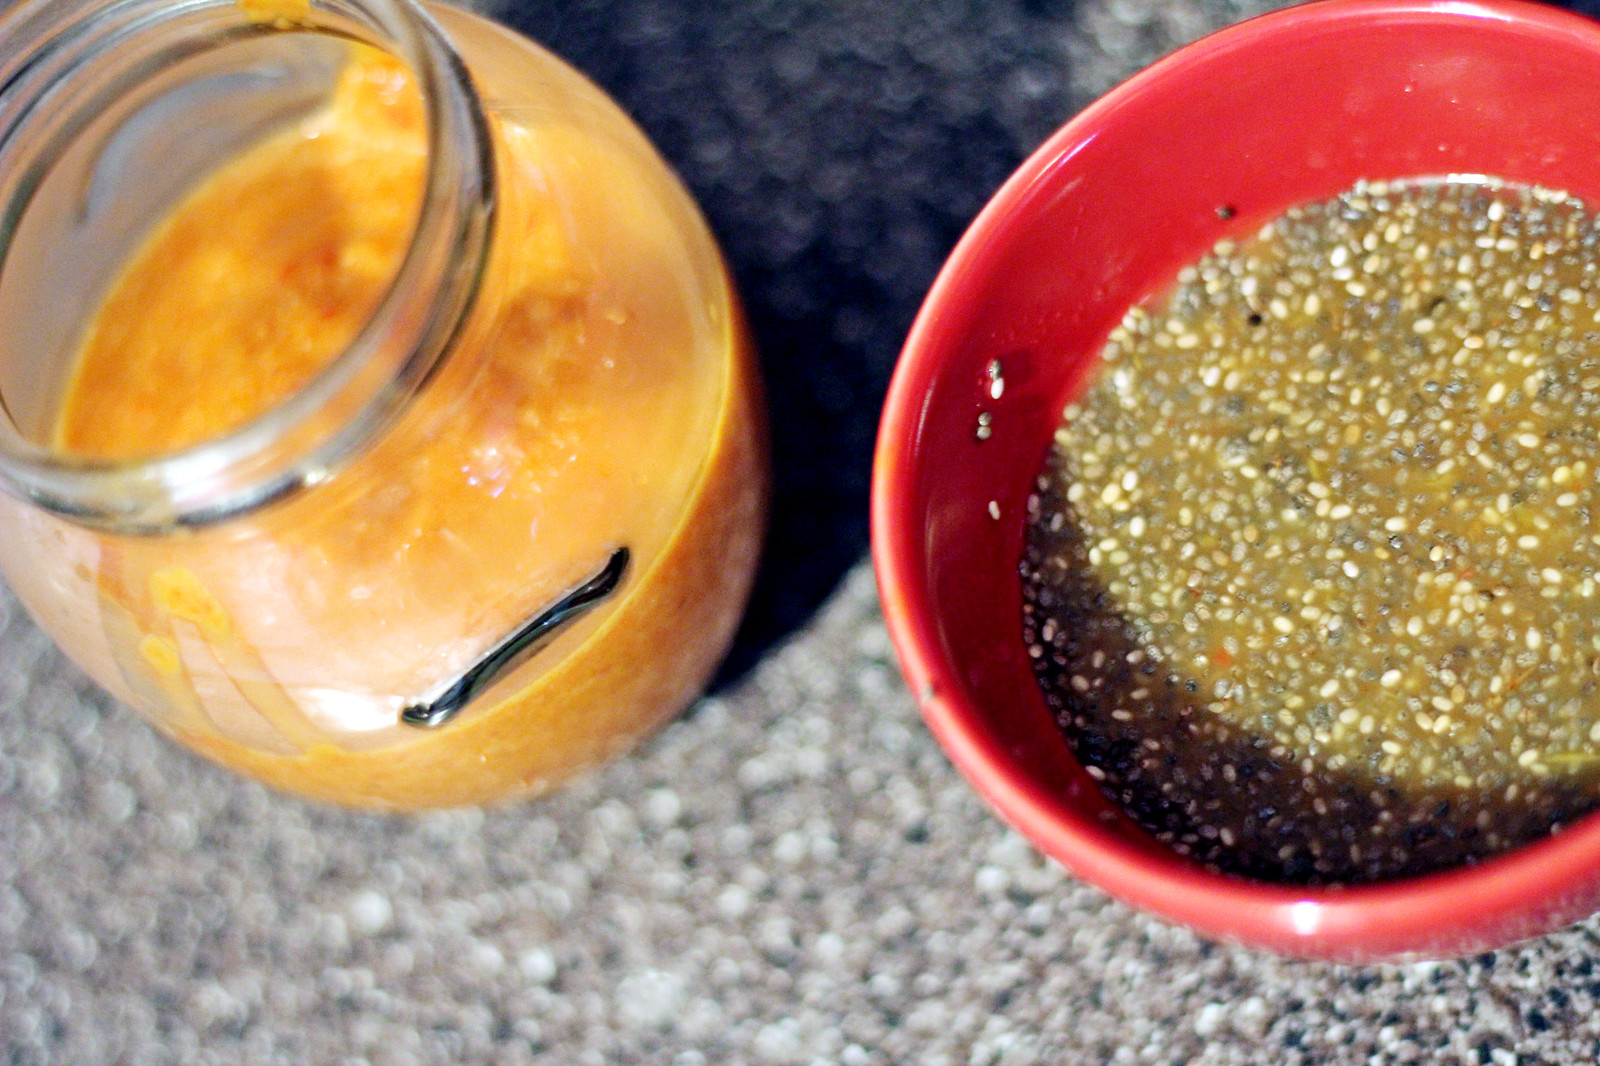
I blended my pepper/onion mix on high, until quite smooth, with my food processor. It didn't yeild much--maybe about 1/2 cup of pureed peppers and onion. I spooned that, still warm, into my small jelly jar.

Rather than soak my chia seeds in flavorless water, I used the 1/2 cup of water in the ingredient list to rinse the mixing basin of the food processor. I then dumped that watery pepper solution in to a small dish and soaked my chia seeds in it, for added flavor. After about five minutes, I spooned the somewhat gelled chia seeds and excess liquid into the jelly jar with the pepper puree, stirring for smooth consistency. Then, I added a healthy tablespoon or two of Sriracha for some nice heat! 

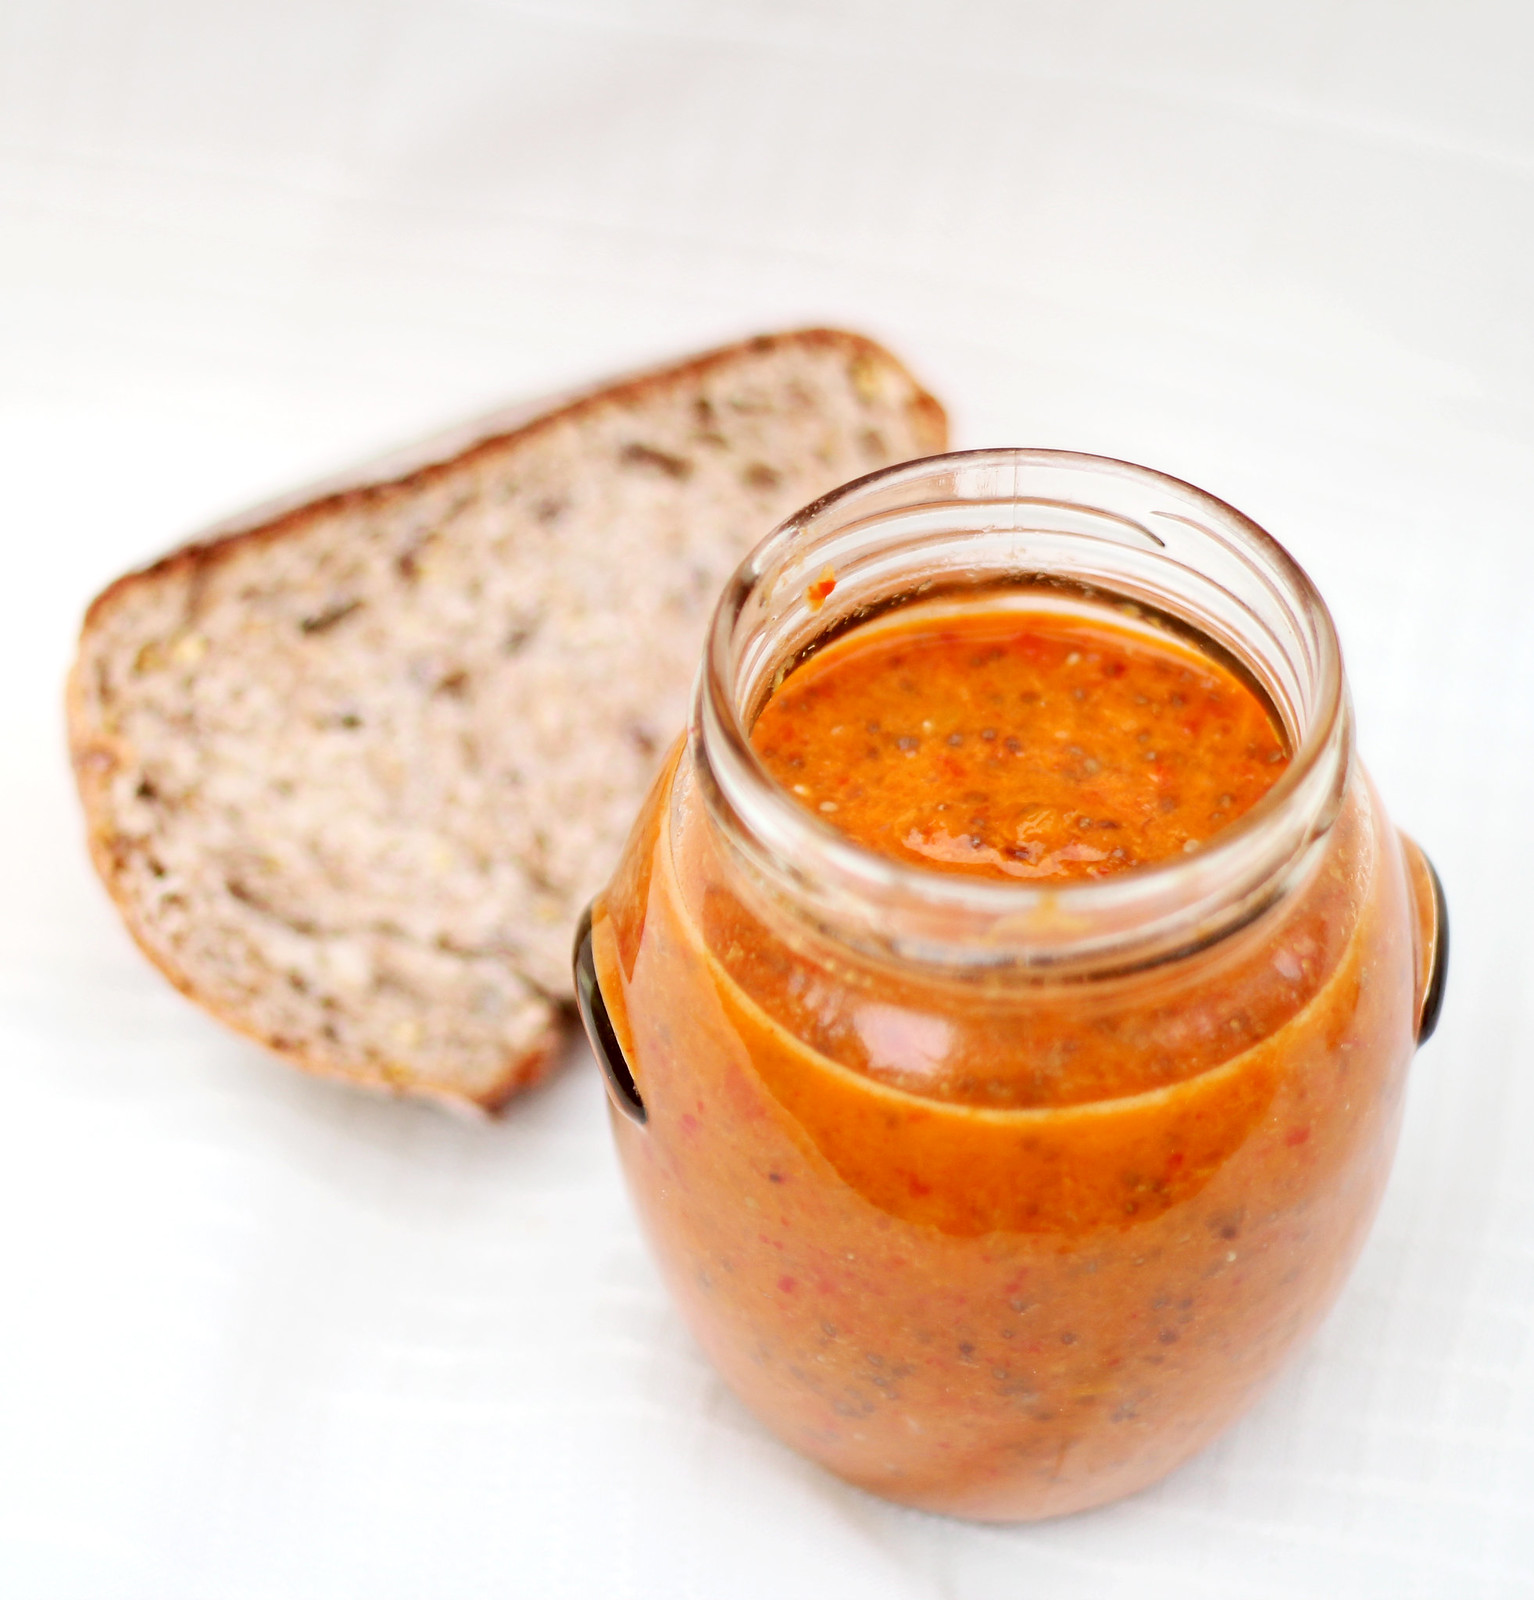
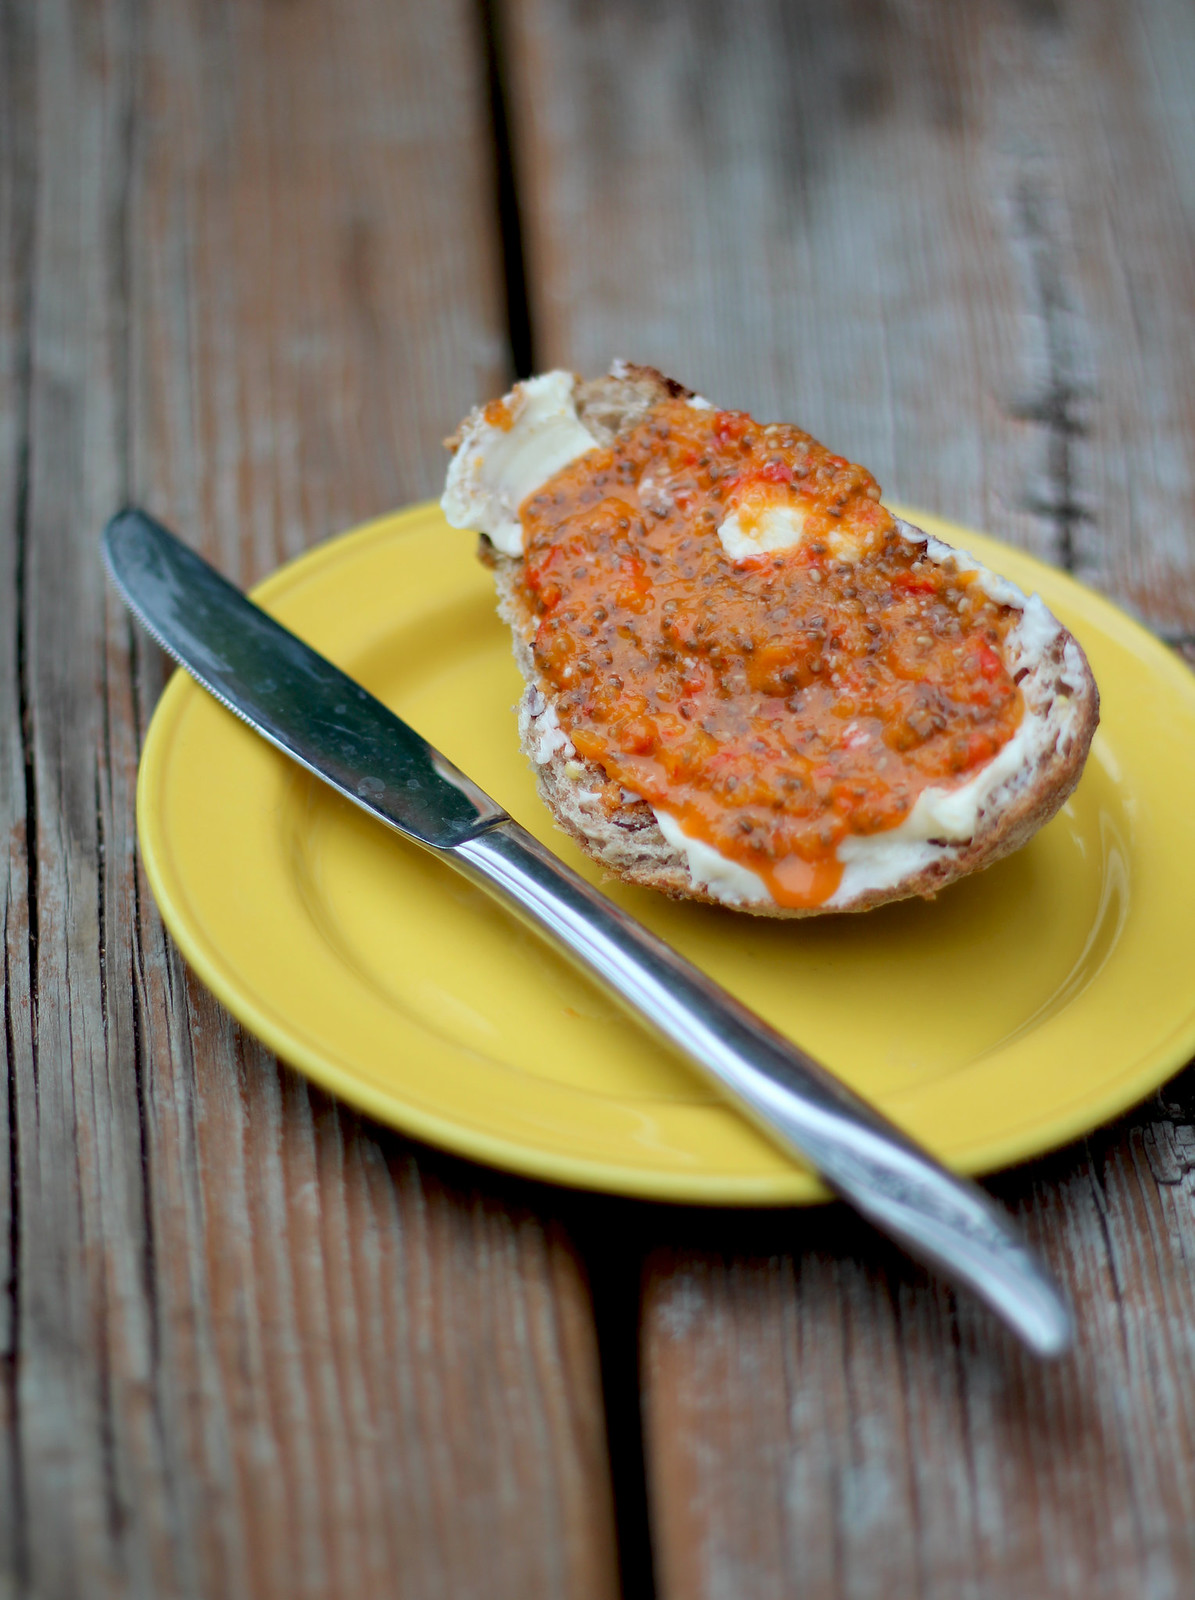
The consistency of the jelly is very much like a more textured mustard--chia seeds are soft, and don't present much flavor or texture, really. But they thicken the mixture nicely and add so much in the way of nutrition. I absolutely love the flavor of this jam, and even though I put the rest in the refrigerator to cool, I couldn't resist slathering some on a peice of 7 grain oval bread with some real butter to test it out.

YUM.

IMG_8154

ENJOY!

Monday, May 19, 2014

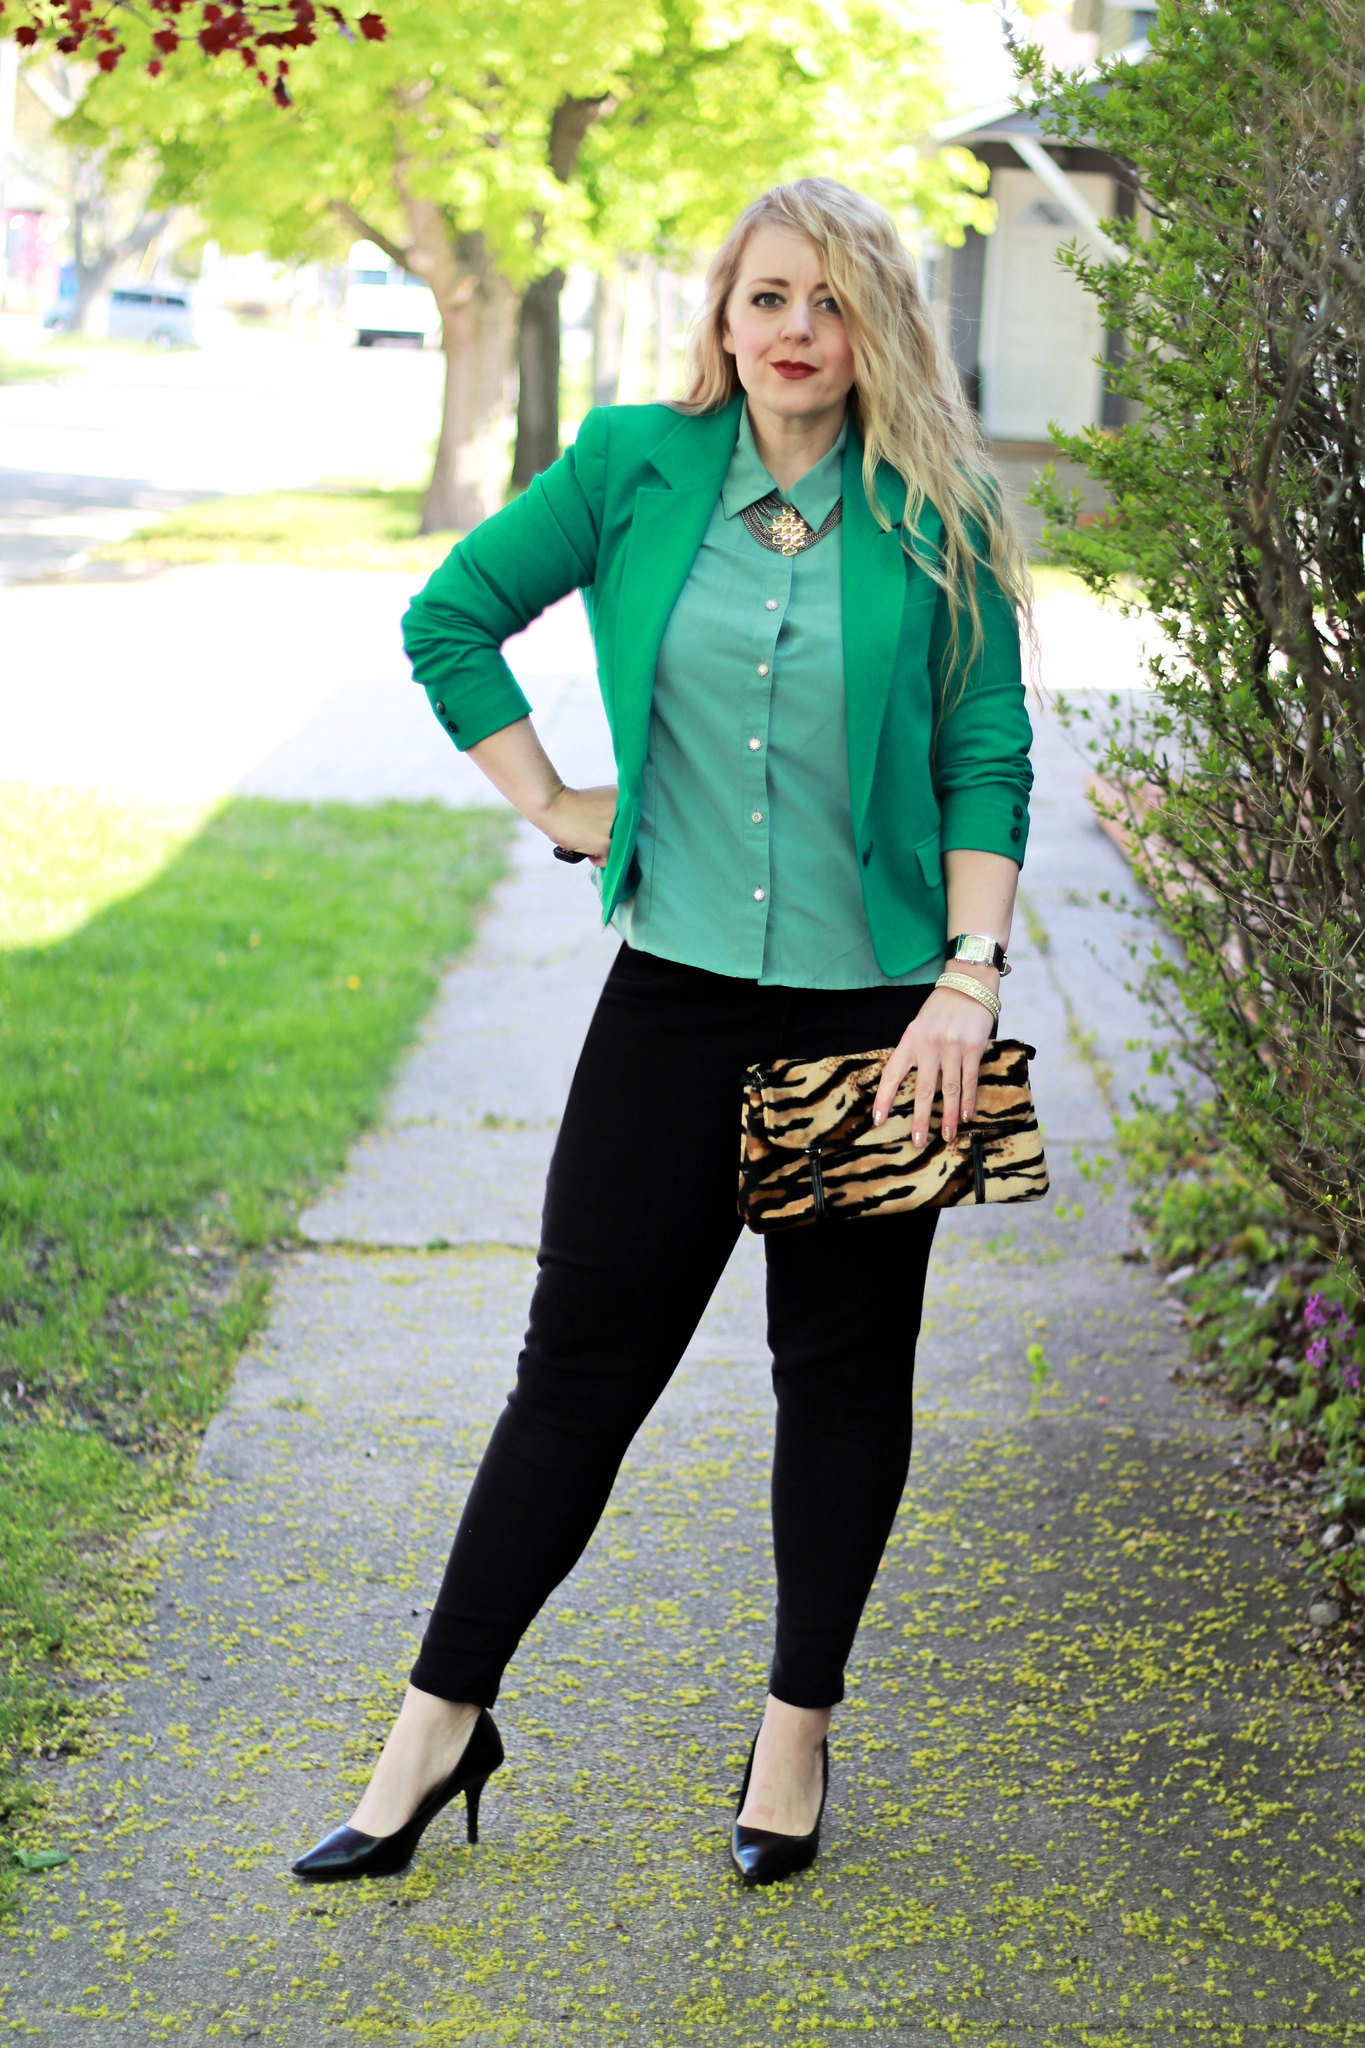
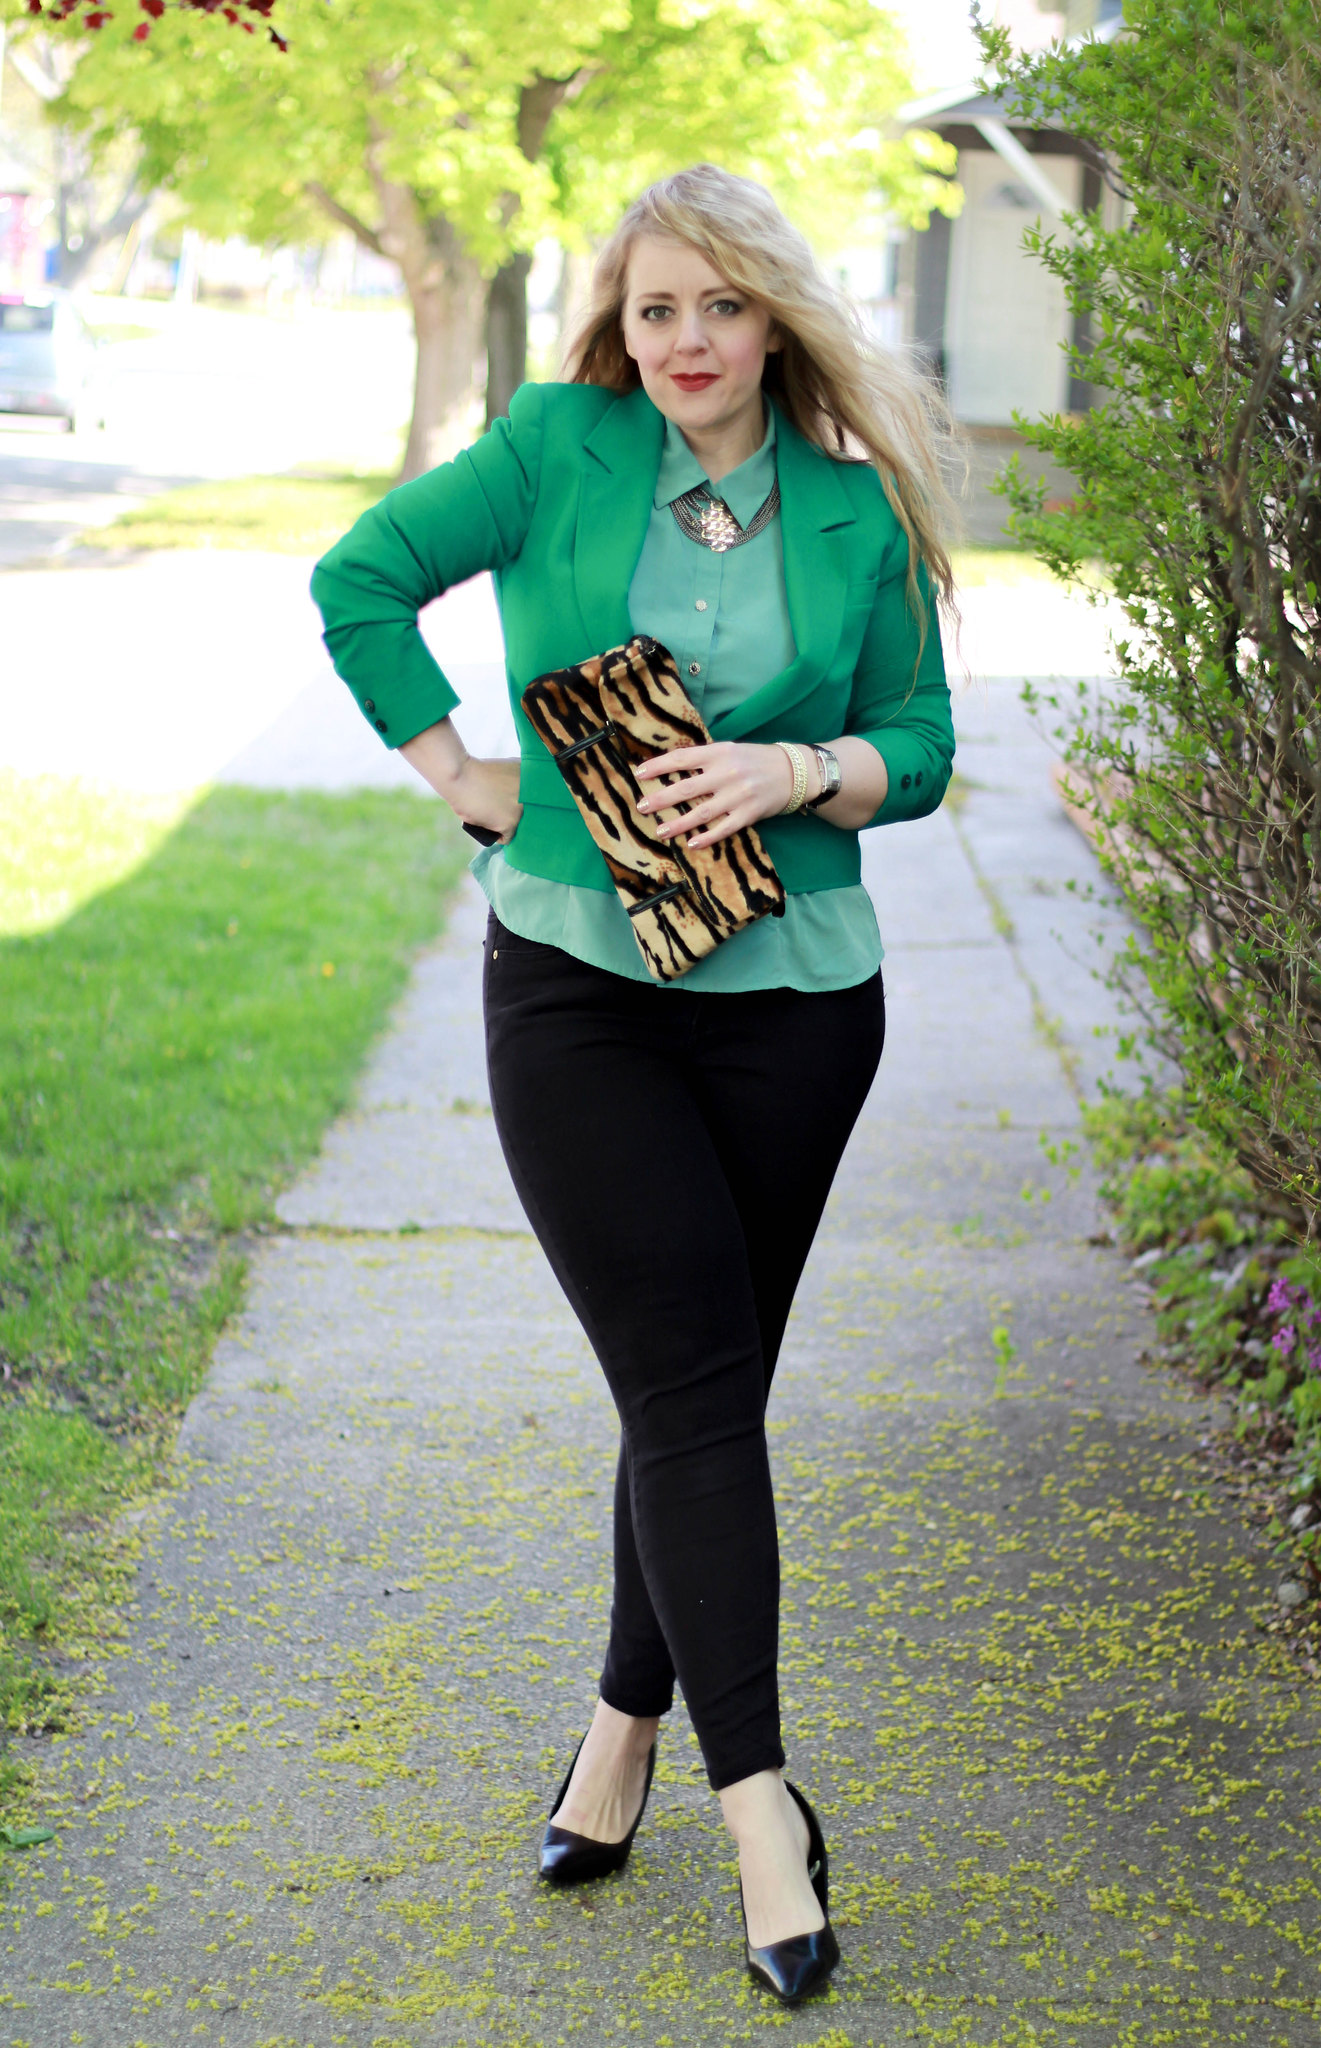
Emerald on Mint: Thrifted Pendleton Blazer

IMG_5790

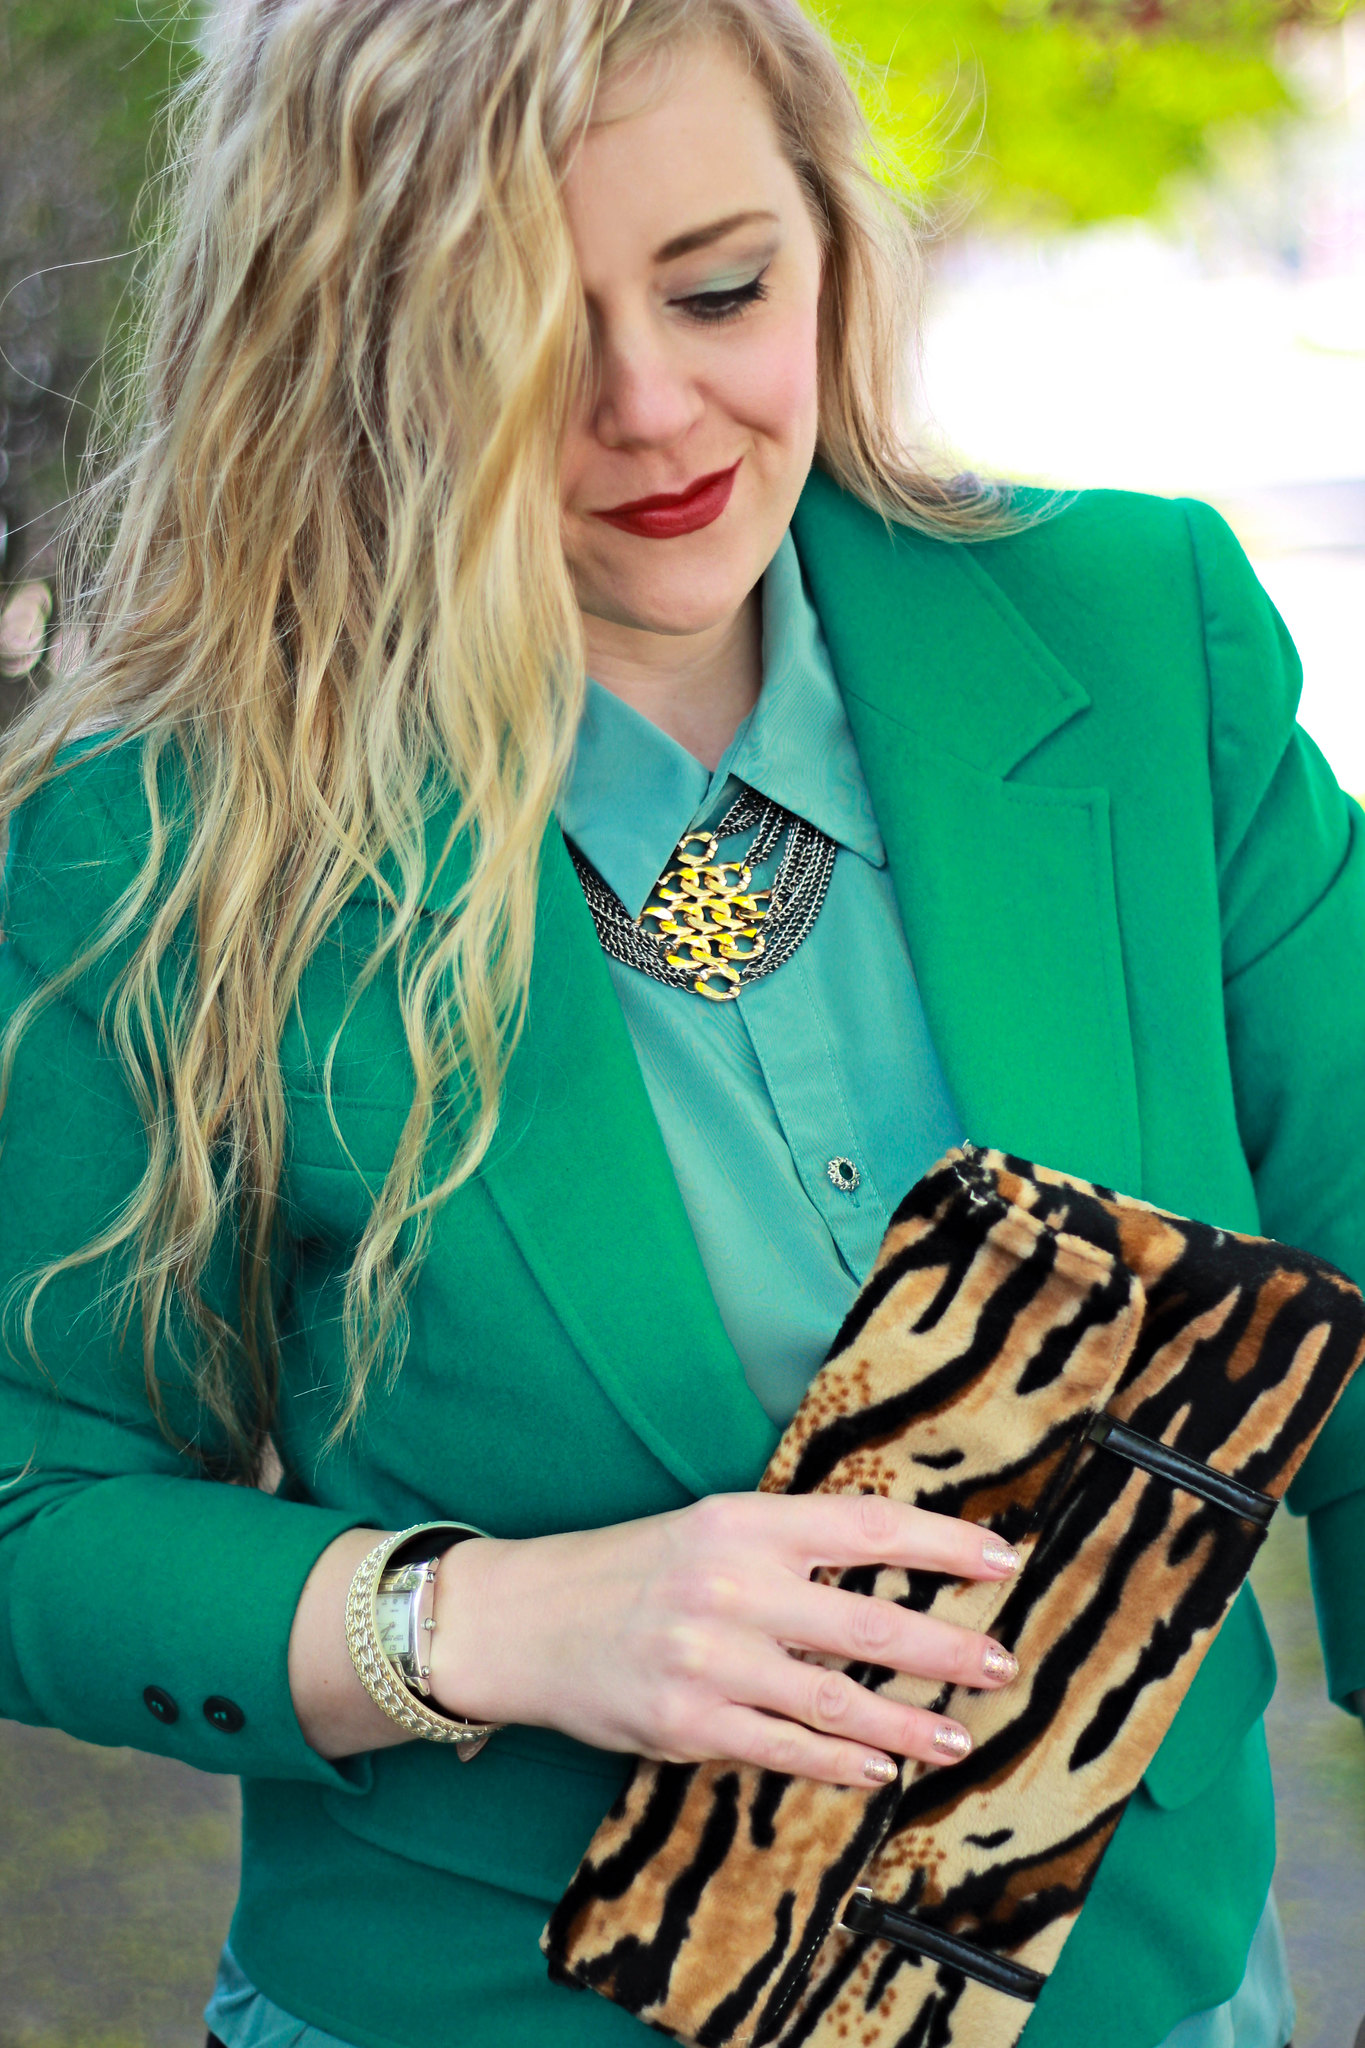
EMERALD ON MINT: Thrifted Pendleton Blazer
I thought green was a fitting choice as Michigan is FINALLY getting the memo about spring! It is a lovely (albeit slightly chilly) day here, and I'm so happy to be seeing BRIGHT GREEN out the window instead of fluffy WHITE. :)

OUTFIT DETAILS: 
Emerald Blazer, cuff bracelet and Anne Klein watch: thrifted for $7 total 
at Lakeshore Rescue Mission Thrift.

Mint green collar shirt was also a secondhand score, 
as well as the shoes and tiger print bag.

The black skinny jeans were a DIY; I sewed them from a pair of thrifted black jeans. Super simple project! I didn't take a before and after picture because it was a quick alteration before heading out for the day. There are so many great tutorials online but perhaps I should throw one together myself... :)

IMG_5799

IMG_5782

IMG_5801


Friday, March 7, 2014

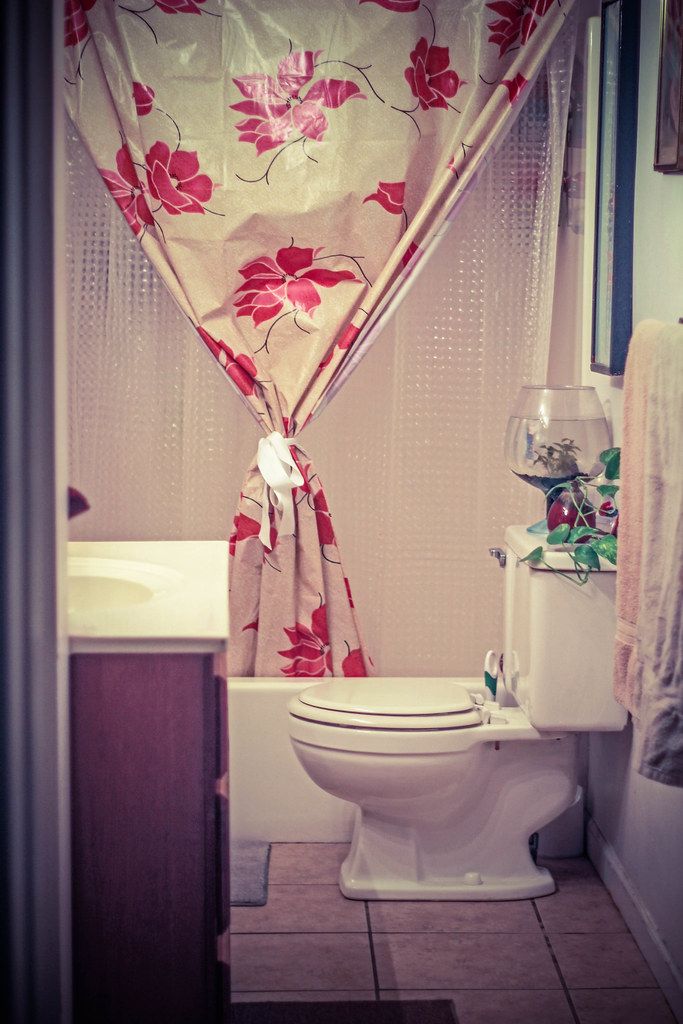
BEFORE: The "before the makeover" pics of my bathroom!

IMG_2276

BEFORE THE MAKEOVER

Look, it's a toilet! Haha!


If you've been following along, then you'll already know that I'm teaming up with Holland Rescue Mission Thrift Stores and Lakeshore Rescue Mission Thrift for a series of fun upcycled and thrifted projects called "March Magic"! My first project is the Upcycled and Thrifted Bathroom Makeover

A few days ago, I posted my design inspiration for the bathroom; yellow, grey, black and white. My goal was to use almost exclusively thrifted items! I did make a few new purchases, and I'll list them and price them in my final "showcase" blog, which is coming soon. 

Back to the bathroom in these pictures... 

Ugh, this bathroom has needed some help for a while. I keep it tidy and it isn't the most HIDEOUS thing I've ever seen, but it's definitely thrown together. The cheesy, cheap shower curtain was something I picked up at a discount store for just a few dollars to dress up the sheer shower liner, and honestly, I never really cared for it much. The rugs (not pictured) mismatch and there was never really a color scheme.


IMG_2277


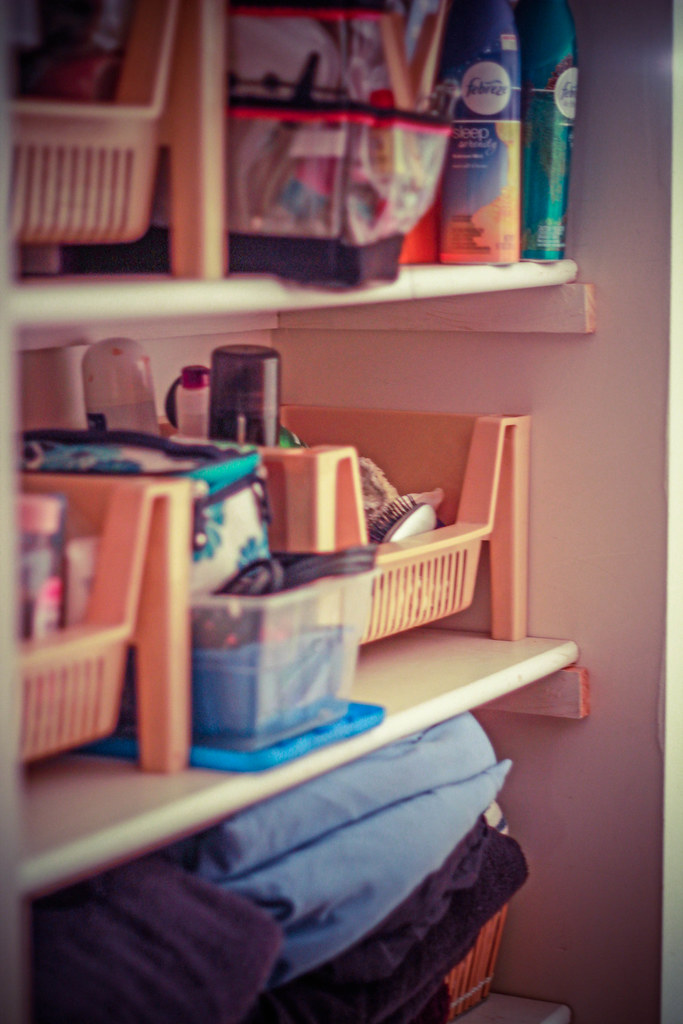
Honestly, I like my bathroom space for the most part; it's fairly decent sized for an apartment, and it's tucked away nicely on the end of the house.  One thing that ISN'T my favorite, though, is the exposed storage. Underneath these recessed (and exposed) cabinets is a small space I keep my scale and hamper in, and everything is visible. Though I keep it somewhat organized in bins, I'm not sure that I really want this "hanging out", so that was part of my considerations for a makeover.

IMG_2278 

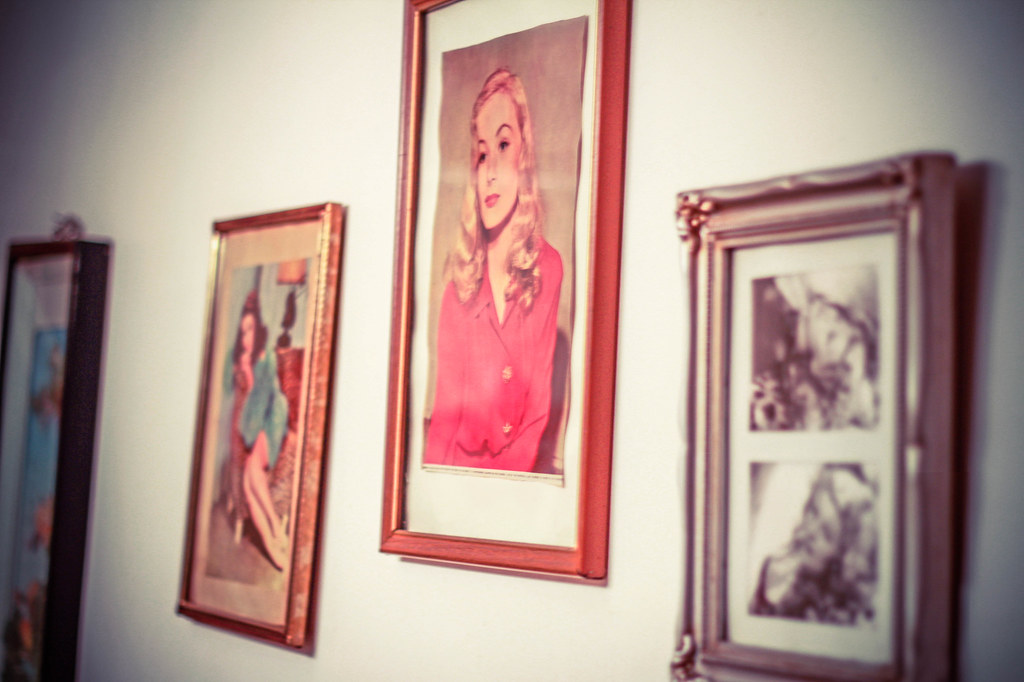
The lovely Veronica Lake! I do love my pinup girls. I'm thinking of making a switch to only B&W pictures in the bathroom though, and these mismatch frames are going into storage.

IMG_2279 

IMG_2280 

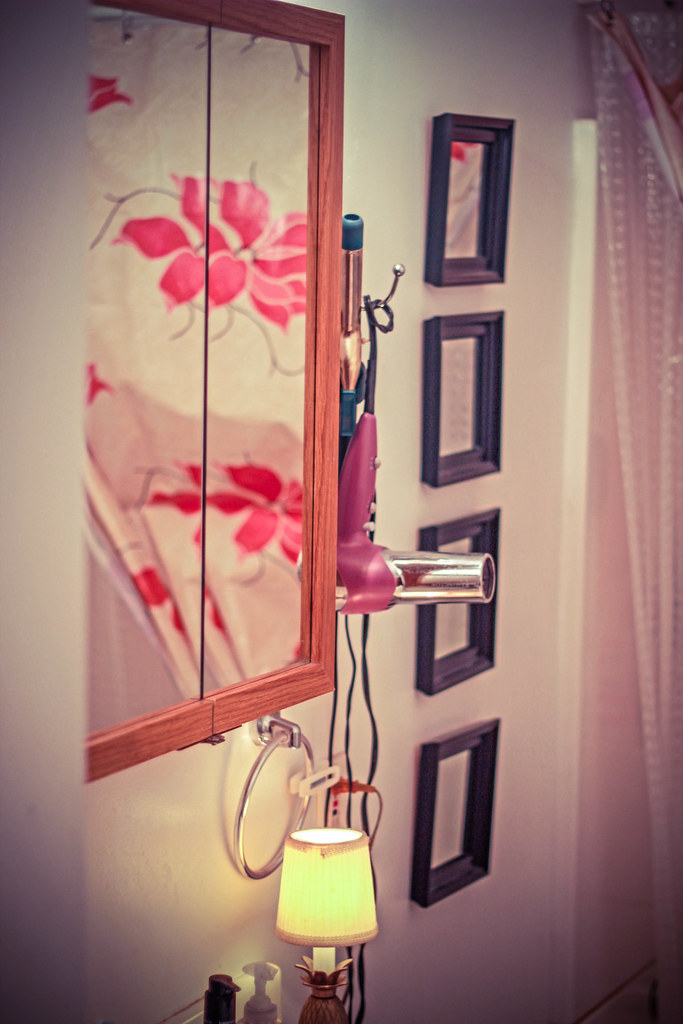
This tangled mess is where I hang my hairstyling tools. I know, it's an eyesore! But I like having them at arms reach because they are used every day! I've been considering several different storage options for these in some of the DIY posts I've been searching through on my Pinterest Inspiration board.

IMG_2282

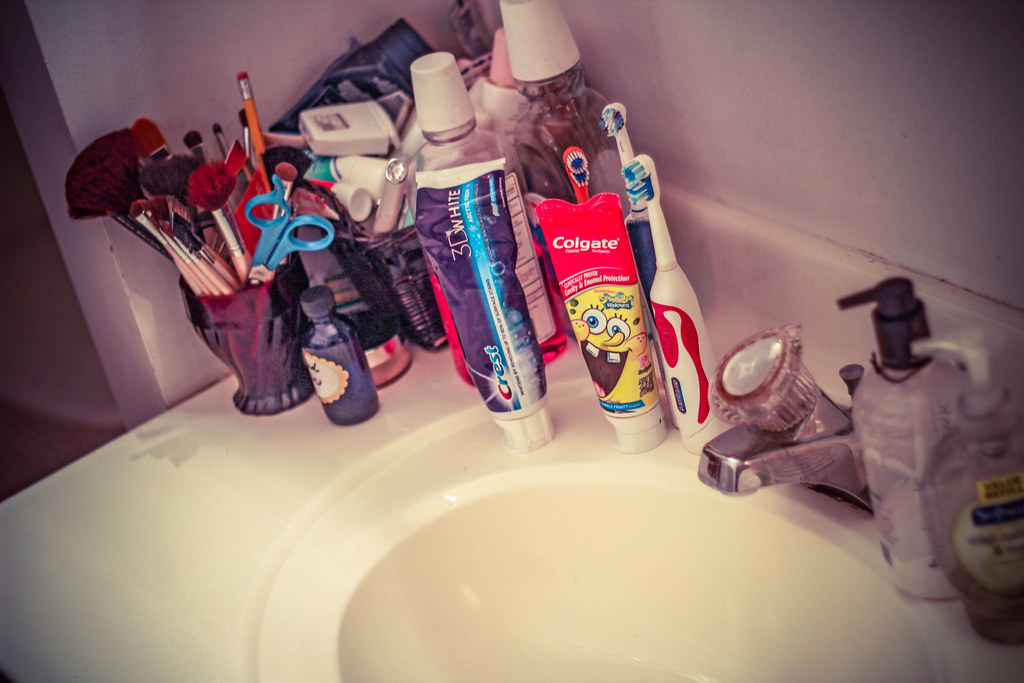
AHHHH! NASTY CLUTTER!!!!

IMG_2283


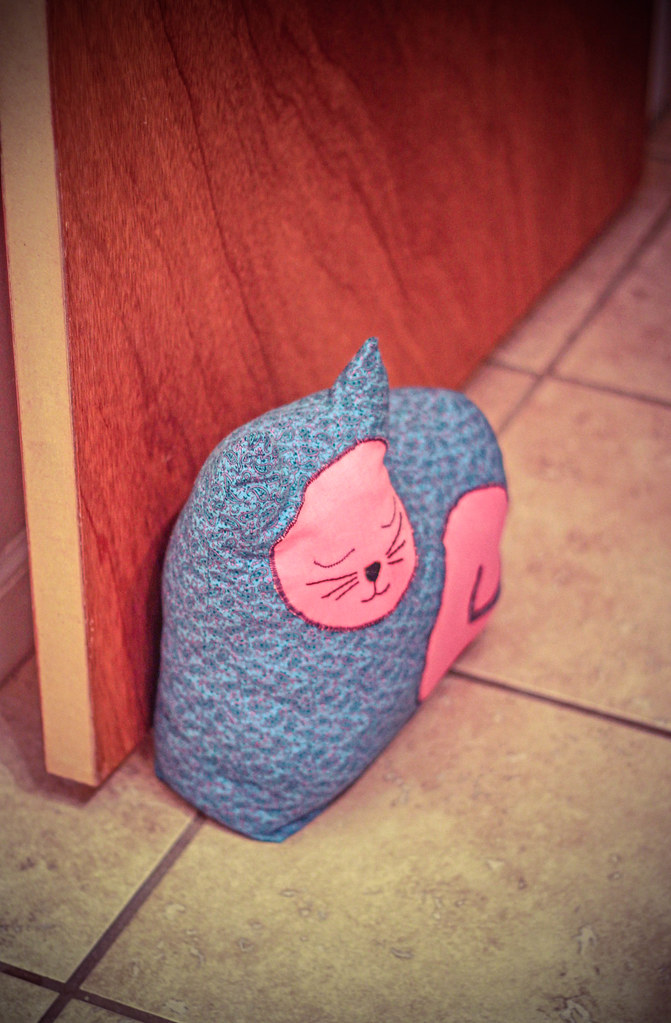
Little brick doorstop kitty. ;) This little gem came home with me after no one purchased it at the Thrift Trick fashion show  in December of 2012, and when the back of the door is loaded with bathrobes, she holds it open. =) I do love my apartment, but the lack of closet space is a big bummer! Therefore, I have many items hanging on hooks, and it gets a little maddening.


We'll see what stays/goes/comes when the makeover is final....

SEE YOU THIS WEEKEND!

Popular Posts