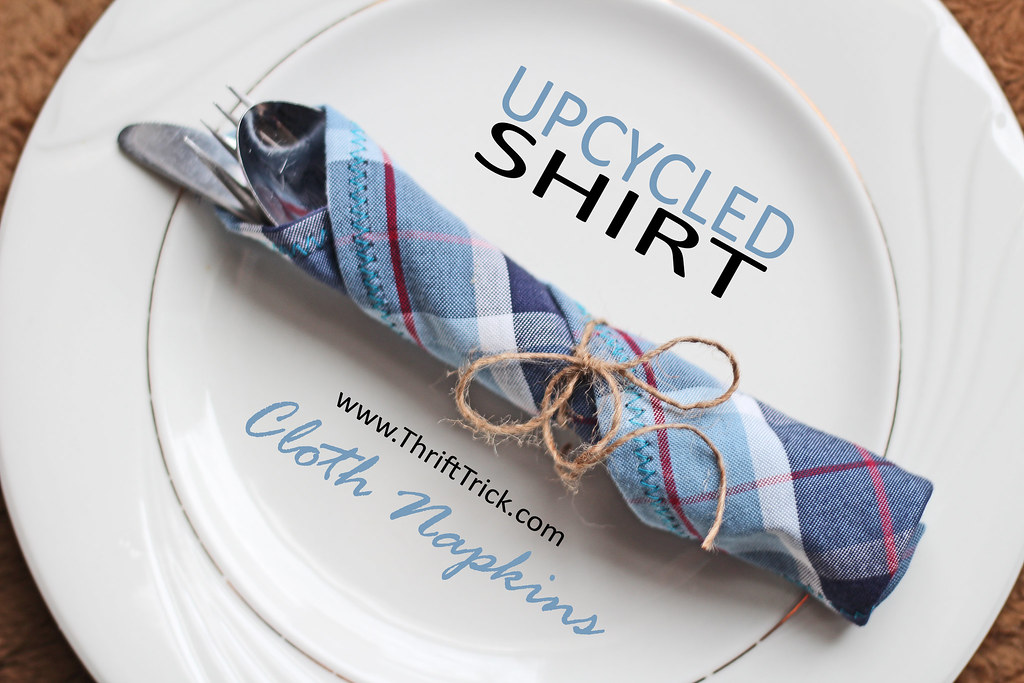
Upcycled Cloth Napkins From a Dress Shirt
and a New Series: "Resolve to Repurpose!"
and a New Series: "Resolve to Repurpose!"
On one hand...goals are good, mmmkay?
But on the other, expectations are the devil.
This year, I've opted to continue the healthy self-care I've had in place for a long time, but that doesn't mean I don't have goals. In fact, I thought 2015 would be a great year to even further increase the ways I can up-cycle used and vintage things in to a new series called "Resolve to Repurpose!"
There are many ways to do this without cluttering your home with toilet paper tubes and old coffee cans, and most importantly, you can do it with thrifted, gifted or free items!
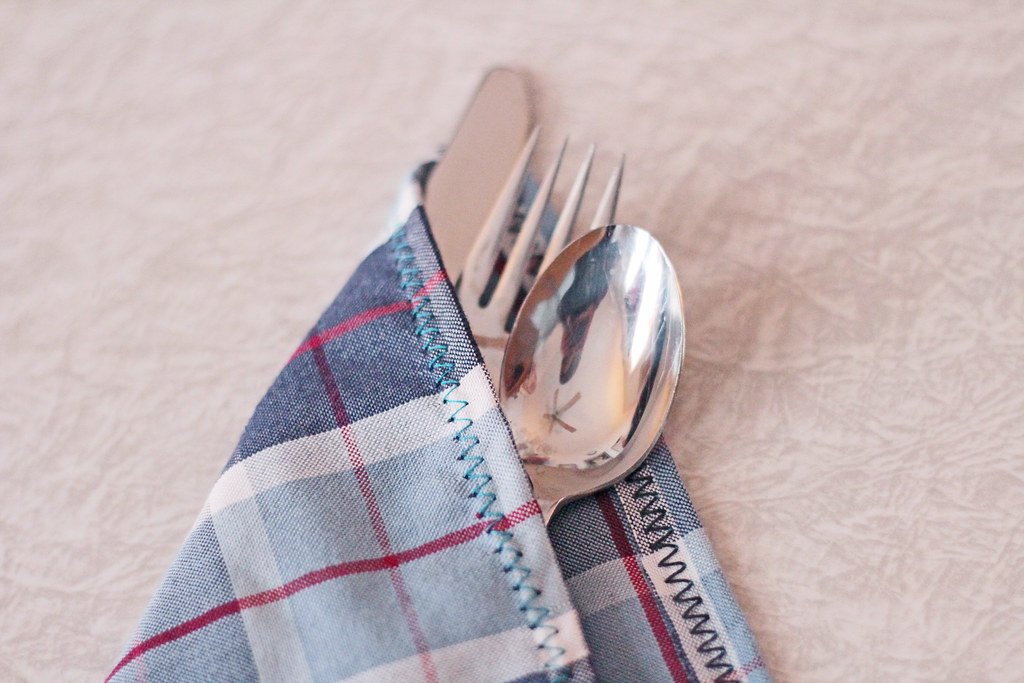
So, without further ado, I present my first craft project of the new year: up-cycled cloth napkins! This project was so much fun and yielded a very useful product. If you have a few old dress shirts laying around then you won't need a thing--otherwise, you could easily pick up a large shirt at a thrift store like Hope's Outlet for around $2. Read the instructions below!
HOW TO DO IT
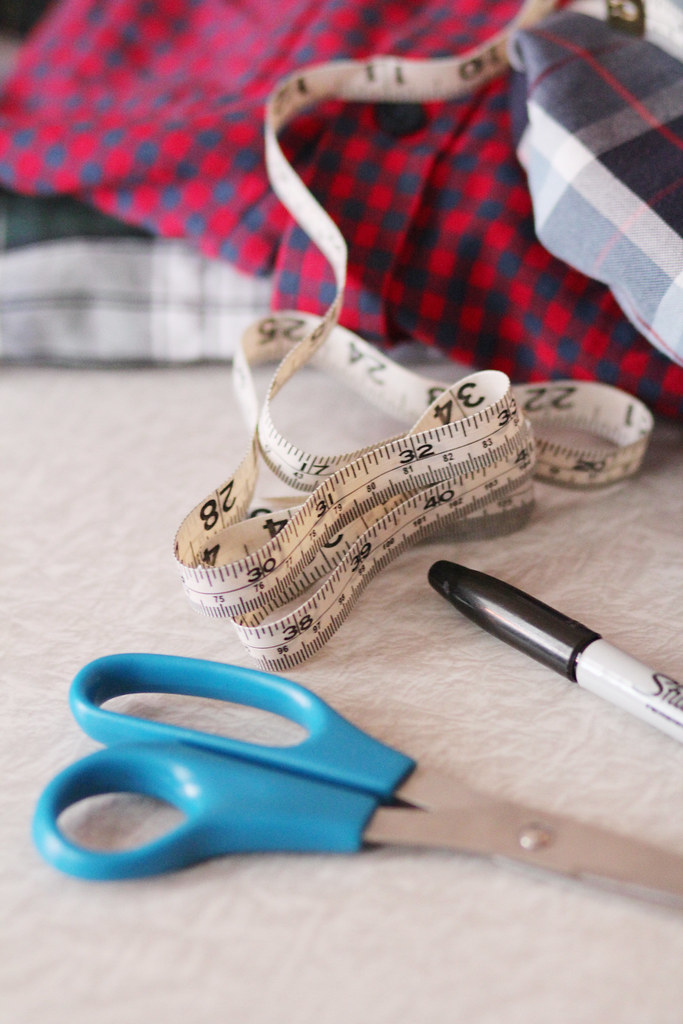
Gather up your materials! You'll need:
-At least one large or extra large dress shirt
(I went with plaid because I love it, but any dress shirt will work nicely!) Each dress shirt of this size will yield about 6 napkins using the measurements I've provided and that is without using the sleeves, which I saved for a future project. ;)
(I went with plaid because I love it, but any dress shirt will work nicely!) Each dress shirt of this size will yield about 6 napkins using the measurements I've provided and that is without using the sleeves, which I saved for a future project. ;)
-Scissors
-Measuring Tape
-Marker
-Sewing machine with zig-zag stitch setting (optional)

MEASURE AND CUT THE FABRIC
Using a soft tape measure, I marked off 11x11 squares wherever I could fit them in! (You could easily do slightly smaller or larger, but I was also leaving a small amount of room for a 1/2" hem on each side).
I was able to cut two squares from each side of the shirt in front, and a grid of four squares on the back.
The next step is optional...
read on to find out why!
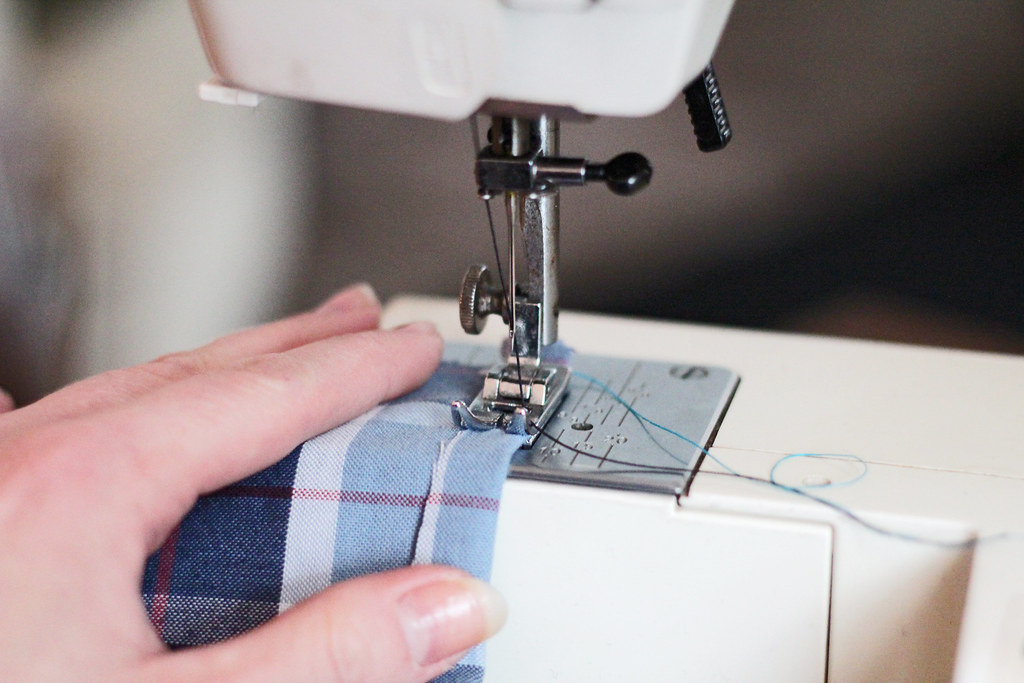
HEM YOUR SQUARES
IF you are particular and precise, you would carefully press the edges of your napkins to make a 1/2 inch zigzag hem on all sides before sewing.
IF you are a un-apologetically lazy seamstress like I am, then you get on your sewing machine and start the party!
IF you are a un-apologetically lazy seamstress like I am, then you get on your sewing machine and start the party!
IF you don't have a sewing machine at all or simply don't want to mess with that aspect of things--good news! You can gently pull out vertical threads and skip this step altogether to create a pretty fringe border. If that's the case, carefully rip out the vertical thread on each side of your napkins with a seam ripper or needle until you see the fringe border you want, in the thickness you like. This is a little time consuming but does work nicely!
Then, get an ice tea and sit back and appreciate what a domestic, up-cycling goddess (or god) you are!
If you're thinking that these would make an excellent gift...how right you are! Trust me, I'm keeping this project on my radar for next year's handmade Christmas giving, because who wouldn't want an adorable setof up-cycled plaid napkins? You could even get fancy and monogram them. More on that next season... ;)
The next step is to enjoy your super cute cloth napkins and relish in the fact that you are helping to reduce consumption of paper products! Cloth napkins feel so much more fancy and they happen to look exceedingly adorable, as well.
STAY TUNED FOR MORE UP-CYCLED PROJECTS!
Follow me on Instagram or explore the hashtag, #ResolveToRepurpose2015.
What can you re-purpose today?
What can you re-purpose today?