visit counter for blogspot

Im getting married--follow along with me! | Be a fan on Facebook! | Follow ThriftTrick on Instagram! | Follow ThriftTrick on Twitter! | Follow ThriftTrick on Pinterest! | Follow ThriftTrick by email! | Take Me Home! | About your gal! | Follow ThriftTrick through email! | Fashion | Thrift
Positive Body Image | On the menu... | On the turntable... | Thrift Store Reviews... | DIYs and Tips


Showing posts with label beauty. Show all posts

Monday, September 29, 2014

I'm Bringing Beauty Back | Re-Writing "All About That Bass"


I'm Bringing Beauty Back | Re-Writing "All About That Bass"

OK. So, I'm late "weighing" in on this one, and I know it.

The thing is, I haven't been able to stop thinking about this song because, well, it's everywhere! On the radio, when I'm out shopping, topping Taylor Swift in the charts! And, unfortunately, stuck in my fiance's head, which completely enraged him and made me laugh.


People obviously like the song, because it's hugely popular at the moment. When it first came out, so many dear friends messaged me to share it with me. It was sweet that they thought of me when they heard it, and the association was well intended. However, upon my first listen all the way through, I was pretty perturbed by the lyrics. I also didn't care so much for the fact that it seemed as if Trainor was "accessorizing" with black people. If you haven't heard the song yet, check it out. The lyrics are seemingly innoccous until you get into the first verse, where Trainor begins to drop little notions that don't exactly resonate well with me. 

As many others before me have noted, the song seems to suggest that women should frame their ideas around their physical worth based on what men like...but then it gets worse. Trainor calls out the "skinny bitches" in a passive-aggressive voice, but recants a moment later when she claims all of us are "perfect".  We know this isn't helping women out there--I mean, it makes sense that we would validate all bodies and shapes. You can't possibly succeed at raising the confidence of a particular set of women by tearing another set down. This is only creating unrest and feelings of inadequacy amongst people who really DO need to embrace their perfection.

Some people claimed that listeners should "just have a sense of humor about it", when folks like me expressed concern. Against all good judgment, I made the mistake of reading the comment section from an article regarding Trainor's recent chart-topping, only to find this comment from Bill, who wrote on 9/11/14 at www.Yahoo.com:

"I think it's fun. It's obvious she's not a bombshell and she knows that. It's obvious that this type of song is an uphill battle for someone like her, and she knows it. So, she put all that aside and made the song anyways just for fun to see what would happen."


Wait, WHAT THE HELL ARE YOU TALKING ABOUT, BILL?

I'm sorry, but why is Meghan Trainor not a bombshell? And how is her song like an uphill battle? Please do explain. Because her entire physical persona is presented for your evaluation. So enlighten us, Bill, on all of the "obvious" shortcomings that she has.

But I digress.

We (women of all shapes) have worked long and hard to appreciate our bodies. We simply can't tear eachother down, and though it may seem that a "thin" girl couldn't possibly be offended by the lyrics to this song (a possible perception of a world thought to be dominated by some sort of elite perfection), we have to consider the message we're sending.

Though there have been so many interesting commentaries on this matter, I thought it might be thought-provoking to simply flip the script. 


Here are selective passages from "All About That Bass", rewritten from the opposing perspective:


Yeah it's pretty clear, I ain't no size fourteen
But I can shake it, shake it like I'm a beauty queen
'Cause I got that perfect shape that all the boys chase
All the right gaps in all the right places


Yeah, my momma she told me don't worry about your size
She says, boys they like little flat tummies to hold at night
You know I won't be no thick-figured, plus size or big and tall,
So, if that's what's you're into
Then go ahead and move along


I'm bringing skinny back
Go ahead and tell them chubby bitches “Hey!”
No, I'm just playing I know you think you're fat,
But I'm here to tell you that,
Every inch of you is perfect from the bottom to the top

AMIRIGHT?

It's pretty clear how upset people would be if these lyrics were in a hit song. Perhaps outraged might be a better explanation! I have a feeling that, deep down inside, the intent for "All About That Bass" was positive. Yet, when a song is so catchy, and really gets gets in to your head, that's even more opportunity for the same message or mantra to be sent, over and over again, to your sub-conscious mind. It becomes a subliminal meditation!

When it comes to messages about self-acceptance, we can only hope that more high-profile artists will begin incorporating lyrics that empower and compliment ALL body types, and more importantly, encourage self-love that goes beyond the reflection in the mirror.

In closing, I've re-written just a small portion of "All About That Bass" with a message that I feel is more important than booty--which, by the way, NEVER LEFT THE BUILDING (so we didn't need to bring it back).


ALL ABOUT THAT BASS 
(Re-written Thrift Trick Style):

I'm bringing beauty back

Of all varieties and cultures that

Women belong to--we’ll define it as

Your soul and spirit. 

Every inch of you is perfect from the bottom to the top!

Monday, September 8, 2014

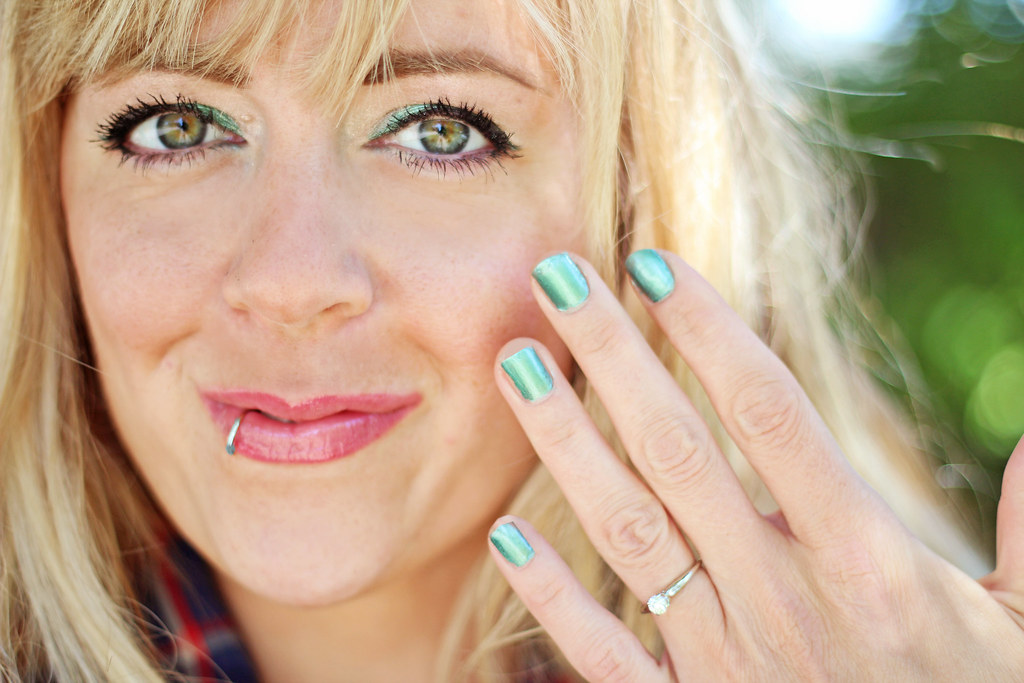
Makeup Review: Younique Moodstruck Minerals Pigment Powder (and eyeshadow tutorial)!

IMG_9985

Makeup Review: Younique Moodstruck Minerals Pigment Powder 
(and eyeshadow tutorial)!

I had an awesome experience reviewing Younique's Moodstruck 3D Fiber lash masara, so I jumped at the chance recently to review another interesting product: Moodstruck Minerals Pigment Powder.

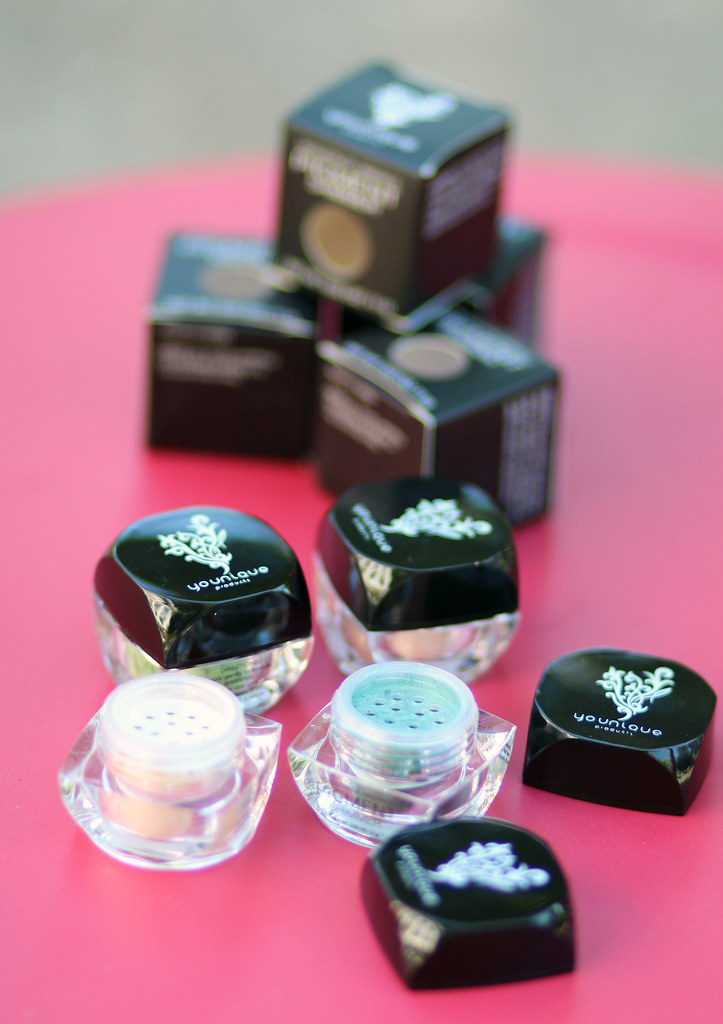
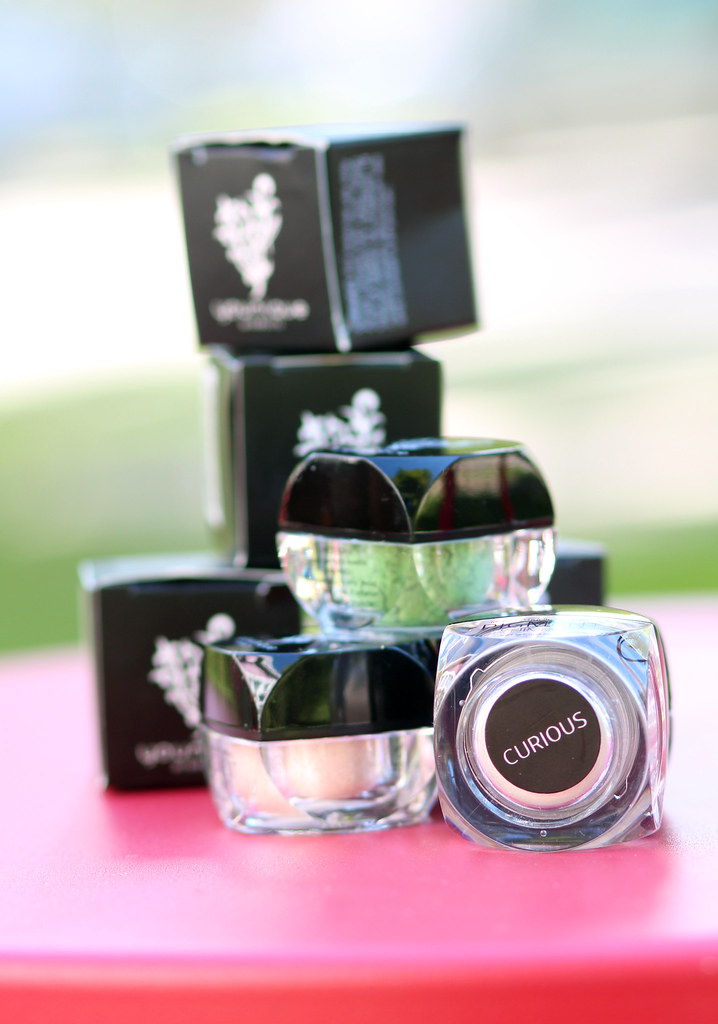
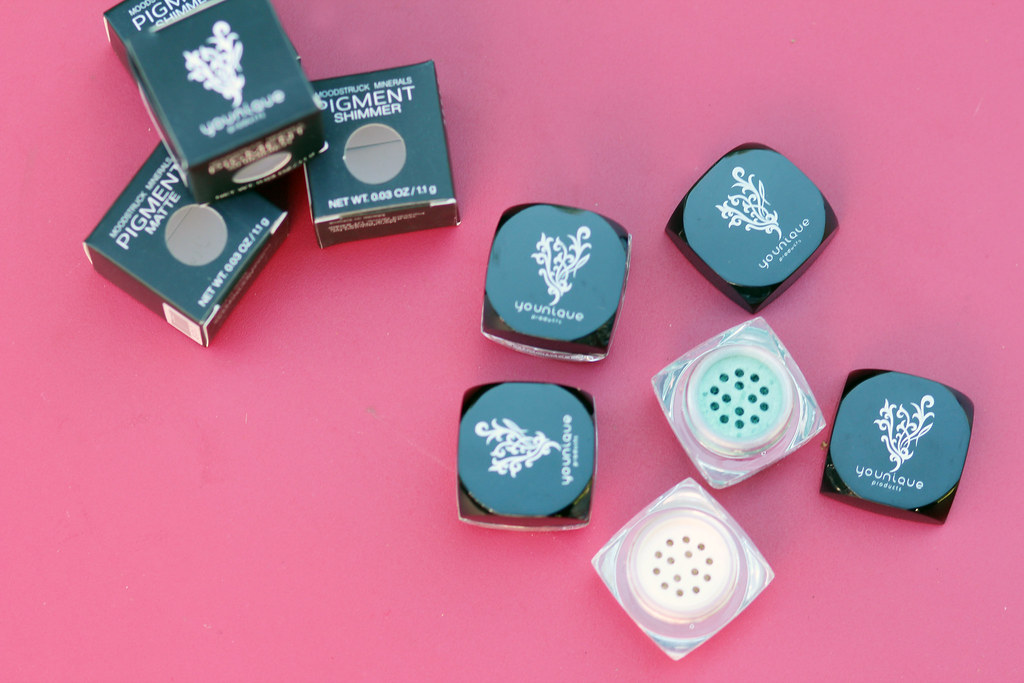
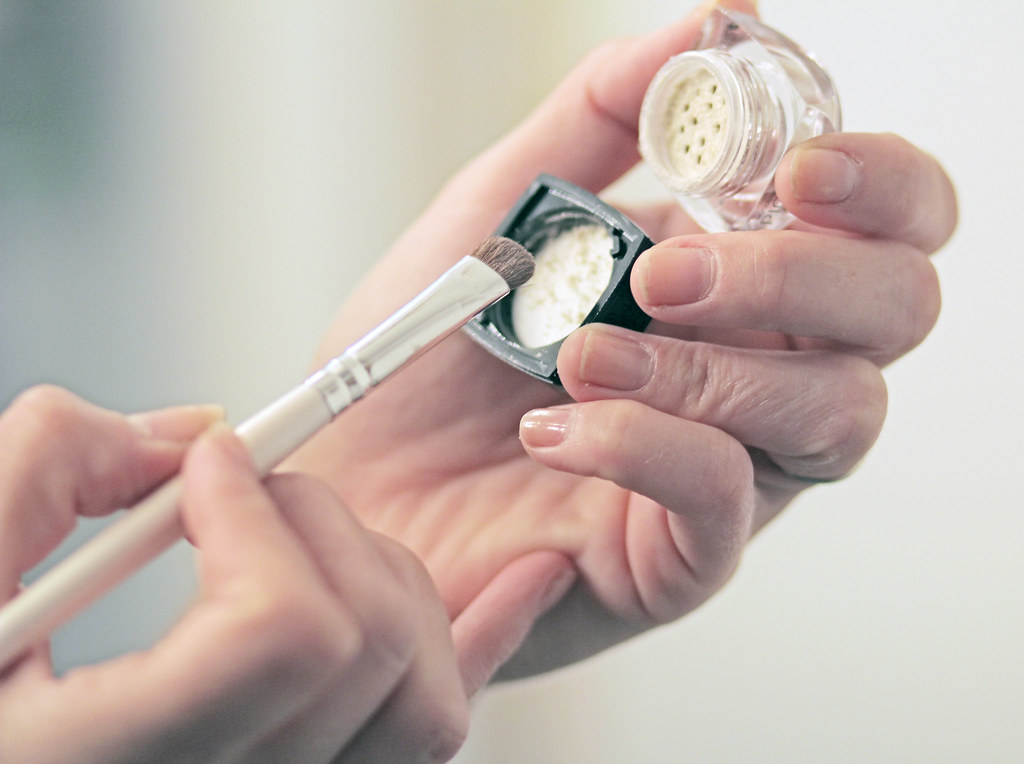
These high pigment powders interested me for a few reasons. First of all, they have all kinds of fun names rather than hues; "Playful", "Heartbroken" and "Corrupted", to name a few! I was able to choose four colors for my review, and I chose the following shades (shown in the same order below as pictured by photos on the website): Famous, Sexy, Curious and Dignified. They are $10 each. Shop for the pigments here!

Are you 'moodstruck' yet?    Are you 'moodstruck' yet?    Are you 'moodstruck' yet?     Are you 'moodstruck' yet?


Cool facts about the pigments: They are 100% natural, chemical-free, mineral-based pigment powders, free of talc, oils, preservatives, perfumes, synthetic dyes, and parabens! (And you can mix them with anything...and that's where the fun starts).


IMG_9958


IMG_9945

IMG_9954


Here's what I noticed right away:

--The pigments arrived in handy little pots with locking systems.

--The colors really ARE high pigment; a little shake goes a very long way. 

--The colors blend smoothly with other products (lotions, water, mascaras). PERFECT for ladies who want to create their own makeup shades, tinted moisturizers, temporary hair streaks, tinted nail polish, tinted lip gloss, eyeshadows and eyeliners...the list GOES ON!

--I love the coverage and application of the colors. They lasted a long time and I still can't believe how far a little bit stretched (even when added to nail polish!)

IMG_9986


MOODSTRUCK MINERALS PIGMENT POWDER EYESHADOW TUTORIAL

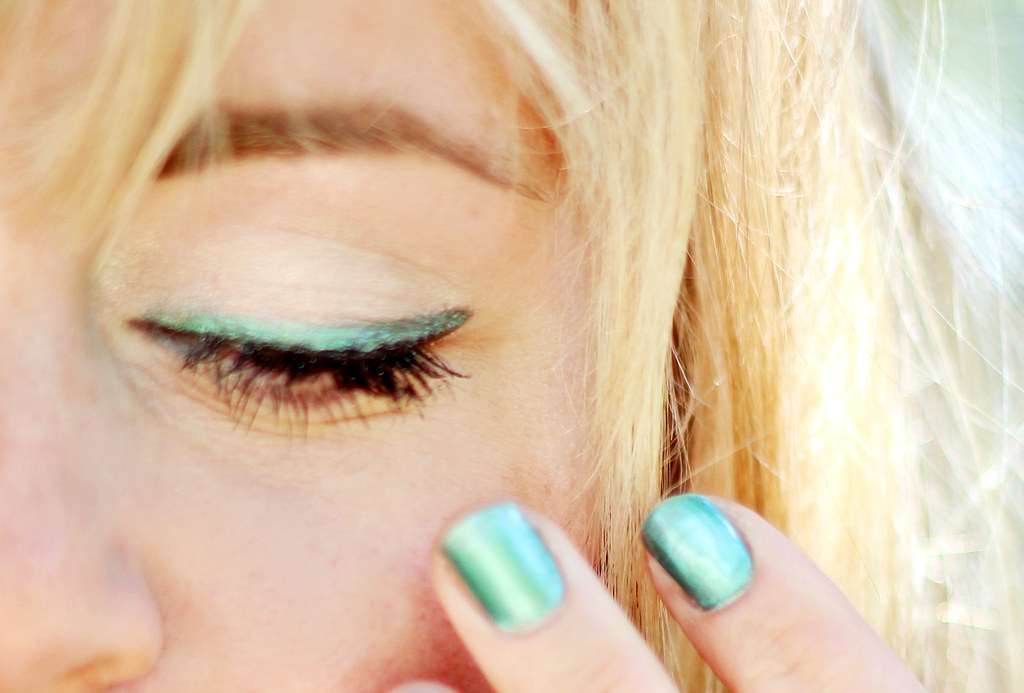
Once my other makeup was done and my eyelids were primed and powdered, I took the following steps to acheive the look above!

IMG_9964

1.) I applied a sheer layer of "Curious" pigment over my entire eyelid, using a large, flat, eyeshadow shading brush, including the inner corners of my eye. 

IMG_9968


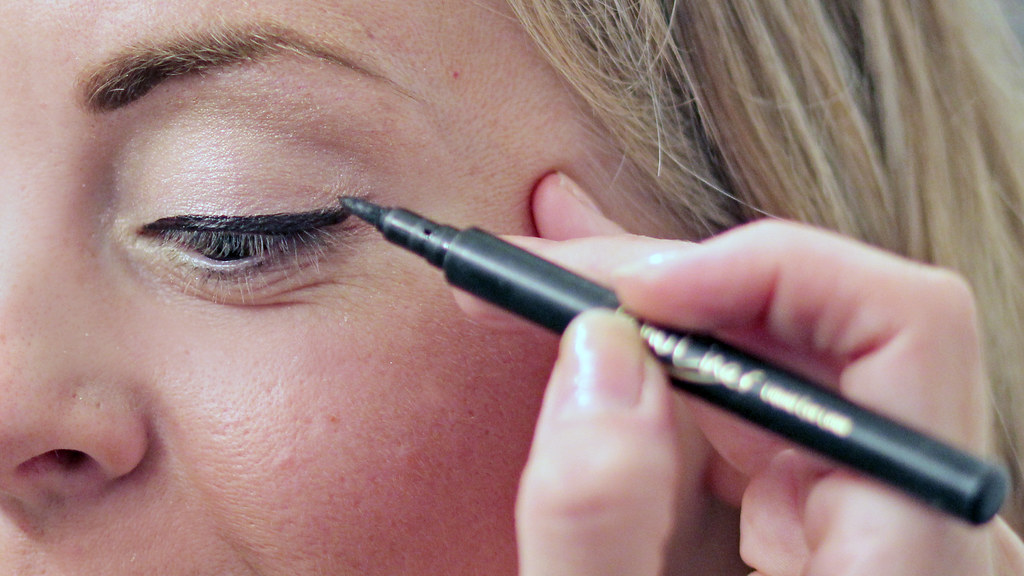
2.) lined my eyes with black eyeliner to provide a solid line and dark focal point for the bright liner (which I mixed myself) to compliment.


IMG_9971

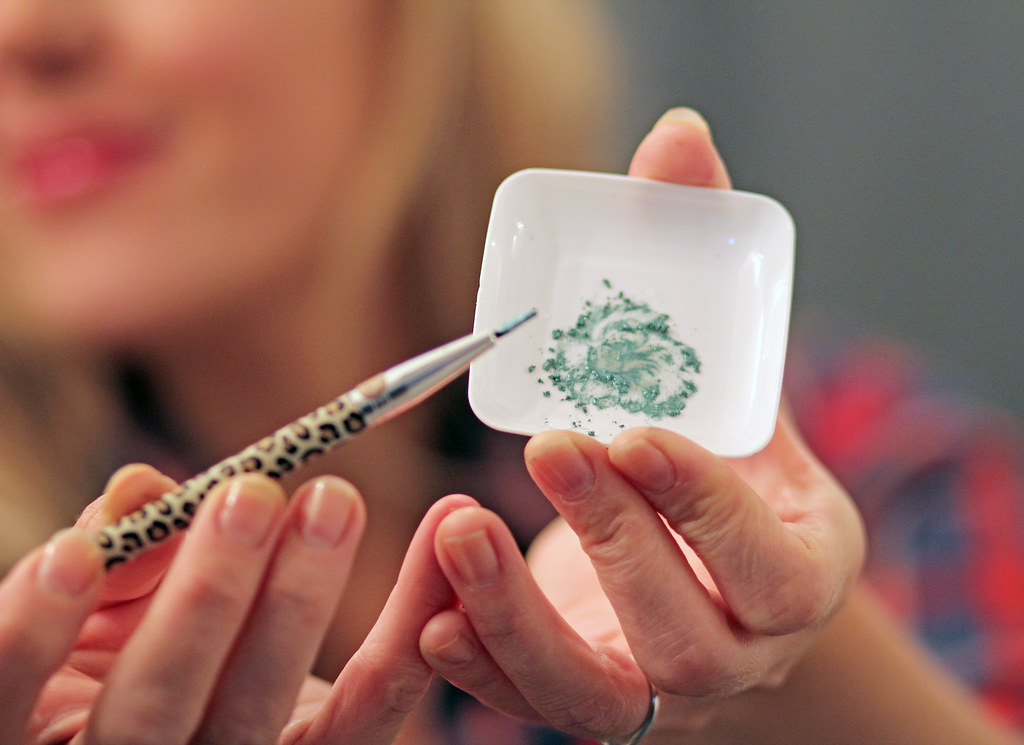
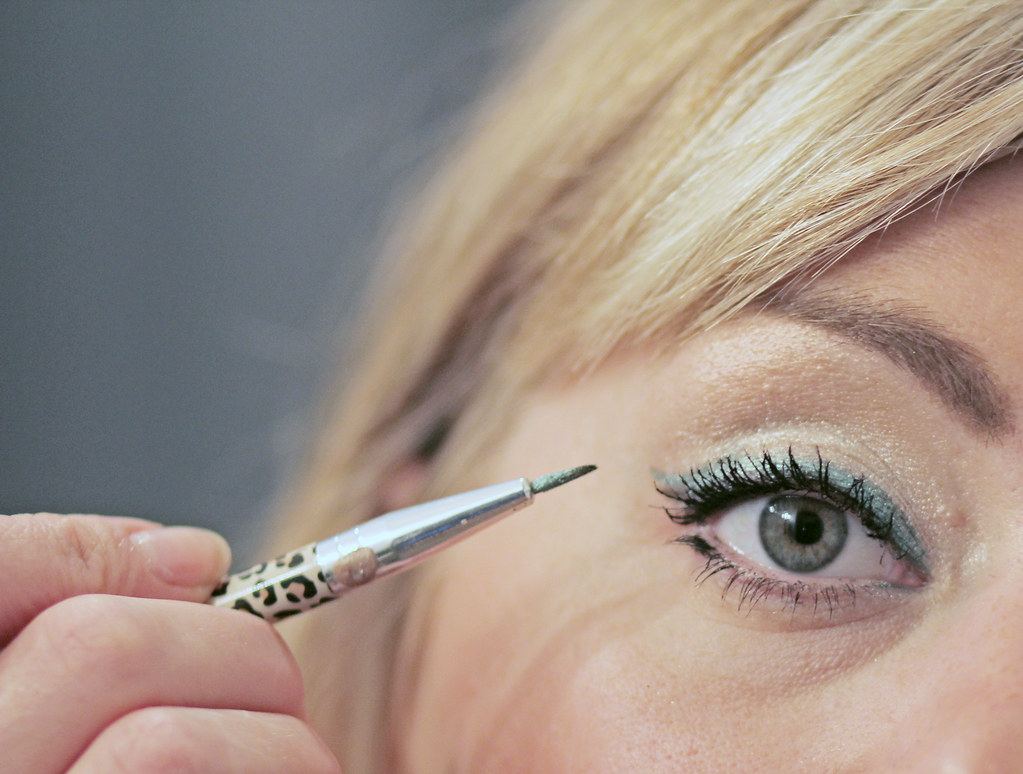
3.) Using just a couple shakes of "Dignified" on to a small mixing tray, I added a few drops of water, and blended with a thin lining brush. An eyeliner brush, small angled brush or even another eyeliner tool from a pot (cleaned, of course) would work well for this job!

IMG_9973

4.) Following the black eyeliner as a guide, I painted a parallel line over each eye using the "Dignified" eyeliner paste. The pigment was actually quite pronounced with just one line, but I allowed it to dry and painted a second for extra coverage. Be patient waiting for the pigment paste to dry. I then followed up my normal mascara with a layer of Younique 3D Fiber Lash mascara!


The coolest finshing touch?

After my makeup was done, I decided to add a few shakes of the same pigment to a small mixing tray with about 5-6 drops of top coat nail polish, and I matched my exact nail shade to my eyeliner! I was shocked at how well a few sprinkles of pigment covered my nails when mixed with the polish. I could have easily done one coat--the color was totally rich! I loved having nails that matched my eyeliner so well.

OVERALL IMPRESSION: Each pigment pot might cost a little more than individual eyeshadows at the drug store, but the color goes a long way. For me, a definite selling point is the natural, paraben free state of the pigment, as well. It's nice to know that a product that you can add to your other products doesn't contain any harmful chemicals, fragrance or even talc! Not only are the colors safe, but they lasted all night as I rode bikes in the warm sun, without melting away or smudging. I'm sold on these products and I would definitely recommend them!


Tuesday, July 16, 2013

Pretty Summer Hair Tutorial: Thrift Trick Guerrilla Style

9293945817_03b59469b6_c

Pretty Summer Hair Tutorial: Thrift Trick Guerrilla Style

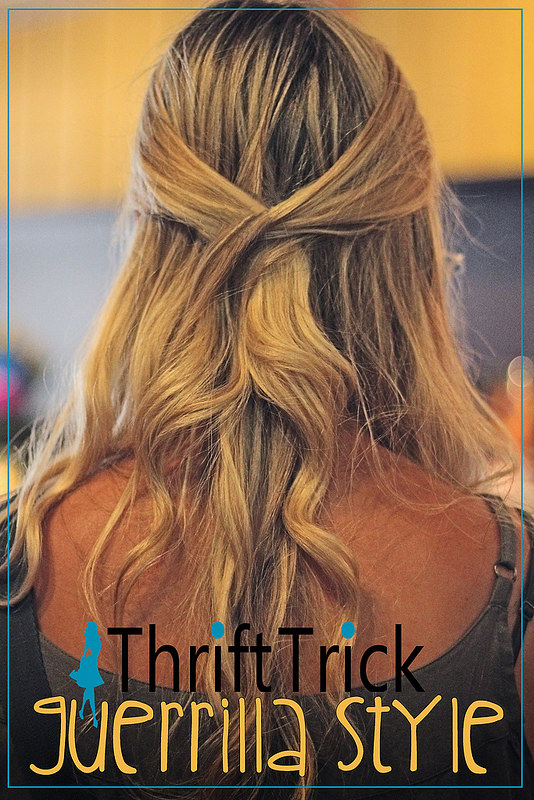
While I was out and about in Grand Haven, Michigan yesterday at Jumpin' Java Coffee House, I spotted this cute, summery hairstyle on the young lady in front of me! I wanted to share it with readers as an idea/reminder for a quick long hair style. I especially like the way this style uses smaller strands and is simply held with a bobby pin. No tight feeling at the back of your head or crimp marks when you "let your hair down" at the beach later! :)

Here's how to achieve it for medium to long length hair:

What you'll need:   

  • Tangle free, dry hair sprayed with any favorite products (heat treat, etc.)
  • A medium to large curling iron 
  • 2-3 bobby pins in whatever size holds your hair best/matches your hair color
  • Optional: any special added decoration you'd like (flower to pin, decorative bobby pin, or even a single clip on earring!)
1. Part your hair however you prefer (down the middle, to the side, etc.)

2Pull hair into large sections (1 1/2 to 2 inch), and with a medium to large barreled curling iron, barrel wrap hair loosely at the end. Don't know how to do that? No problem! Here's a Youtube tutorial for you to watch:

 (*Note: for the above look, you'll want to wrap the hair lower on the strand, unless you like the look of a tighter curl. Part of my appeal for the above look are the relaxed, beachy waves you see in the picture.)


3. Take a 3 inch section of hair from either side of your crown in front (not too thick--hair should rest lightly and fall above ears) and secure at the back of head in a criss-cross pattern. Bobby pin sections underneath and to hide the pins, allow some of the top strands of hair to be partially loose at the very top of where the hair is pinned together. It will fall a little over the bobby pin but won't separate entirely from its section.

4. Add some flair...Try pinning a flower to the center where sections meet, or get "thriftspired" and secure a sole vintage clip on--perhaps a rhinestone or large costume piece!

Voila! Pulled together yet relaxed and summery...

Keep following along with me this summer for more Thrift Trick Guerrilla Style! 

Check out my Instagram and Facebook page and search for posts labeled with the hashtag #ThriftTrickGuerrillaStyle to see my posts all together!

Thursday, June 27, 2013

Pinterest Hair Challenge #3: Triple pinned braids!


HAPPY THURSDAY! It's time for my "Pinterest Weekly Hair Challenge"! As you might already know, I've been posting hairstyles inspired by tutorials and pictures from Pinterest. Each week, I've posted the original inspiration pin here for you to follow along with! You can follow my entire hairstyle board, "Hair Pretties", on Pinterest, or find my entire profile @Channystar! What's the point? Just to try something new and be honest about awesome successes and epic fails when it comes to Pinterest tutorials. Follow along with me!

This week's first pic is something I'm dubbing "Triple Pinned Braids". Quite easy: create three  braids at the nape of your neck, spread out to the sides and middle. Secure braids at the beginning and end with elastics. Once braids are finished, roll into buns and secure near the nape of the neck with bobbypins!

This look took me about ten minutes to complete.  I used about twenty bobby pins, because I can't STAND it when my hairstyle feels like it will fall out!  Because my hair is a little longer than the model shown, my braids were a little tighter looking, which I didn't mind.

Once sprayed, this hairstyle held very well.  I'd say it was very easy to create, and makes a pretty summer look for the office or maybe with a cute sundress!

Check out the original pin below and don't forget to follow along. Post your hair pictures on the Thrift Trick facebook page or tweet your images @ThriftTrick!

OVERALL TIP:  I would suggest braiding your hair as far to the ends as you can, because it creates less spiky ends "poking out" from the pinned buns once you are ready to pin them up.


                            THE ORIGINAL PIN: What do you think? Hit or Miss?


Pretty updo.

Tuesday, June 18, 2013

Pinterest Hair Challenge: Hairstyle #2 (Mermaid Braid)


HEY EVERYBODY! I'm back again for my "Pinterest Weekly Hair Challenge"! As mentioned before, each week I'll be posting two new hairstyles inspired by tutorials and pictures from Pinterest. I'll be sure to post the original inspiration pin here for you to follow along with! You can follow my entire hairstyle board, "Hair Pretties", on Pinterest, or find my entire profile @Channystar! What's the point? Just to try something new and be honest about awesome successes and epic fails when it comes to Pinterest tutorials. Follow along with me!

This week's second pic was a "Mermaid Braid". Pretty simple: create two dutch style braids to the side and simply "pin" the middles together with bobbypins! I used three small elastics and about 6 or 7 bobby pins for this look. My one complaint was that it was hard for me to hide the bobby pins. I did, however, get compliments on this braid today, and I was impressed with how well it actually stayed in! Check out the original pin below and don't forget to follow along. Post your hair pictures on the Thrift Trick facebook page or tweet your images @ThriftTrick!

OVERALL TIP: I think to really achieve a nice looking, wider "mermaid style" braid IF you have long hair like me, you might want to try doing THREE braids together. This is how I will do it next time!


                            THE ORIGINAL PIN: What do you think? Hit or Miss?


Popular Posts