visit counter for blogspot

Im getting married--follow along with me! | Be a fan on Facebook! | Follow ThriftTrick on Instagram! | Follow ThriftTrick on Twitter! | Follow ThriftTrick on Pinterest! | Follow ThriftTrick by email! | Take Me Home! | About your gal! | Follow ThriftTrick through email! | Fashion | Thrift
Positive Body Image | On the menu... | On the turntable... | Thrift Store Reviews... | DIYs and Tips


Thursday, November 21, 2013

Serving Up the Holidays on a Dime: Candle Giveaway!


IMG_0609


SERVING UP THE HOLIDAYS ON A DIME
Part one of a holiday series featuring Lakeshore Rescue Mission Thrift!

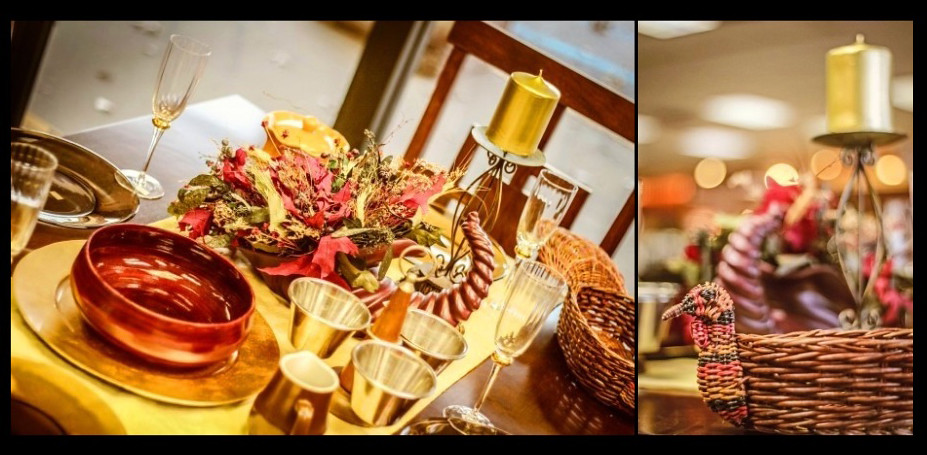
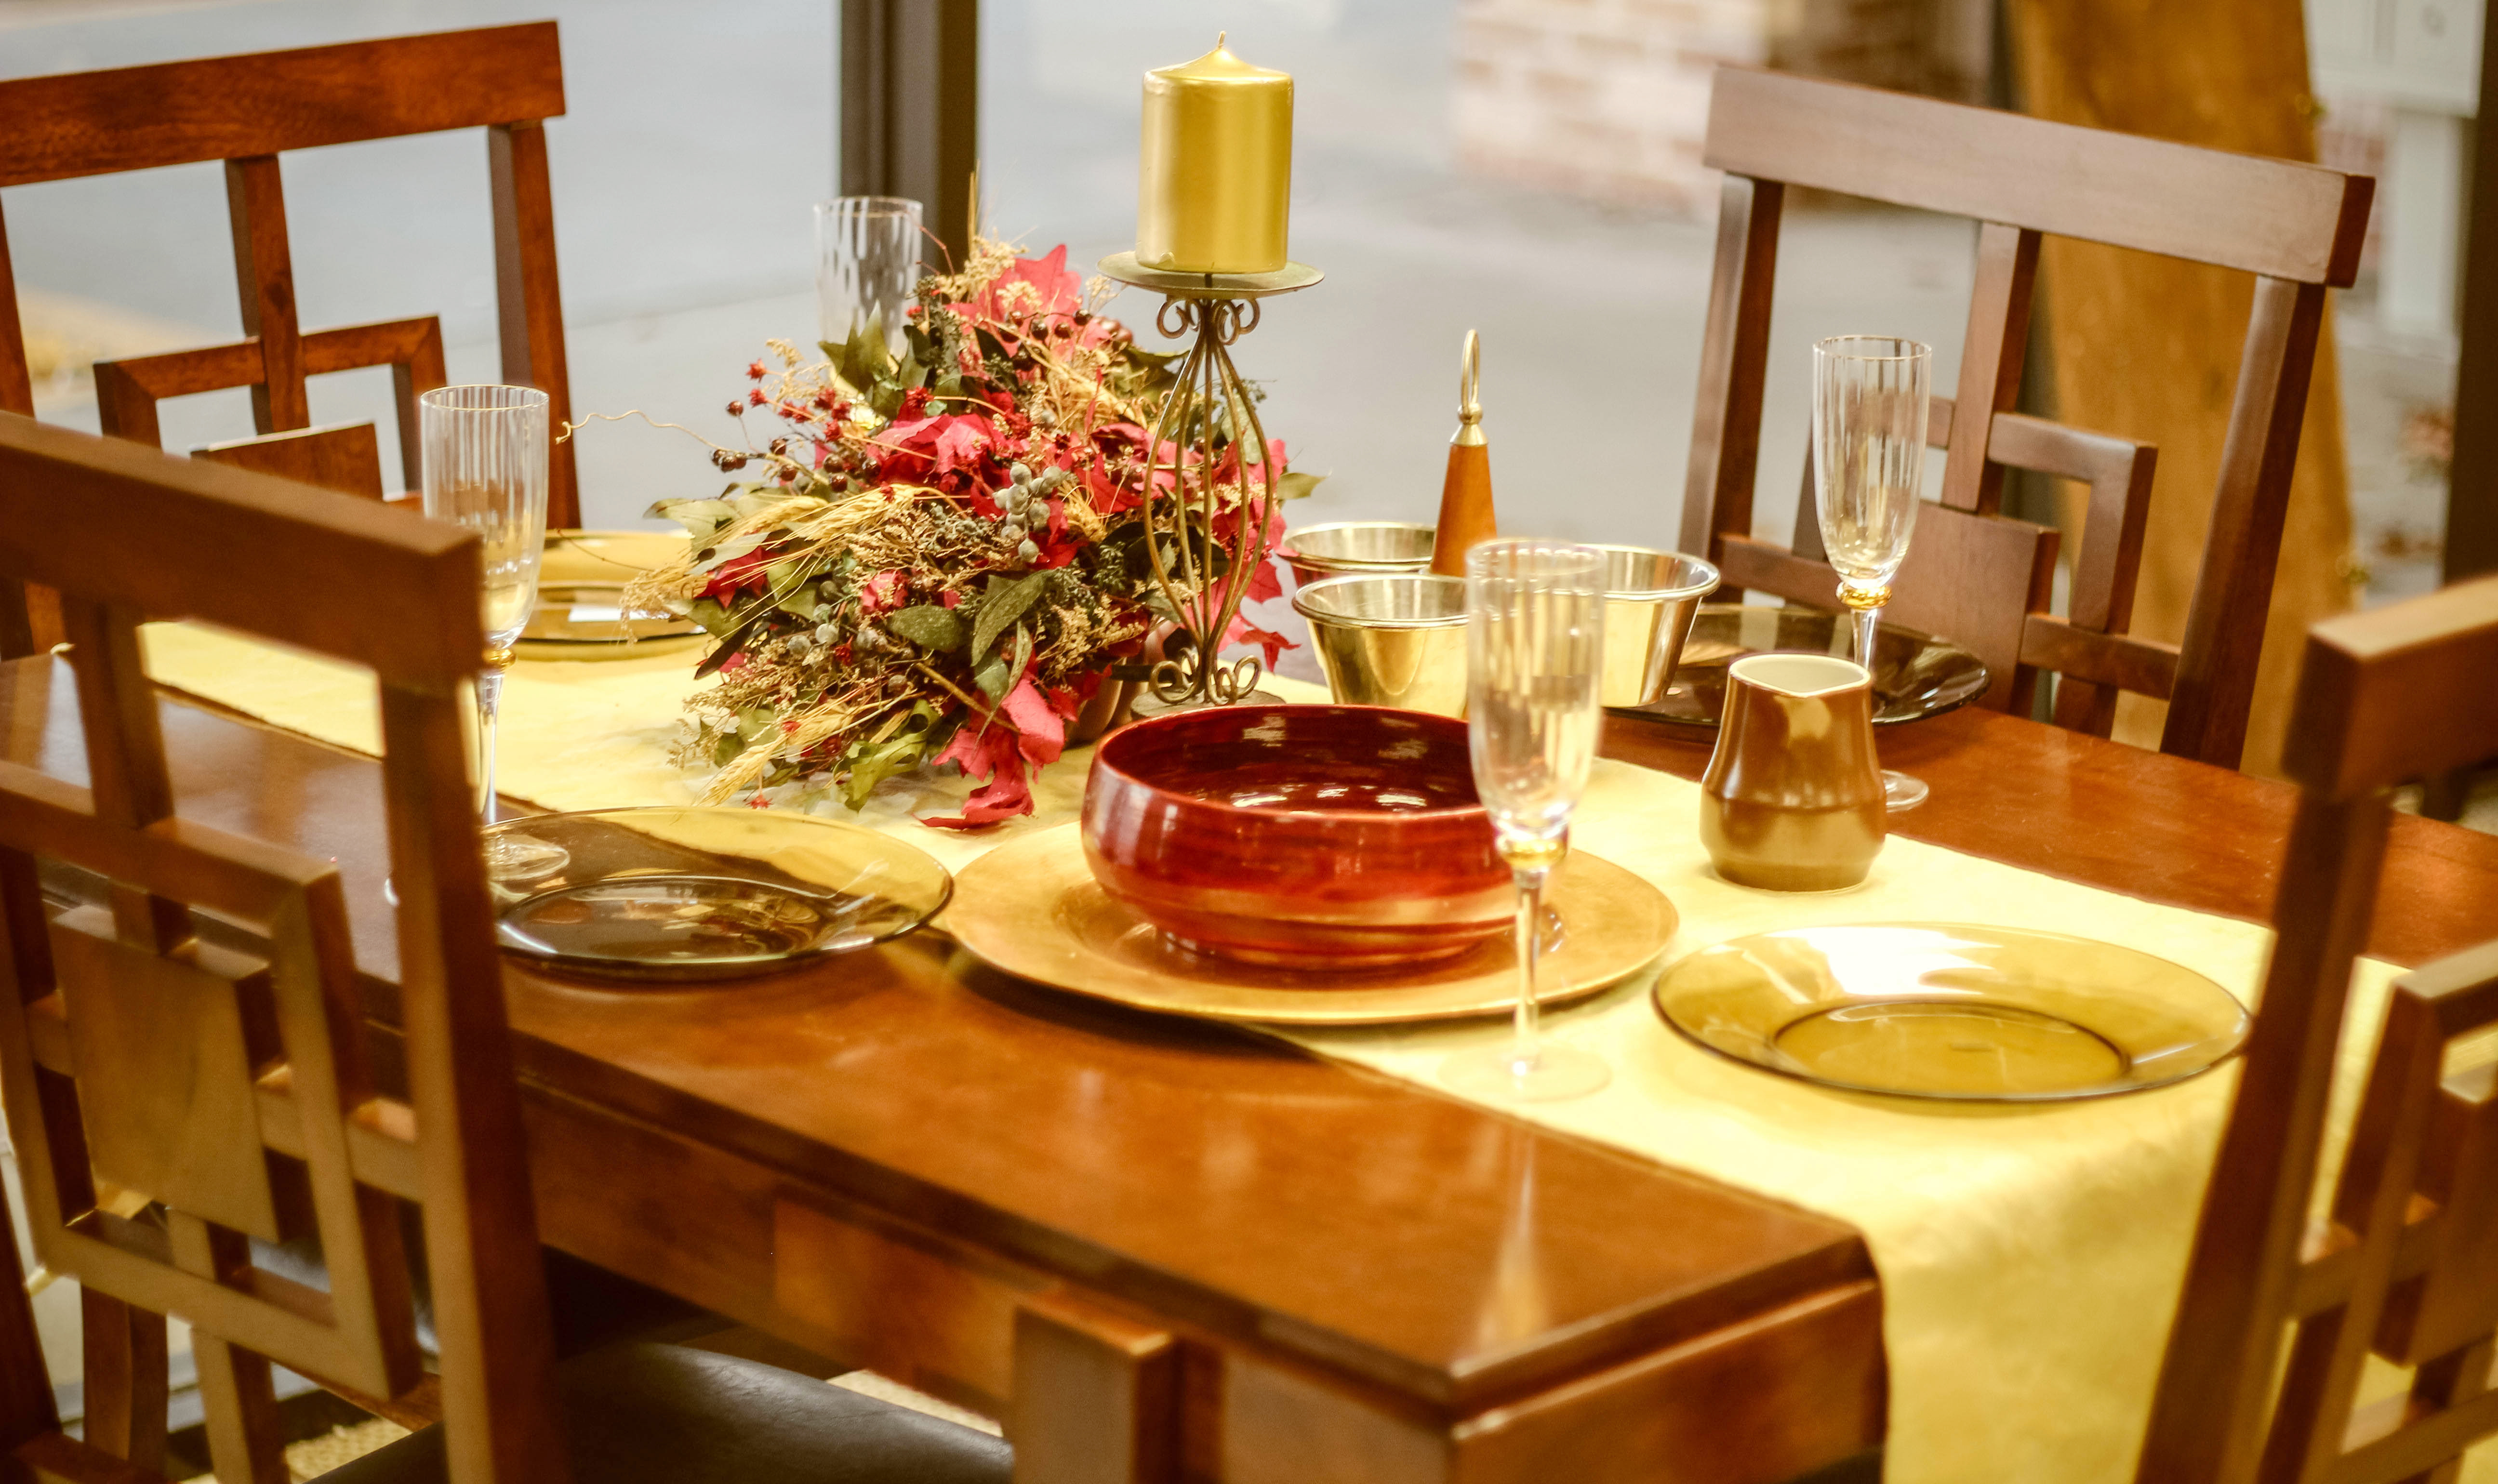
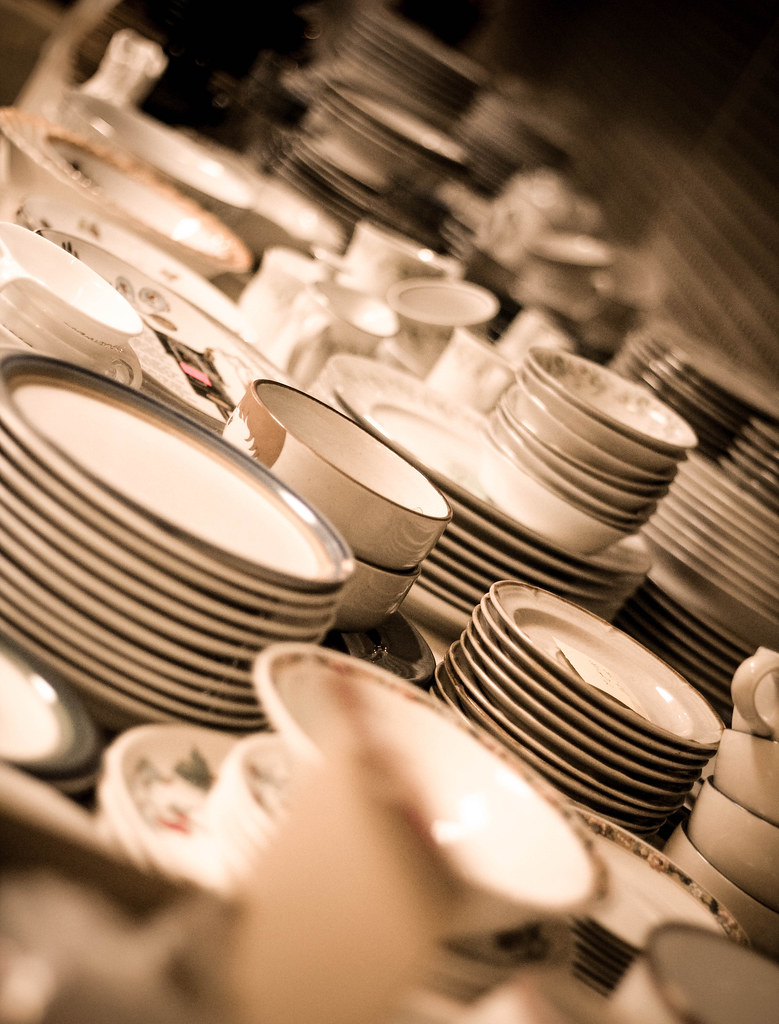
Would you believe that the place setting above is entirely secondhand and thrifted for about 11 dollars? Well, it is! The table, also for sale at the thrift store, is one of many pieces of discounted new furniture that you can purchase at Lakeshore Rescue Mission Thrift in Grand Haven. I put together this spread in moments with items I collected around the store, and you can do it, too! I honestly can not justify ONE reason to buy new holiday decor when you have so many wonderful, inexpensive options at your fingertips secondhand!

If you look closely in the picture, you'll notice a gold pillar candle that is part of the free giveaway in this blog! Details below!


Collage (1)

IMG_0617

IMG_0594


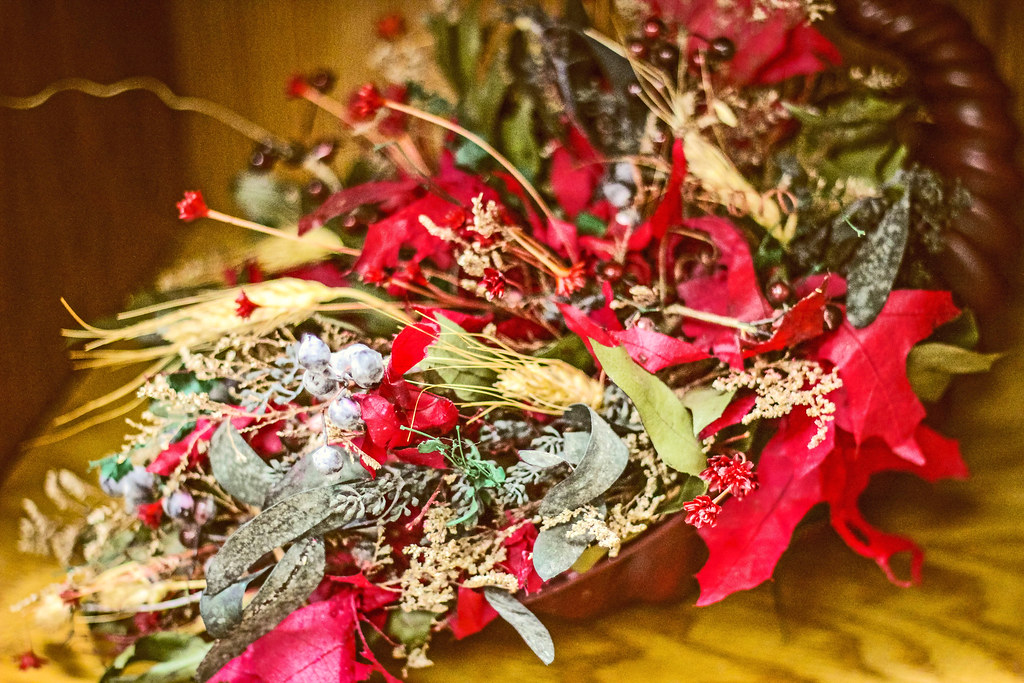
As you can see, I was inspired by golds, cranberries and browns for my Thanksgiving place settings. However, there are so many great color schemes and ideas to be inspired by! You can recreate any look you like using thrifted items. Check out the Pinterest board I've created for more ideas:


Table Settings Ideas to Thrift on Pinterest by Thrift Trick


Collage (2)


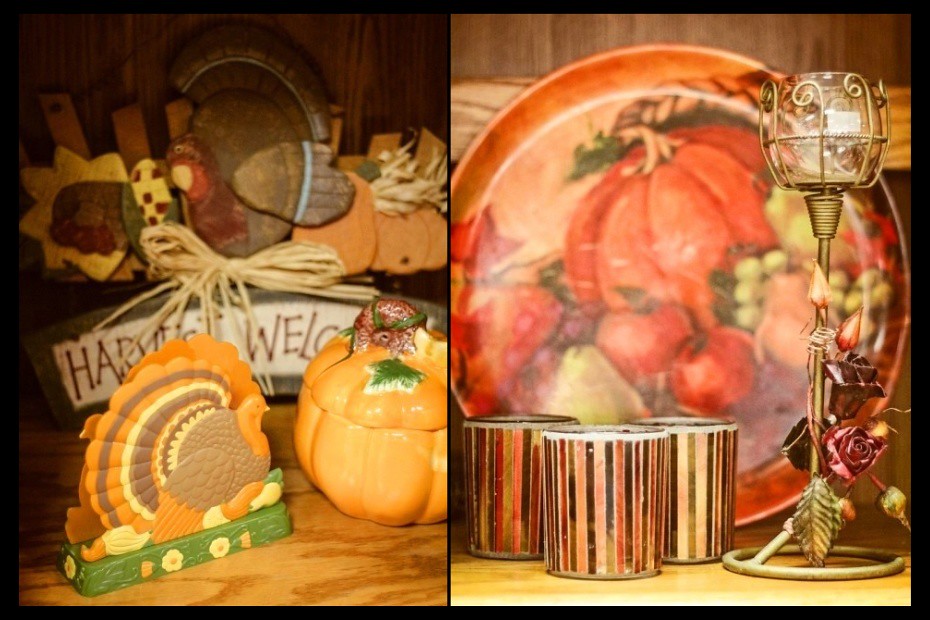
These fun decorations were hanging out on the shelves, as well! :)


IMG_0630

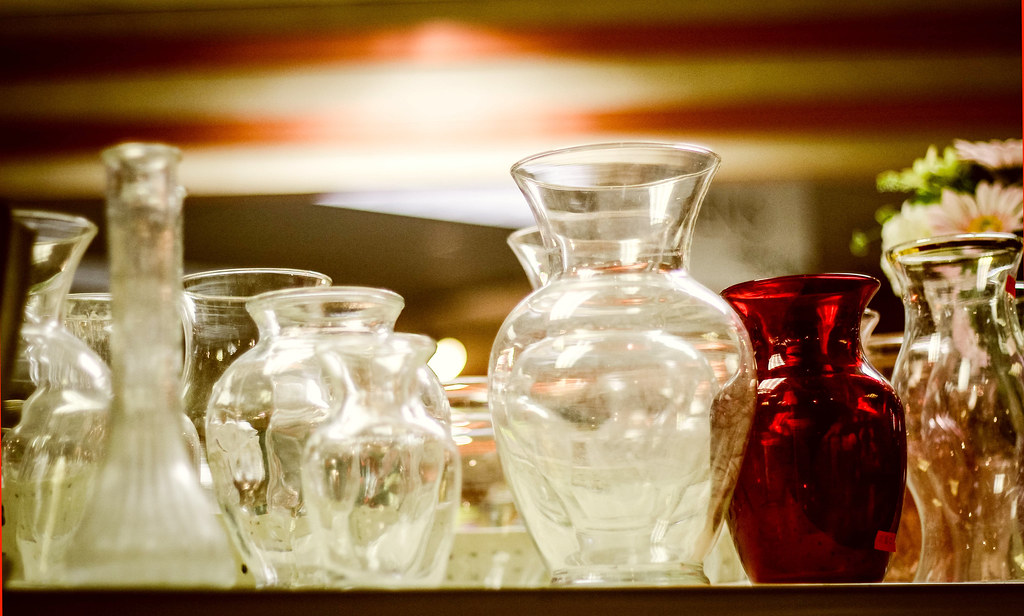
Virtually any glassware you could hope to find or use for a center piece or serving can be found on the shelves at Lakeshore Rescue Mission Thrift.

IMG_0632


IMG_0595

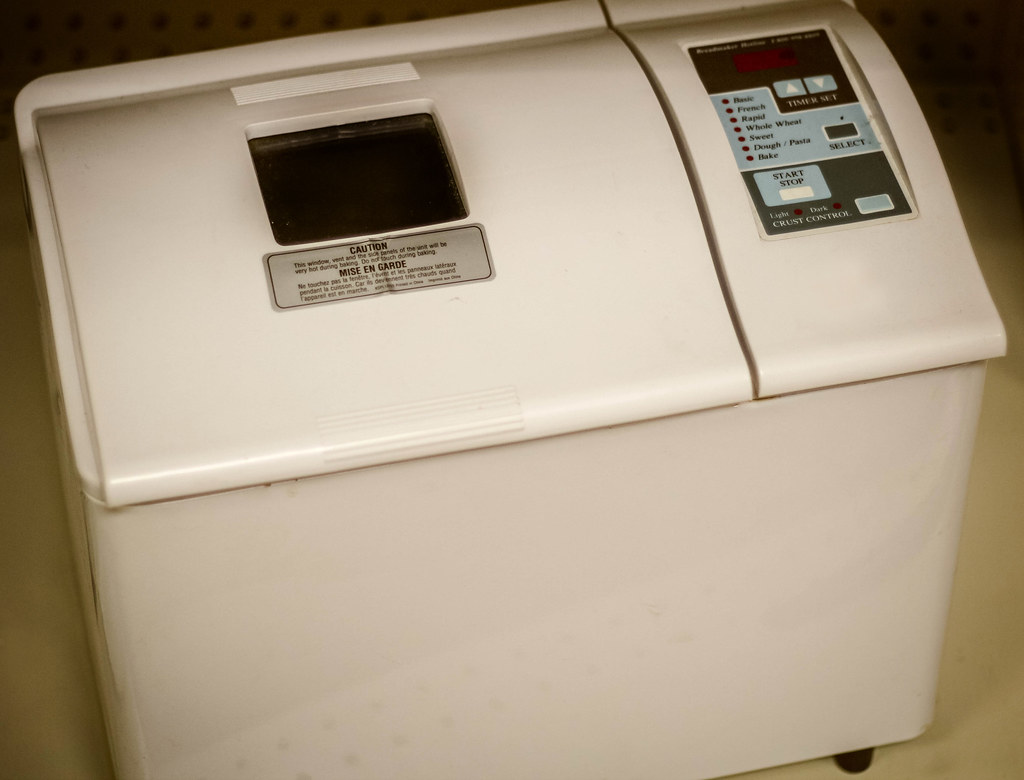
Will you be baking some home made bread for the holidays? Make it super easy with one of the many bread machines you can find in great shape!

What about non-traditional meal ideas? Have you considered doing something different for your holiday meal? How about:

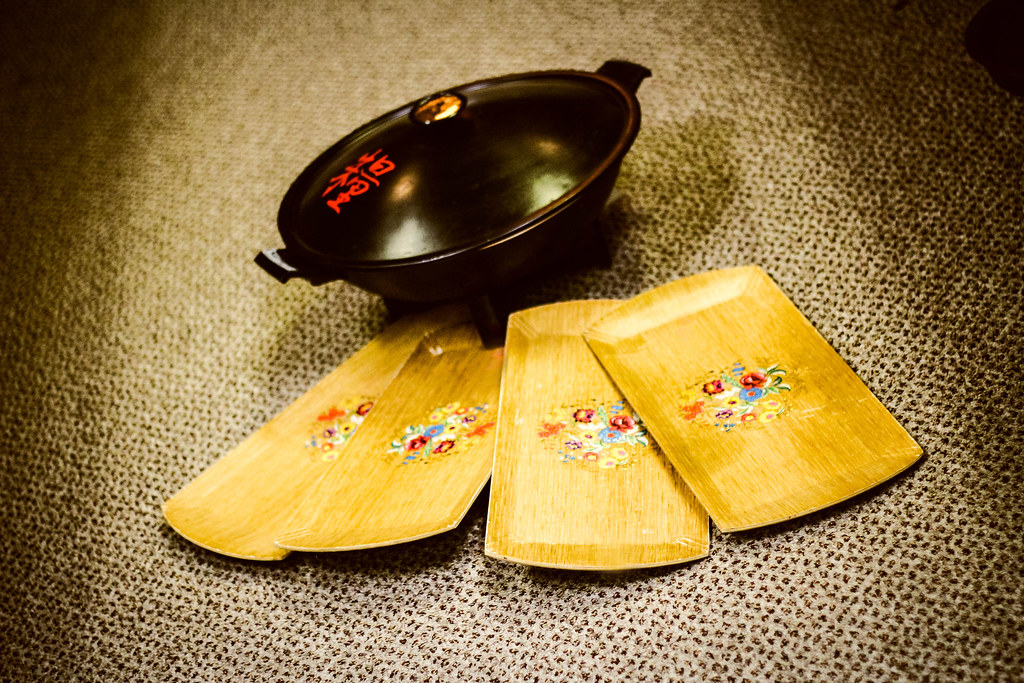
Asian Cuisine: I found these items on the shelves at Lakeshore Rescue Mission Thrift on the cheap!

IMG_0634

Check out these ideas for Asian cuisine for your Thanksgiving meal:

15 Asian-American Thanksgiving Dishes

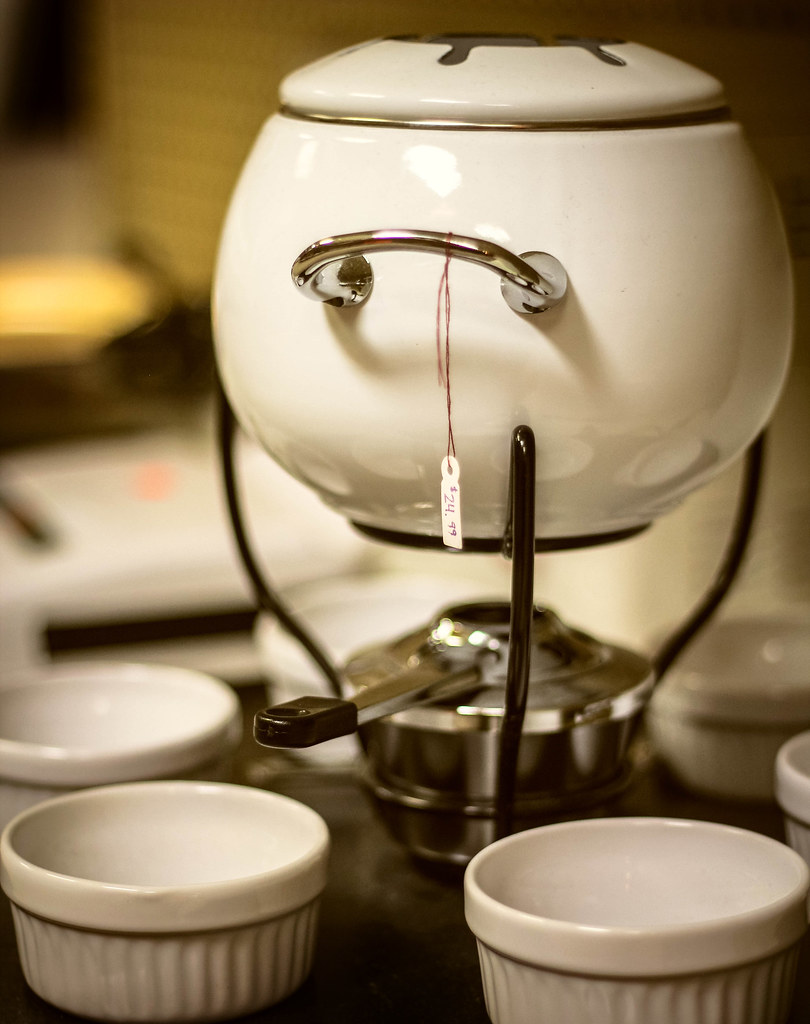
Fondue: Also on the shelves was this adorable Fondue set!

IMG_0596

Check out these ideas for a fondue Thanksgiving!

Yummy Fondue Ideas from the Modcloth blog
Cheddar and Hard Cider Fondue Dip Recipe

___________________________________


The answer is EASY.

Lakeshore Rescue Mission Thrift store is a non-profit funding source for Holland Rescue Misson. Holland Rescue Mission offers many services to homeless men, women and children of the Lakeshore area in Michigan, such as housing, food, daycare needs and more. Instead of wasting money on new items this year, give second-hand a try, and support the Holland Rescue Mission all while saving yourself money! Make sure to take note of the white board that lists all of the daily specials and discounts in store, and ask for a "punch" card that can earn you free items! LRMT also regularly publishes coupons in your local papers with inserts, so keep an eye out for those as well!

____________________________________

AND NOW...FOR THE FUN AND EASY GIVEAWAY!!


__________________________

This blog is part of a sponsored series through Lakeshore Rescue Mission Thrift!
Check back with me over the next month for more holiday coverage, ideas and giveaways!


 Lakeshore Rescue Mission Thrift
1015 Beacon, Grand Haven, MI 49417
  (616) 604-0267
On Facebook

Thursday, November 14, 2013

Why I can't thrift boots: How ill-fitting footwear helped me to love myself


Why I can’t thrift boots: 
How ill-fitting footwear helped me to love myself 

It’s a waiting game. At the end of August, autumnal-worshipping fashionistas are already chomping at the bit for weather cool enough to buy or wear the ideal boot with their fall outfit. Rack after rack of riding boots, calf boots and lace up booties begin to surface at every department store, and large shoeboxes arrive on many doorsteps as the women inside cross their fingers in anticipation… 

Will the shoe fit? 

Like everyone else, I'm excited about outfits with boots. Pants with boots. Skirts with boots. Everything with boots! All the way through winter! Though I enjoy “brand spanking new” items as much as anyone else, part of my personal credo and mission as a conservationist and a thrift blogger is to ask myself: Can I find this item second-hand before I buy it new? The answer, almost undoubtedly, is yes. EXCEPT…and this is a painful exception…when it comes to boots. 

Why can’t I buy most boots second-hand? The answer isn't because of orthotics, worn leather, or fear of some type of “shoe cootie” (though I hear this stops many people from buying footwear second-hand  and I can assure you, I've never had an issue). No, the answer isn't about anything aesthetic or personal in the least. 

I simply can’t fit my calves into them. 


Let us now take a journey… to a place called Lithuania. 


 Welcome! Long before its independence as a nation in 1918 (and before erecting a tributary sculpture to FRANK ZAPPA in 1995, which is entirely awesome), Lithuania has been turning out strong, sturdy Baltic men and women. As a primarily middle class or poverty stricken nation, it should be noted that Lithuanians are a WORKING culture; a laboring people. Hard physical effort, tending to one’s own land and athletic capabilities including dancing are considered to be common traits amongst the people who hail from this land. (I can attest to that, because my Lithuanian great grandparents and grandfather were avid gardeners and also loved to polka.) Their union and immigration to the United States (specifically, Grand Rapids, Michigan) made possible my own family lineage that includes many short, stocky and muscular relatives, whose hearty statures and longevity have served them well. 


 Grandpa Don Verbis in the yard, where he spent many hours drinking beers and growing his amazing tomatoes. 

 Yet, I haven’t always been so proud of my natural born Lithuanian calves. 

For many years, I envied the slender-legged girls. Oh, the tan, slender-legged girls of summer who boasted never-ending gams of perfection in their baby doll sun dresses! Oh, the slender-legged running women of the road who seemed to glide along the pavement like gazelles in their North Face micro-shorts without a trace of cellulite or thigh dimpling. Oh, the slender-legged women of Shoe Carnival who slid their willowy calves into fashionable boots with ease, their legs slipping inside like a greased pill down a wide throat. 


How I desperately wanted A. Yet, I felt like B. 
(Okay, B with a side of jiggle and cellulite.) 


 I wish that the comparisons with my plus size body and what I deemed as perfection had ended at my calves, but alas, I spent my entire adolescence, teen years and twenties casting my whole body into the depths of “Not Good Enough Land”, where hoodie sweatshirts covered love handles and baggy jeans masked my stumpy stems and thick thighs. Though I had always loved dresses and fashion in general, it was easy to hide behind the casual gear at that time in my life. I was a musician; a rowdy guitarist for a heavy indie band. My punk rock attitude only made it easier to hide my figure behind clothes that camouflaged the pain of dis-satisfaction. I hated my body, and because I hated it, I treated it poorly. I didn't always eat well, and I didn't exercise often, let alone take time for self-care rituals. Just as one would expect, my issues with weight only increased further, and I had fully convinced myself that my problems were only external. 

What diet could I try to fix the problem? What magic piece of gym equipment could restore my self-worth? Shocking, I know…but there wasn't one. And there isn't  And there never, ever, will be. If you are reading this article right now, hoping for such a thing…stop dreaming right now, and instead wake up. Take a terrifying leap as I did, into the cavern of your soul, and feel around in the dark for a “jagged rock”—a problem--like the one I had. 

My “jagged rock” was a roadblock to self-acceptance. I couldn't properly quantify the worth--the purpose, the advantages--of my physical body. It took me thirty years, but I finally jackhammered that rock and blasted it into a thousand pieces. Inside the rock, a thousand golden nuggets spilled out, filling me with the understanding that, not only was my body worthy of my praise, attention and—yes—even celebration, it was also full of purpose. 

Suddenly I realized that the muscular, Lithuanian calves I had cursed for years had carried me through much rough terrain throughout my lifetime. They allowed me to climb from the depths of despair to the heights of happiness, supported my footsteps on every journey of my life’s transformation, upheld my pregnant belly with ease and, later, the weight of my son upon my shoulders. They even endured mile after mile as I ran down the road with strength and exhilaration. 


IMG_9057

 The mental metamorphosis was swift and enlightening. 

I gave up on having someone else’s legs, and opted, instead, to have a big, fat slice of fall fashion pie, buying myself some properly fitting, wide calf boots. While I was relishing in the sheer joy of self-love and acceptance (and riding boots, yay!), I decided to call myself an athlete because of my love of running and my training efforts (a title formerly forbidden, in my mind, to a slender-legged gazelle). I even realized a dream of mine and created a fashion blog where I photographed my own, plus size body (gasp!) in clothes I had styled, because it was a body that I loved; one that was mine, and full of purpose. Now that I revered and praised this body for its service, I could begin to honor it with only the best nourishment, exercise, and self-care routines. And then something even MORE magical happened: when I saw the purpose and beauty in myself, I began to notice it all around me. I just couldn't keep quiet about it. YES, that included ALL body types, because despite my comedic tone about slender-legged women, we can all be beautiful. Bodies are different, and beautiful, and purposeful. 

As you can probably predict, the more I valued my body, the happier and healthier I felt, and the more weight I lost. I quit referring to myself as a “work in progress” and tried to focus on being present. Though I'm sure I’ll always dream of a tighter tummy and skinnier slacks, I'm not wasting one more day of my life waiting to live. Ever. Again. 

The cherry on top of my own journey to self-discovery would be to pass this knowledge on…even if it is just to one frustrated woman who is out shopping this afternoon, measuring her self-worth in the dressing room of a department store. 


 Don't waste another minute.

Today is the day to love yourself and recognize how your physical body has served you.

Today is the day to treat your body well, to feed your body well, to dress your body well, in items that fit you. 

Forget about the goal pants and the thrifted boots. 

Today is the day to buy new boots.


______________________________________________

P.S. Are you looking for a wide calf boot? I gotchu, girl!


Wednesday, November 13, 2013

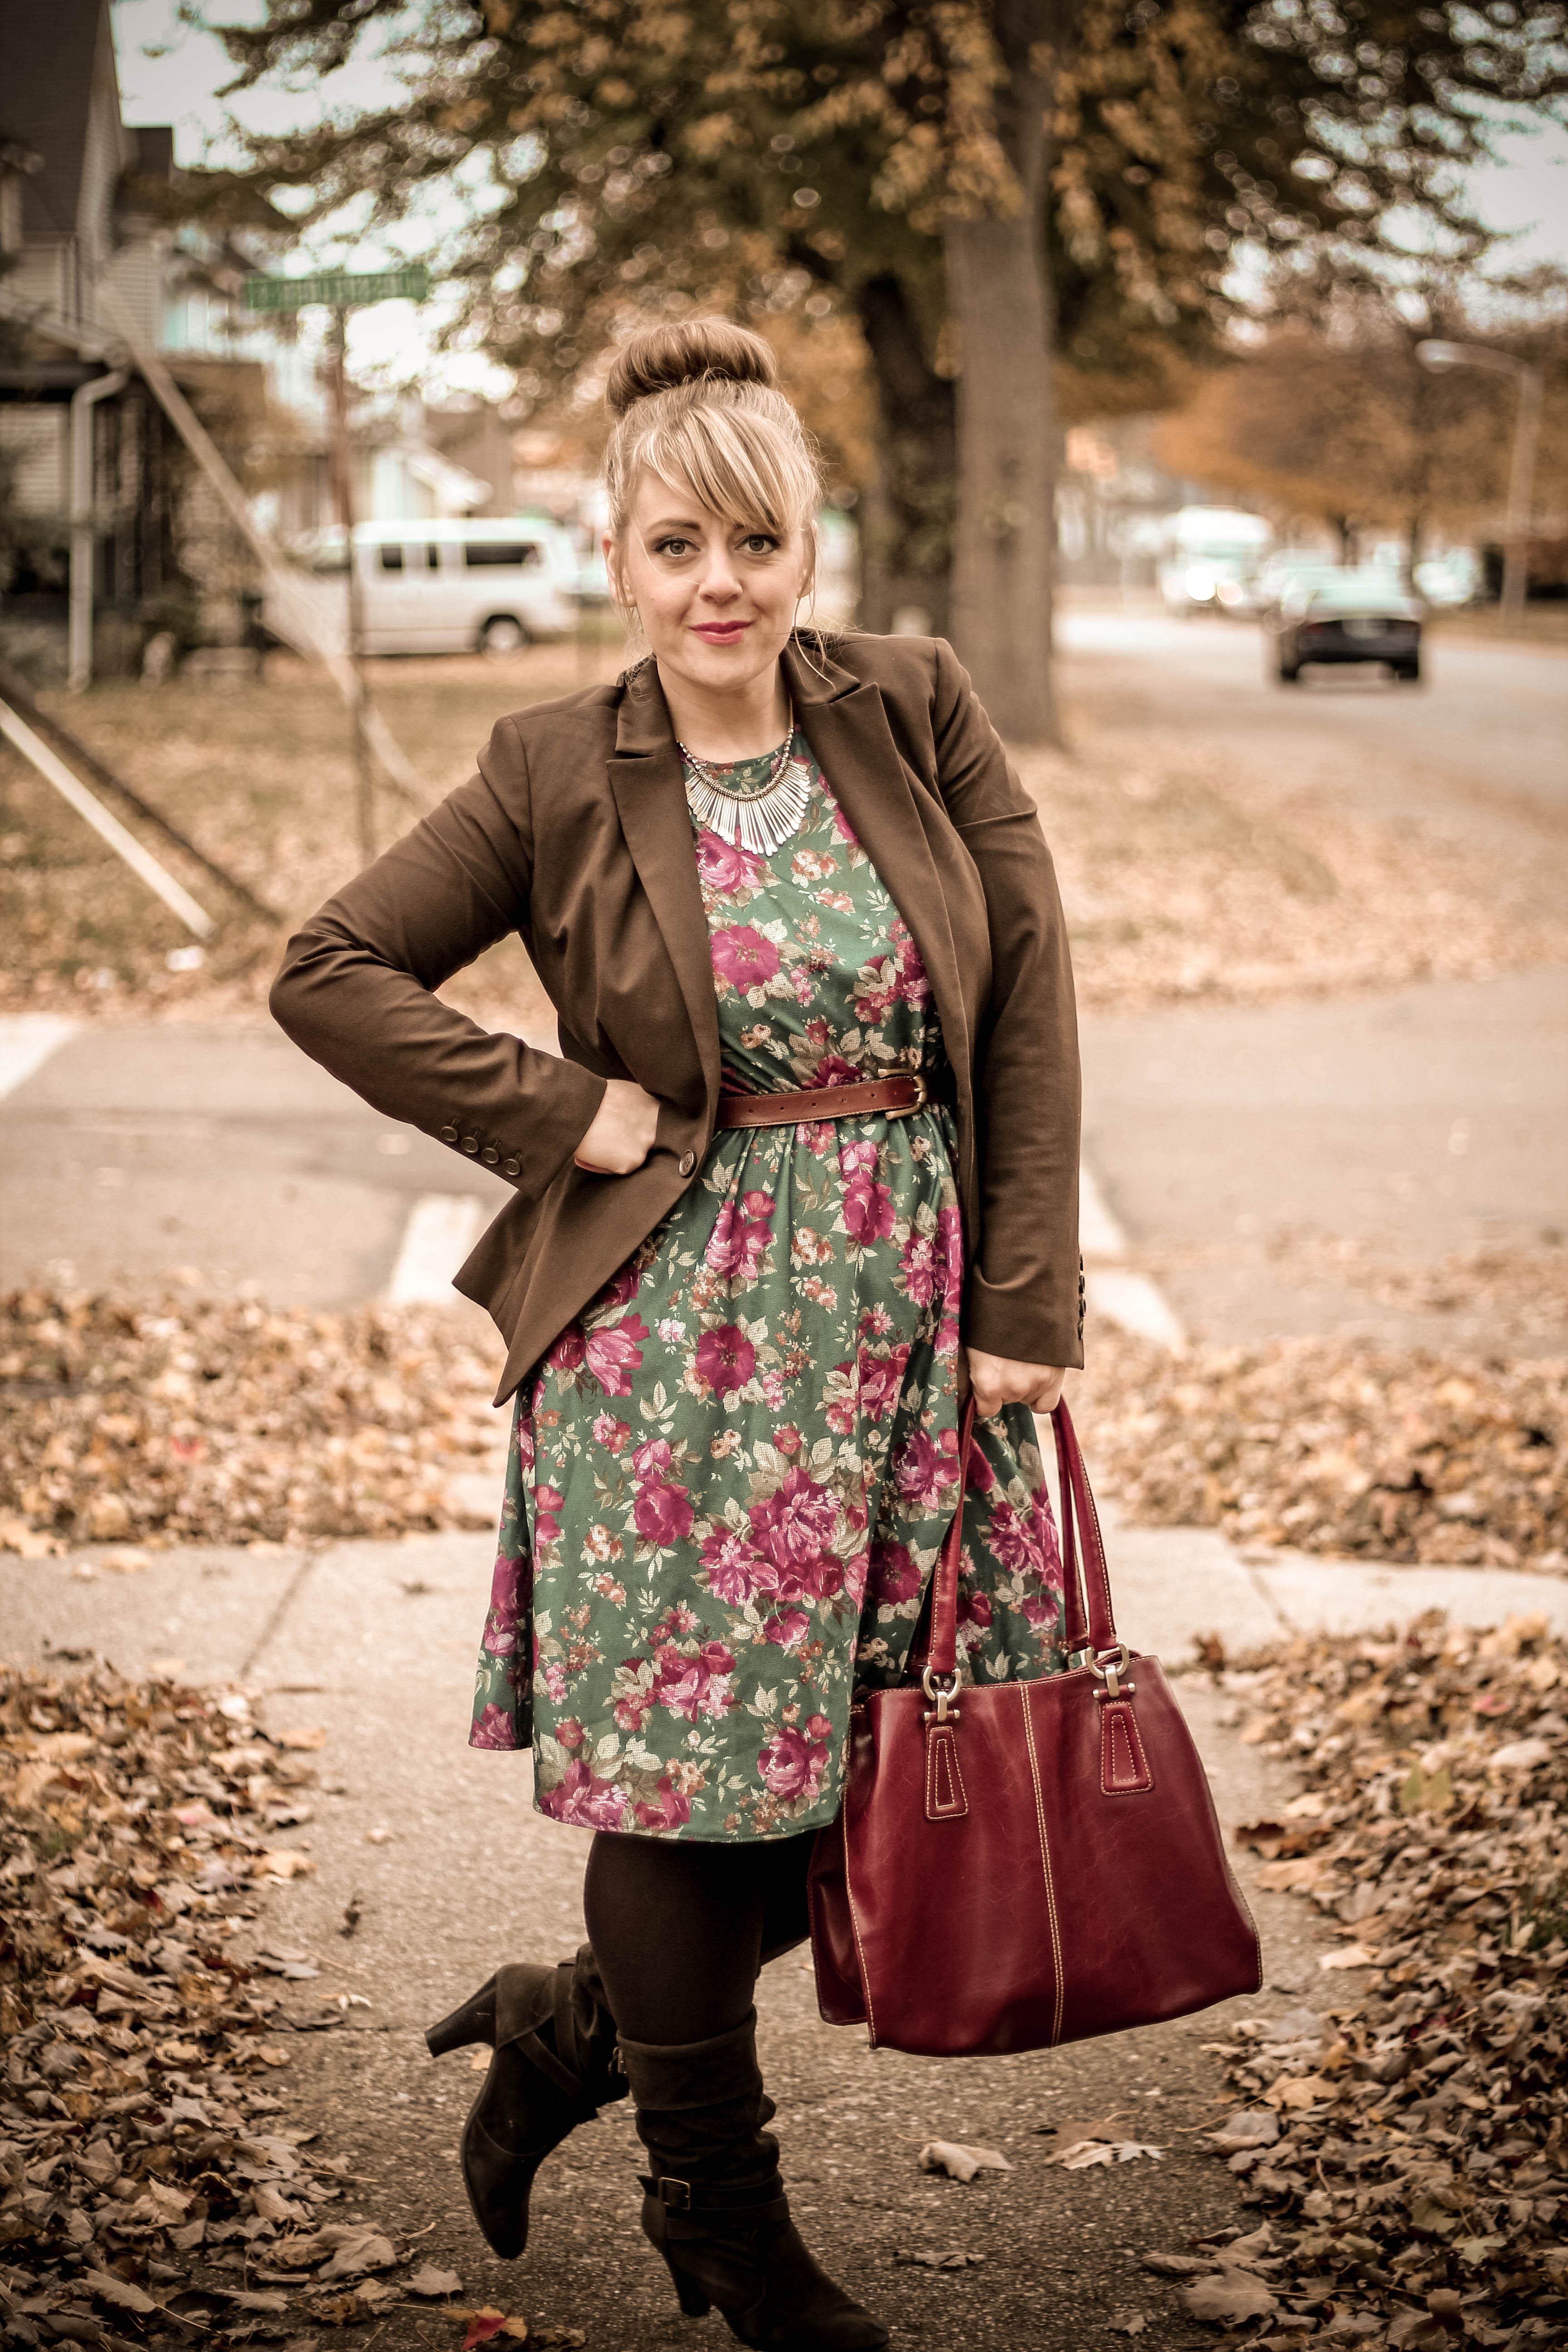
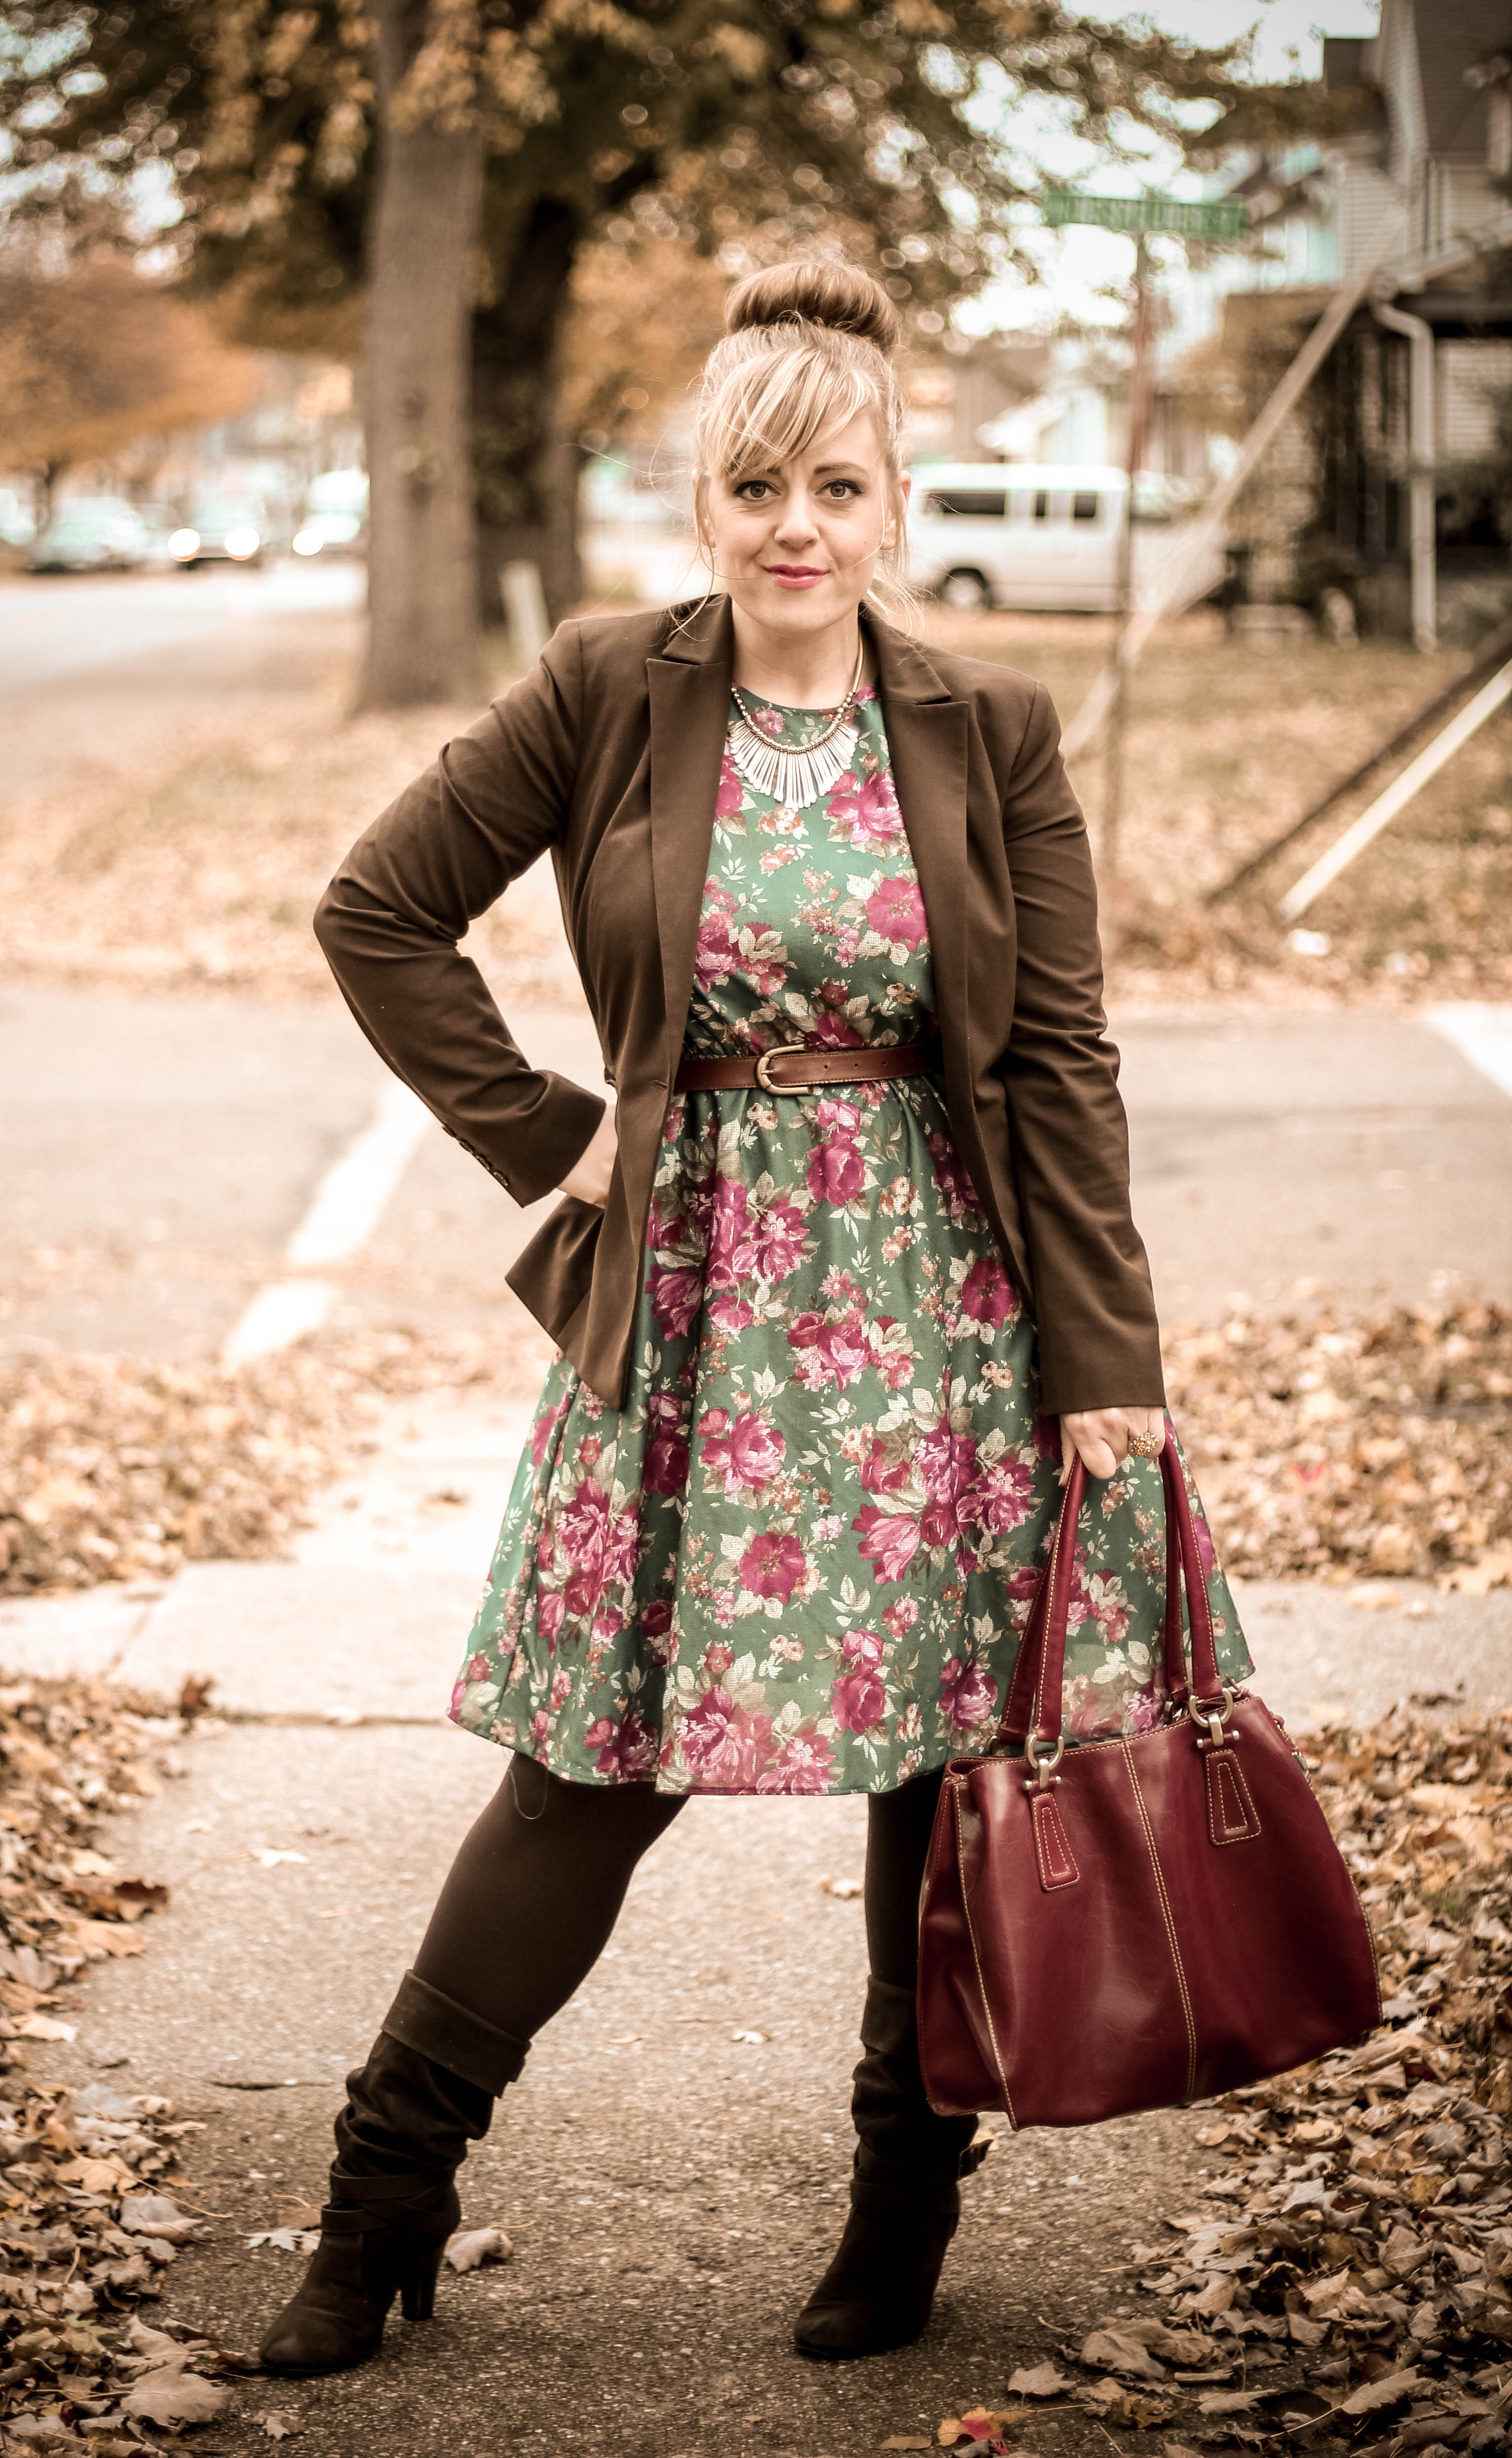
Thrifted Floral: Green and Brown

IMG_0588

THRIFTED FLORAL: Green and Brown 


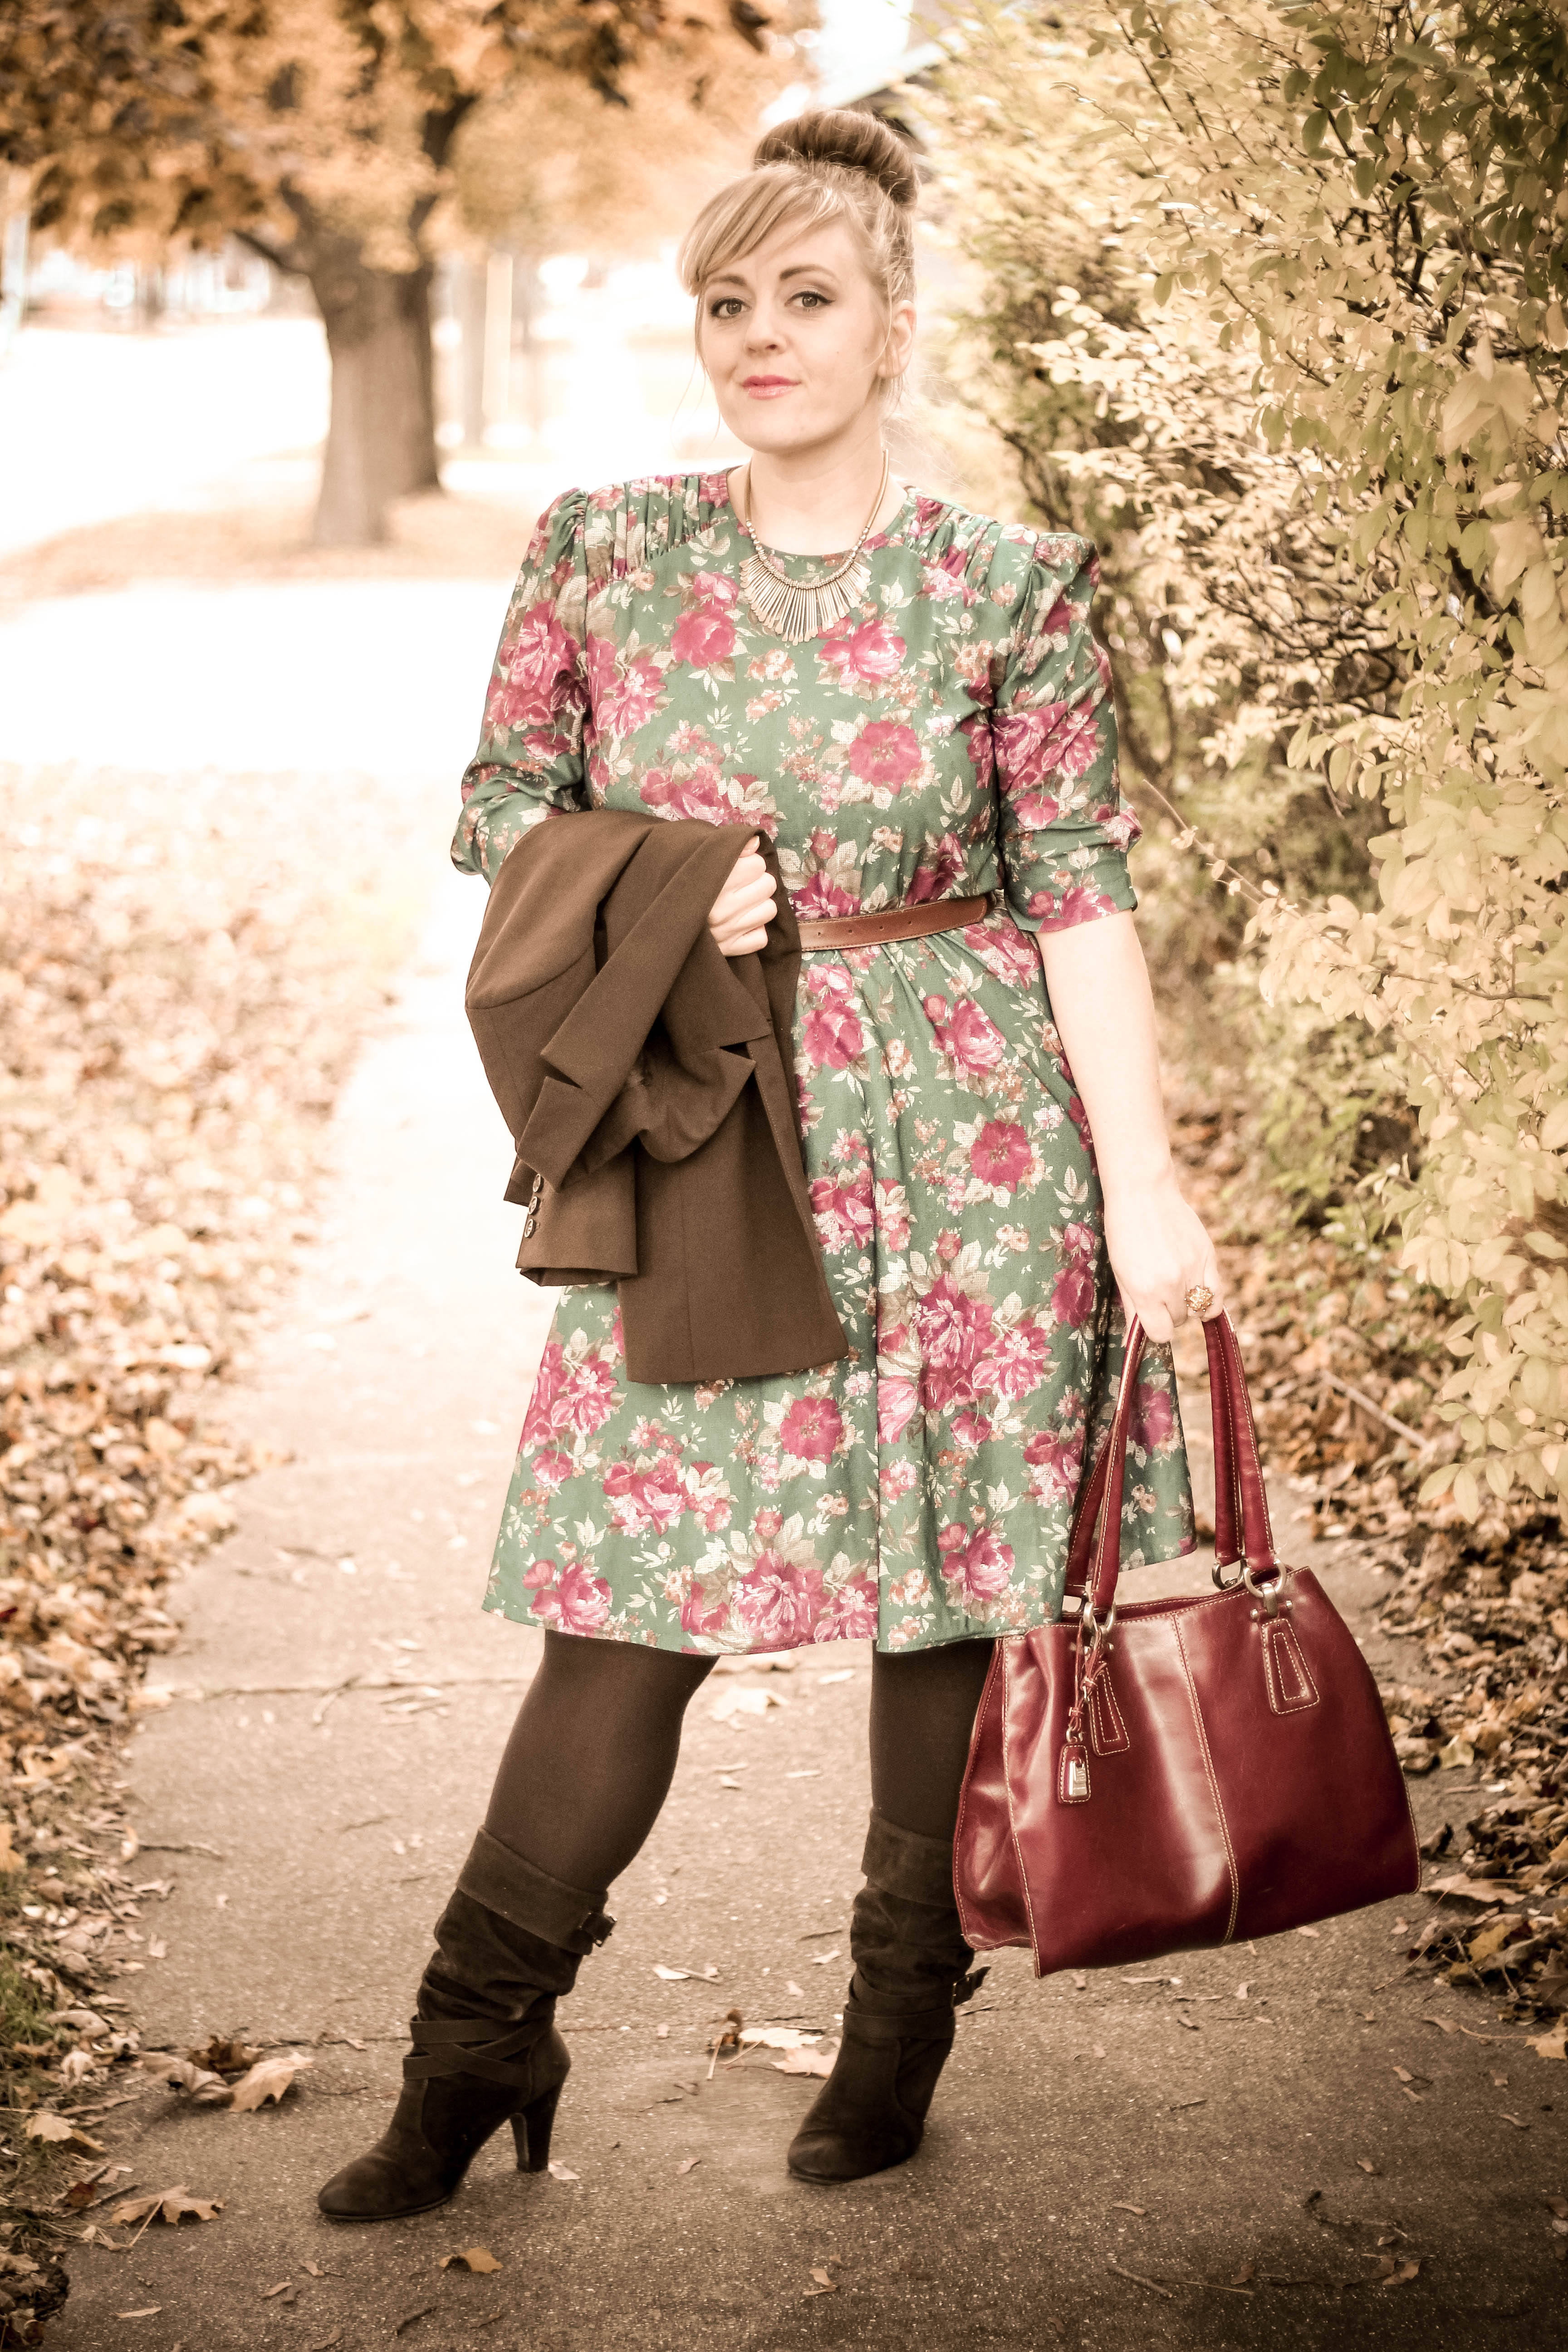
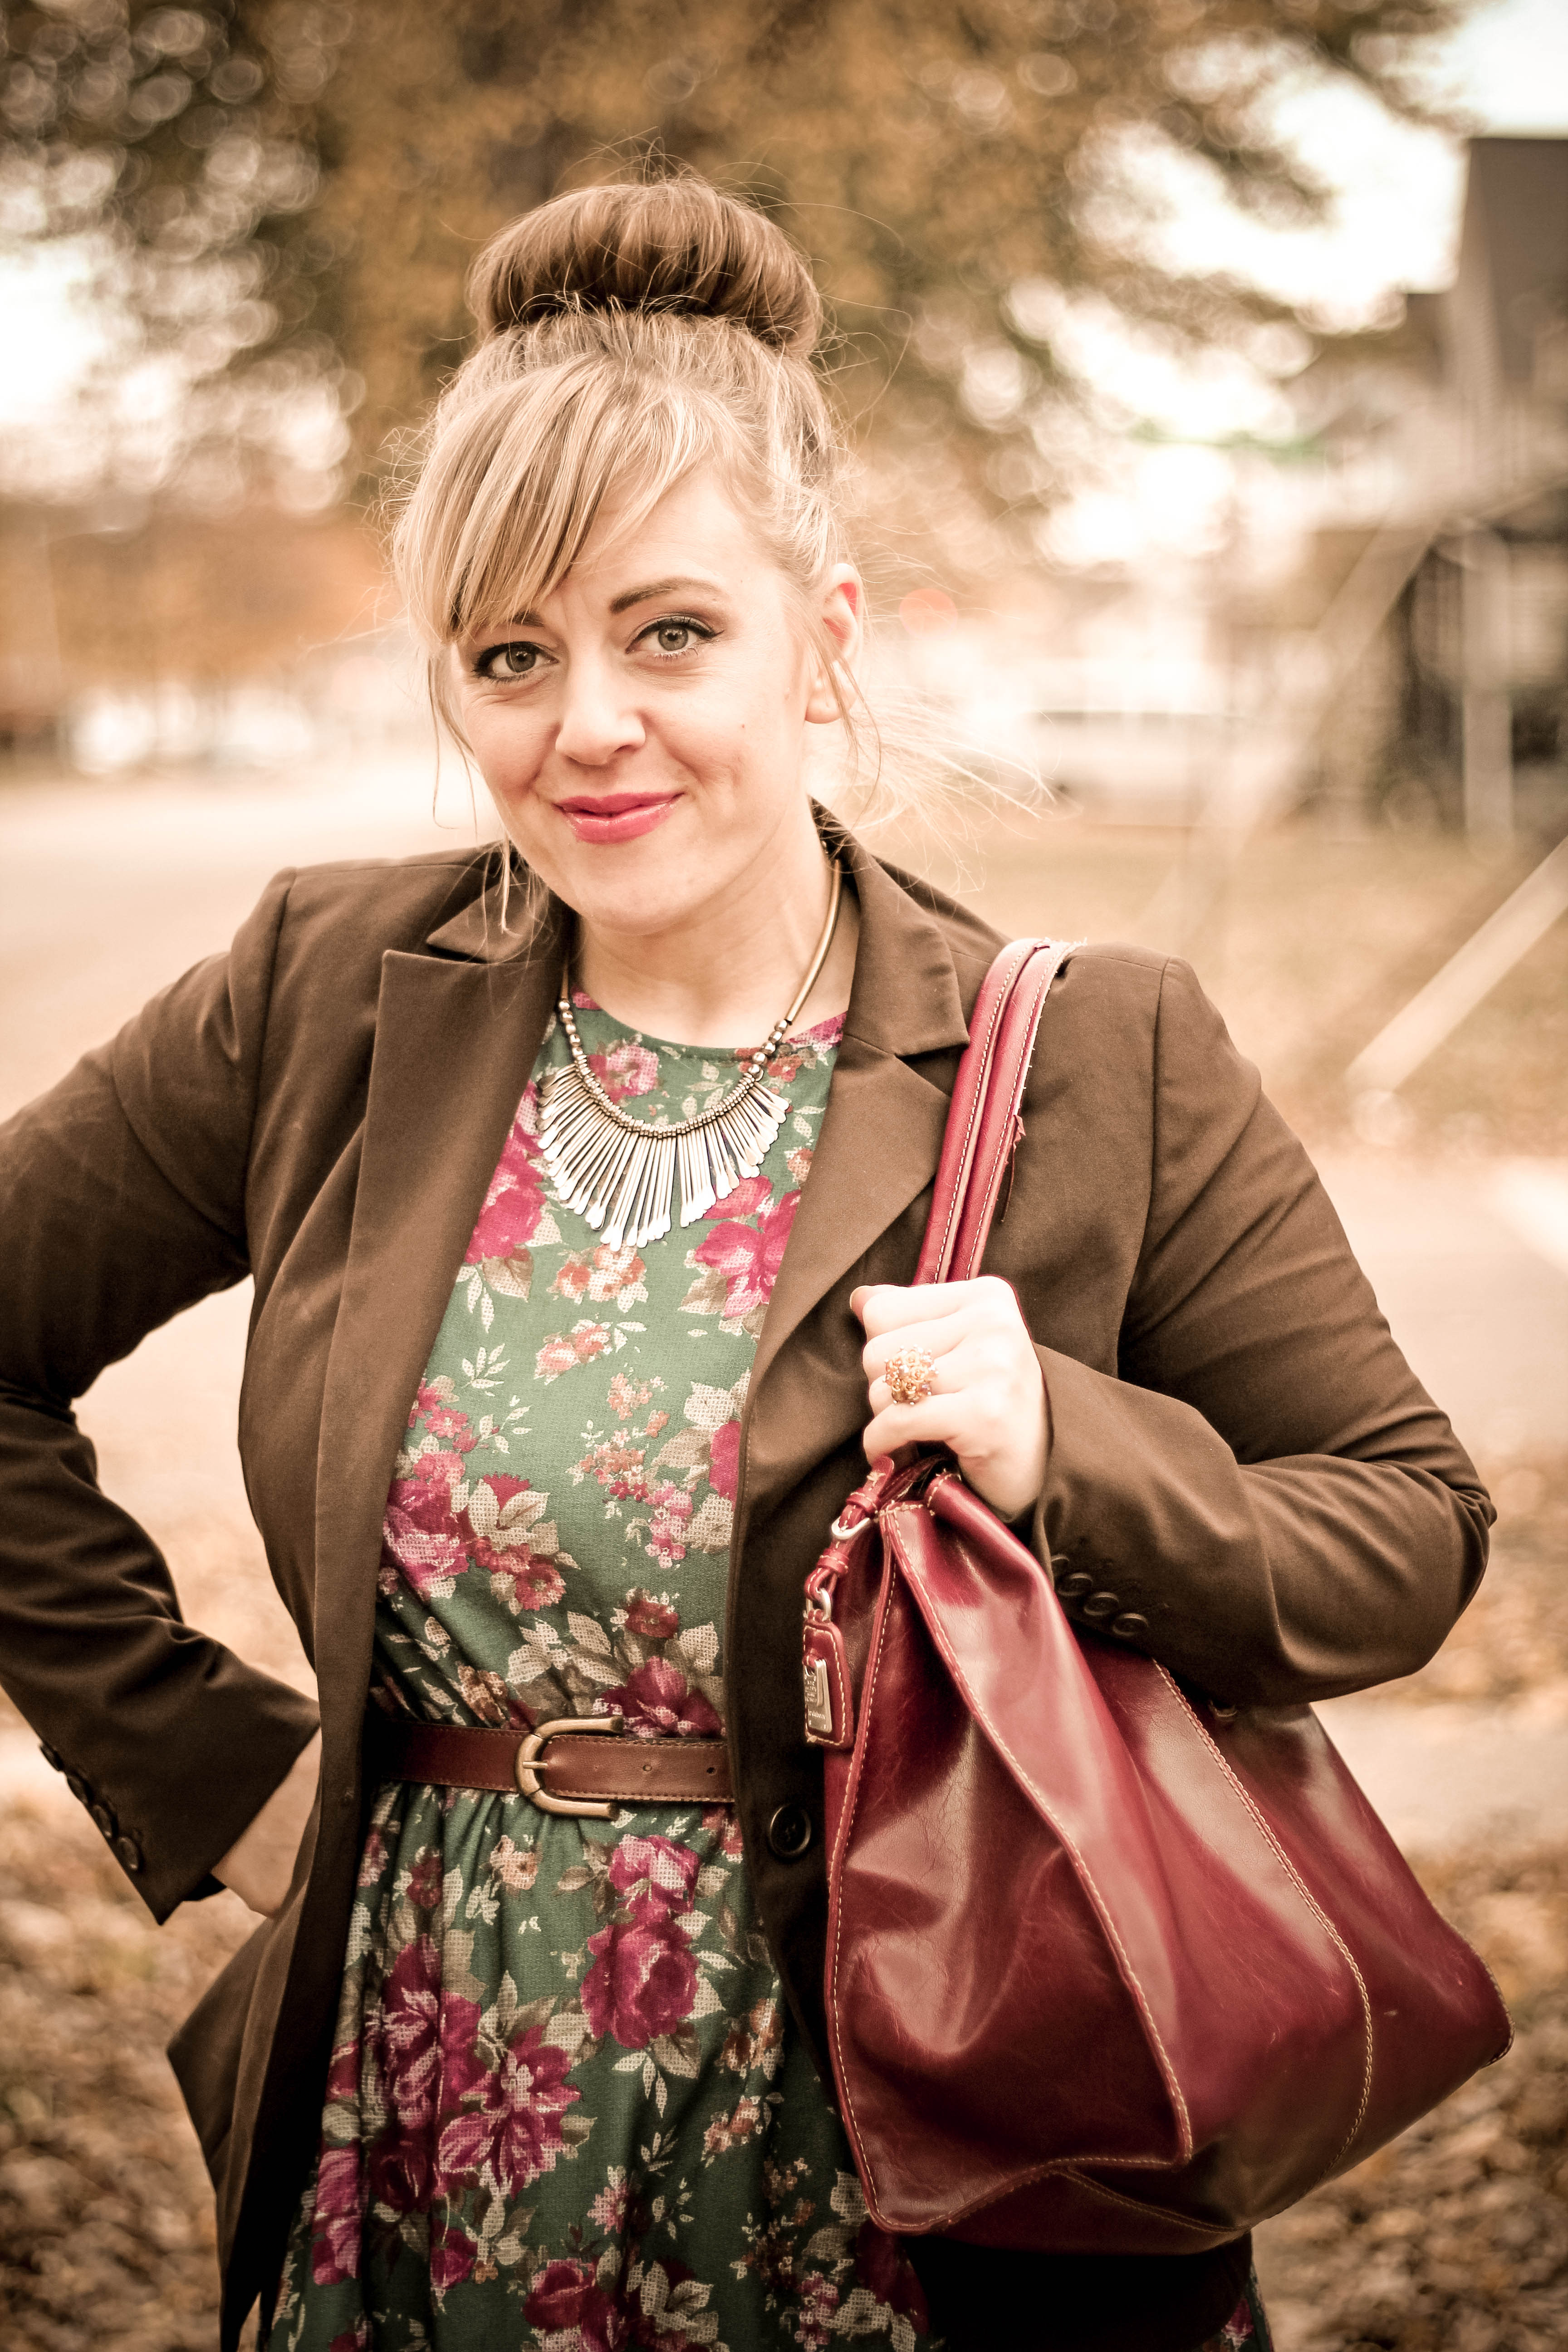
I picked up this dark green floral vintage dress last year for two dollars! I thought it paired well with dark brown tights, dark brown suede boots and this second-hand maroon Liz Claiborne bag and this fitted brown blazer (Anne Klein). Both were also two dollar items! The bib style necklace was a gift (see my "Family Treasures" post) and has shown up in quite a few outfits. It's one of my favorites! :)

IMG_0574

IMG_0579

IMG_0576

Thursday, November 7, 2013

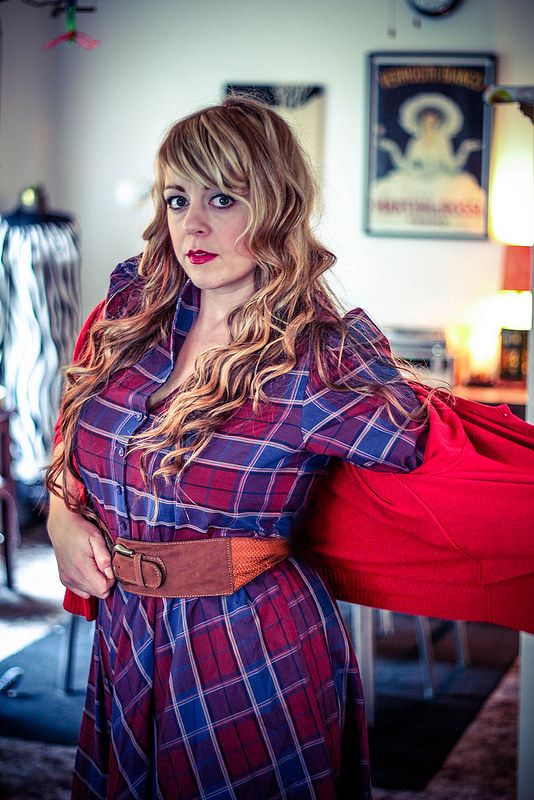
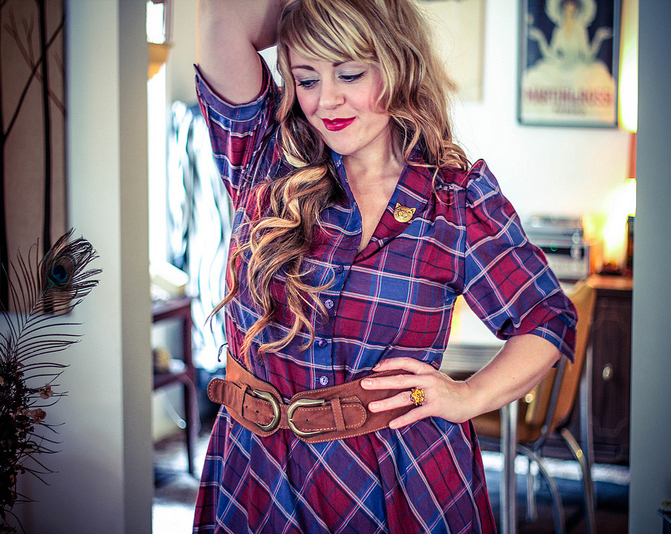
Thrifted Plaid Shirt Dress


10724400146_13bf46fa28_c

THRIFTED PLAID SHIRT DRESS

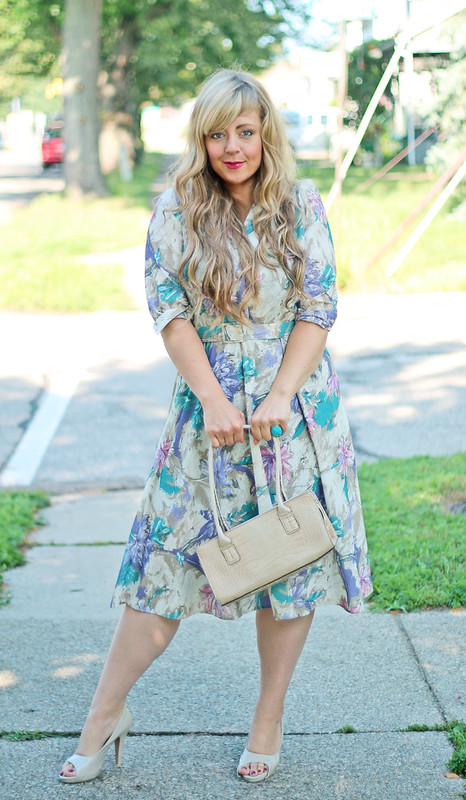
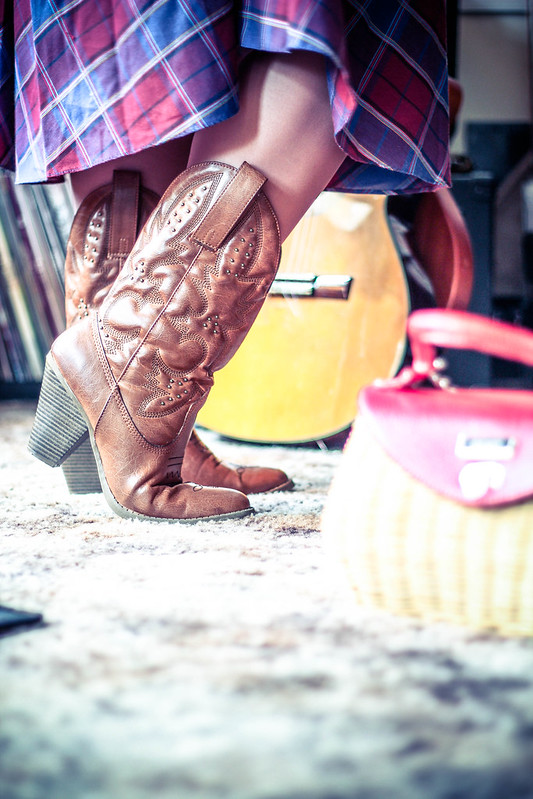
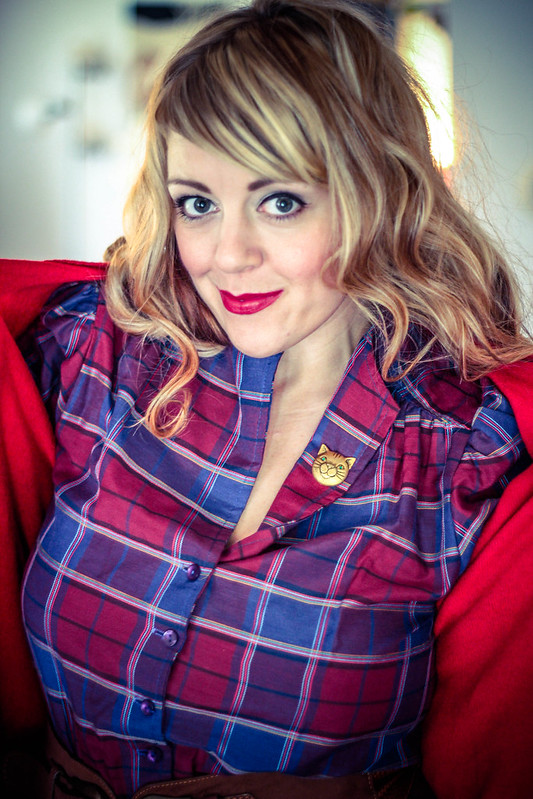
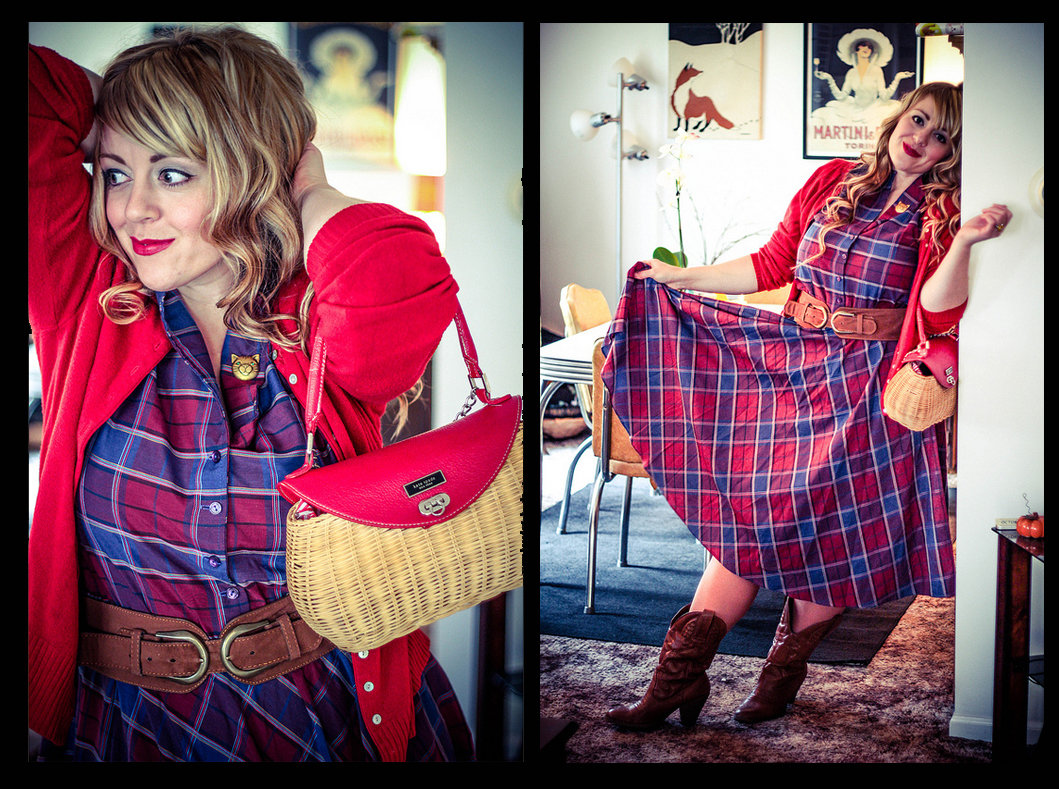
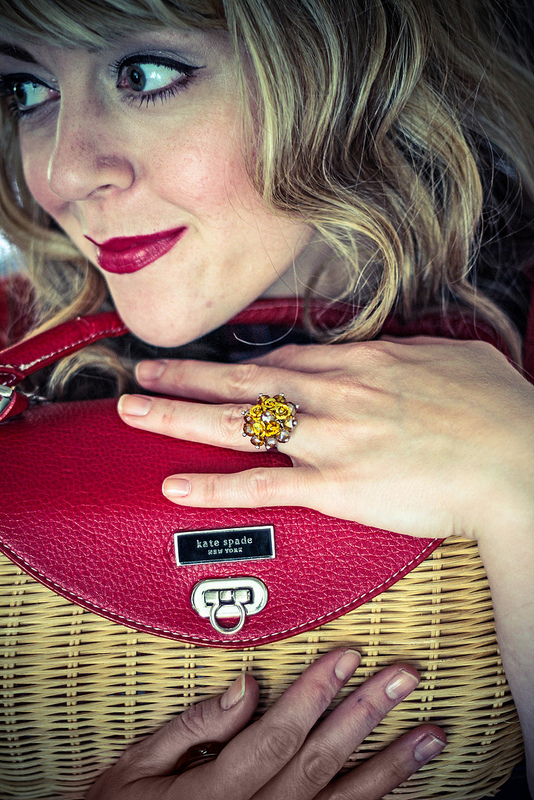
It was two dollars! I purchased in on Sherman Avenue in Muskegon at Hope's Outlet a few weeks ago while thrifting with my mom, and decided to pair it with these fun brown Mossimo cowboy boots from Target and a vintage cat pin! I also thrifted the lovely rhinestone bead costume ring.  Last but not least, the super cute wicker Kate Spade bag was found secondhand and featured in this "Wowie Zowie" thrift haul post, as well as this fun floral outfit this year!

How are you wearing plaid this fall? I love it all year round...but it feels so right this time of year. Once New Year's hits, I start to taper off my plaid wearing, and tend to gravitate towards glitter, winter whites and heavy metals instead. ;)

10724399536_9e53d054e5_c


IMG_0006

IMG_9983


10724300735_3bb391664a_c copy


10724315975_b7b5e213d6_c

Monday, October 21, 2013

Special Day Makeup Tips!

specialday

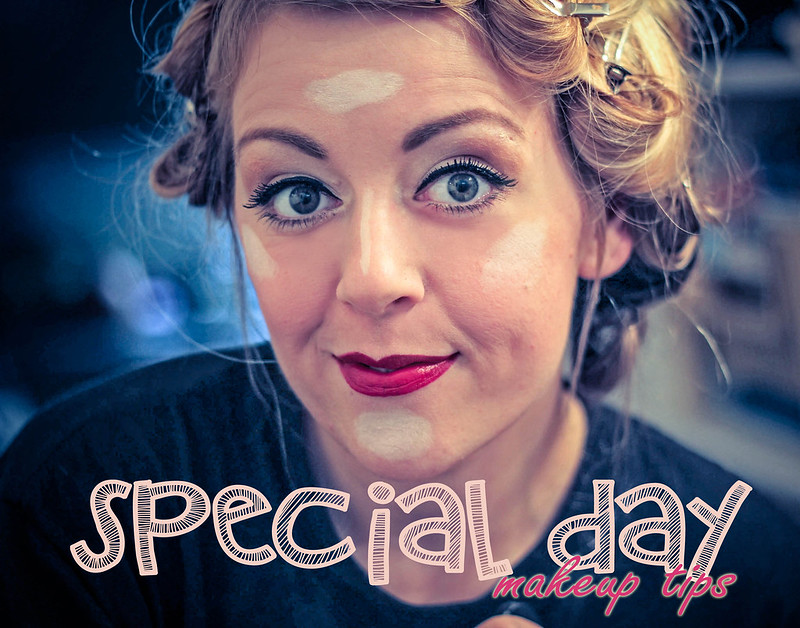
*Do I look cool with unblended highlighter on my face? Of course I do!

Do you have a special day coming up that you'd like to look extra, super fantastic for? If you are like millions of other women across the world, you likely don't have your own personal stylist or makeup artist to make that happen.  Plenty of women out there are doing their own hair and makeup even for the most special of days--their very own wedding day. For those extra special events, you'll need to have a toolbox with some thrifty tips and tricks to make you look your very best.  I'd like to help! Read on to hear about my inspiration for this blog...


Meet Dawn and Tim (a little on my friendship with Dawn, too! )!

Dawn and I have known each other for years! We went to school together, shared sleepovers, a love for singing and drama, and graduated from the same high school! Over the years, though we didn't live in the same town, we've stayed connected through different social mediums like Facebook. Dawn has always been a sweet and wonderful person and I've been thrilled for her as I have watched this last year's events unfold.

In 2012, Dawn met Tim, and they fell in love after one magical night of karaoke, quickly becoming best friends! ;) Recently, on a walk at Dow Gardens in Michigan, Tim surprised Dawn by proposing to her in front of all the people enjoying the lovely scenery AND all of their collective children, which make for a soon-to-be family of eight! Dawn was over the moon and accepted her future husband's proposal. 

As their wedding is quickly approaching, Dawn wrote me a few weeks ago to ask if I had any special makeup tips for her. She is styling herself for the big day. I thought it would be an awesome opportunity to share these tips with everyone, along with Dawn and Tim's inspiring love story. Congrats to the two of you--can't wait to see the wedding pics!

Keep reading below for my "Special Day" makeup tips!

- - - - - - - - - - - - - - - - - - - - - - - - - - - - - - - - - - - - - - - - - - - - - - - - - - - - -

www.ThriftTrick.com's
SPECIAL DAY
Makeup Tips!

others

FIRST THINGS FIRST: CREATE YOUR SPACE (gather your supplies) and by ALL MEANS...GIVE YOURSELF enough TIME!

I love listening to jazz, swing and lounge when I'm getting ready. It just makes me feel glamorous! So does a "primping" area--so I make sure to get myself a chair, lay out all of my supplies, and get myself a nice cocktail or glass of wine while I get ready. That way I'm not rushing and I have everything I need in front of me! I allow myself TWO FULL HOURS on a special day and you could EASILY devote twice that much to your wedding day, if that is your special makeup event.  Here's a typical "pre-makeup" routine for me on a special day:

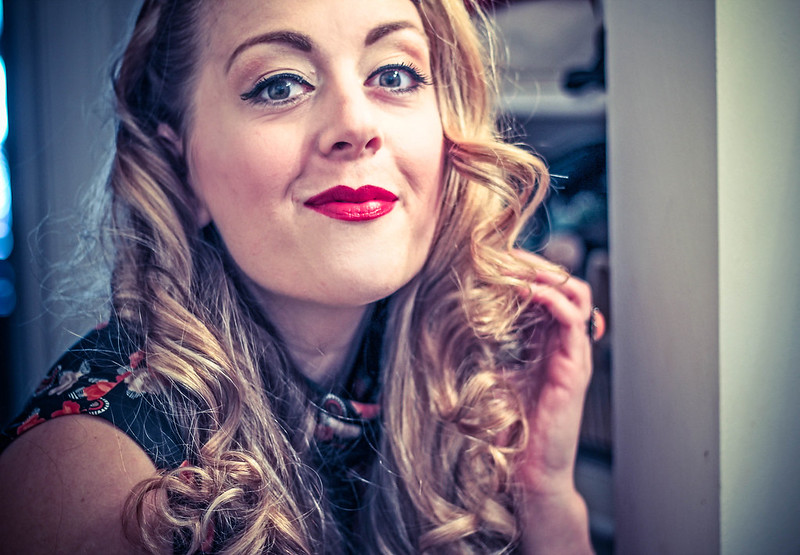
a) Gather supplies, put hair up or in curlers if you are going that route so they set while you do makeup. For these pictures, I had barrel wrapped curls with a curling iron and pinned them to set and (I was going for a vintage look with both my hair and makeup!).

b) Wash face with gentle cleanser and warm water and finish with ice water to close pores. Moisturize. (Don't do any sort of facial on the day of your big event as your skin may be irritated. Masks/treatments should be done two days prior, and I always exfoliate and use a self-tanning cream a few days in a row before a big event as well).

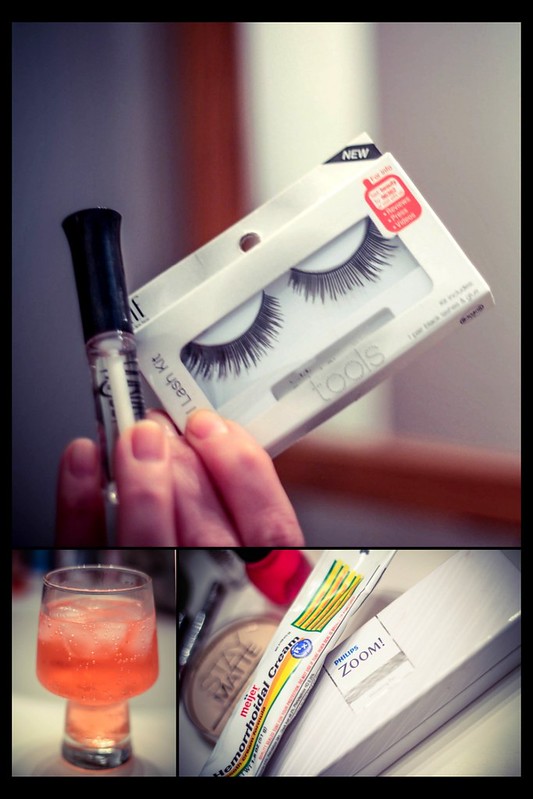
c) Apply hemorrhoid cream to your under eye area if you have bags to reduce their appearance (Yes! It works! Google it!) but be careful; there have been times that using too much cream and letting it sit for too long momentarily irritated my under eye area and it turned slightly red. In my experience, the redness went away in about five minutes after removing the cream entirely.

d) This is a great time to whiten teeth, especially if you have an easy whitening pen like the Zoom pen shown in the picture above! I purchased mine from my dentist's office for about five dollars less.

e) Now is the time to check eyebrows for rogue hairs and take care of any last minute grooming! (But a day or two prior is the best time for plucking. You don't want swollen red brows on your special day!)


IMG_0314-2

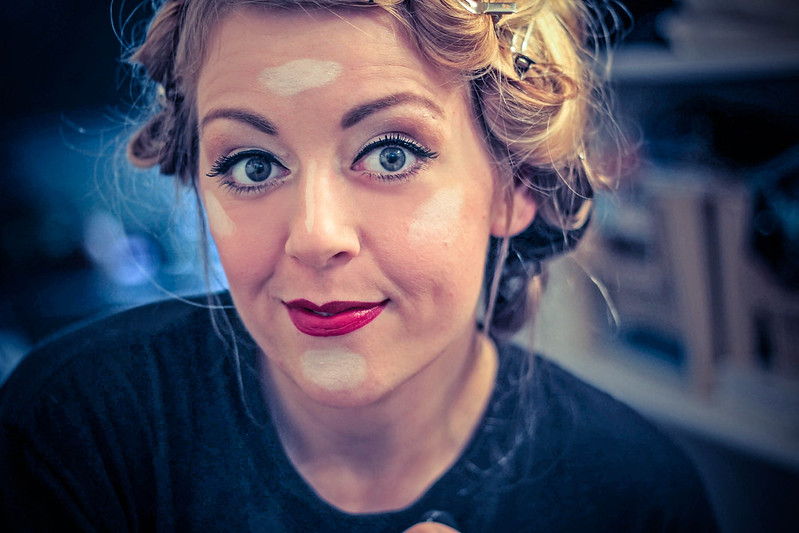
f) Though I love BB creams, mineral powder foundation and bronzers, on special occasions I pull out the big guns with a cream foundation in liquid or cake form (as shown above) and a sponge applicator. Be sure to use a clean applicator and use a downward motion. It's a very good idea to check your makeup in natural light (especially if you are a daytime bride!) and don't forget your neck and decolletage. 
IMG_0325-2


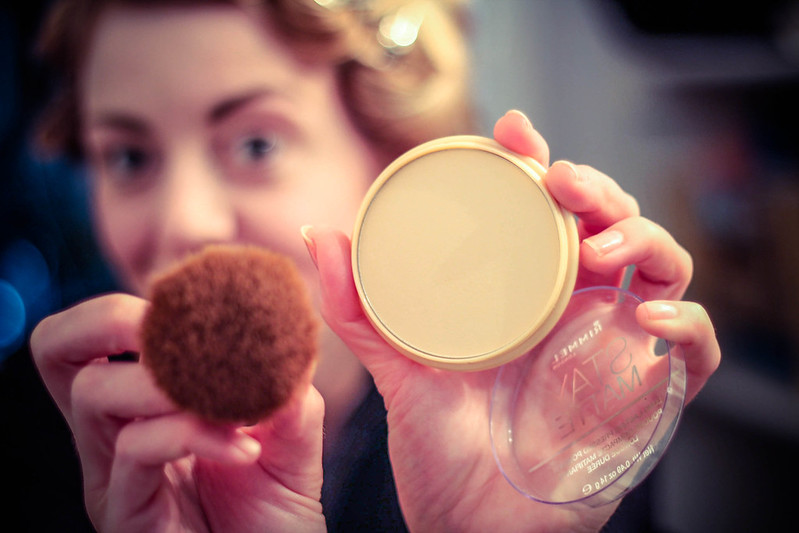
g) I set my foundation with a matte pressed or loose powder (I'm using Rimmel "Stay Matte" and I really like it!) and I personally like using a large, soft Kabuki brush for this application, but any brush will do. So will a powder "puff", but it may be a thicker layer of powder than what you want for your entire face. I highly recommend picking up an inexpensive set of E.L.F. makeup brushes if you don't have any--you won't regret the purchase, and at $12 dollars for the entire thing, there isn' t much risk! I generally wait until AFTER my foundation and powder are applied to then use a concealer for blemishes or the under eye area. You may need to apply concealer again at the very end of your makeup session, particularly if you have a blemish on your cheek, where concealer will naturally attract blush and become a hot mess. Certainly, you will finish with a final powder dusting!

If you like a dewier look, feel free to try baby powder as your "finishing dust". It works! If your complexion is on the greasier side, trust a heavy duty matte powder and make sure to bring it in your travel kit on your big day, along with some oil absorbing matte papers, like these ones from E.L.F.


h) I darken my brows first with a pencil, one or two shades darker than my natural brow color, but only in a line under my brow to emphasize the diagonal line on my arch. Basically, I use the pencil to define the shape of the line underneath, and I use this as my guide when I fill in the rest with powder. I like this NYX brow kit, and I reviewed it earlier this summer in my Top Ten Beauty Products under Ten Dollars (along with my other favorite thrifty beauty products!). I apply a light highlighting shade beneath to accentuate my brow and serve as a base for the eyeshadow I am applying later on!

A final note on brows: I like to remember what I heard from a cosmetologist once on t.v.: "Eyebrows are sisters, not twins". Don't beat yourself up if you can't get it perfect. Though a nicely shaped brow looks amazing, eyebrows that are fiercely drawn on and overly sculpted scare the piss out of me. I can't be alone in this.

lips

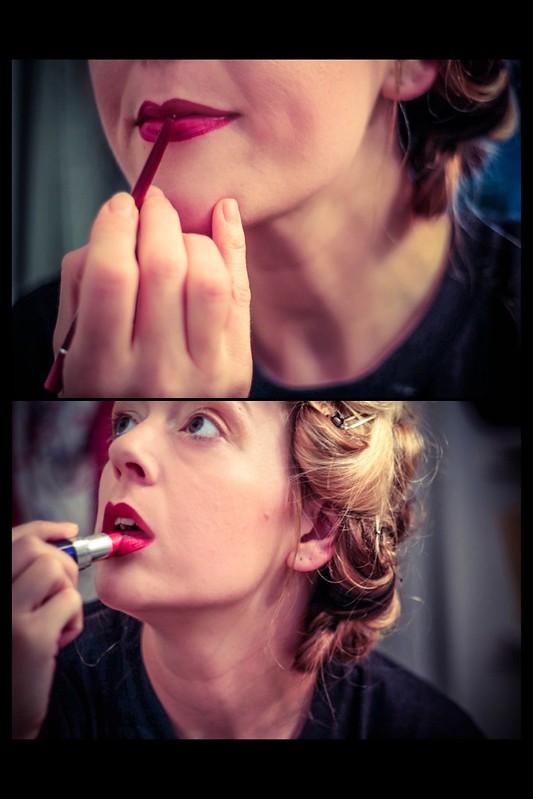
i) I line and fill my lips if I am doing any sort of lip stick or stain. (In case you are wondering, in these images I am using Cover Girl "Really Red" lipstick!). FYI--if you tend to have dry or flaky lips, you can exfoliate your lips daily before the big event with a home-made concoction of brown or white sugar and olive oil in a thick paste. Smear onto lips, rub, and rinse! 

Once your lipstick is applied, you can take a brush dipped in loose or baby powder and a sheet of tissue and use it to set your lips. Here's how: hold the tissue carefully against your mouth, and make sure it covers the entire lip area. Take a brush and dip in powder, tap of the excess well with a few shakes, and lightly dust OVER the top of the paper. Then, reapply lipstick once more and blot to truly set. This works very well, but you really need to be careful with your tissue as you hold it as not to smear. You can also dust your lips BEFORE you line and fill for somewhat of the same effect!

Do you have a tendency to get lipstick on your teeth? After applying your lipstick, put your finger into your mouth and then pull it out (I know, I know). Your finger will take all of the excess lipstick off your mouth that would otherwise end up on your grill! 

j) Will you wear false eyelashes? I am wearing them in the image below (E.L.F. brand, of course)! If you ARE going to wear falsies, I expressly recommend purchasing a DECENT eyelash glue--not like the ones that generally come with the package of lashes. I, for one, am very CRAPPY at putting these things on, but the Andrea Mod Lash brush-on adhesive I bought made it SO much easier. Even when, at first, I literally stuck the brush directly INTO my eyeball and was afraid I'd probably initiated a blinding chemical burn, it still proved to be a painless process. (And my eye didn't get hurt or sting! Thank goodness.)

Do not be afraid to trim your false eyelashes if you feel like RuPaul when you apply them. I did! Take a scissor to them and trip them down a touch, or even consider chopping them into pieces and applying them where you like.

I like to apply my lashes AFTER my eye shadow but before my liner and mascara. 

j) EYESHADOW: First things first; make sure your eyelids are primed with foundation and powder, or an awesome eyelid primer. If you're looking for a very affordable product, I suggest E.L.F. mineral eye-shadow primer! For your special day, try using shading techniques for adding a little depth and dimension to your shadow--it's easy! Check out these image tutorials--you can even do what I do--print, laminate, and stick right in your makeup drawer for future use! If you have an elaborate eyeshadow application planned, consider doing this FIRST, so that your foundation and the rest of your face isn't covered in "overspray" from your eyes! If you DO get eyeshadow powder everywhere under your eyes or on your face, don't wipe away with a tissue--instead, brush away with a large makeup brush and apply more powder.


IMG_0339-2

*See above pic for my highlighter placement, mentioned below!

k) Let's talk mascara...My favorite mascara is L'Oreal Voluminous Million Dollar Lashes. No matter which brand you use, though, there are a few tips that you can use help your lashes be the best they can be!

>>>>>Wash your applicator. Run in in warm water with a little hand soap or shampoo, rinse and dry well, and while it is still warm, put it back in the tube and coat it well. It will work sooo much better!

>>>>>Curl your lashes with a lash curler. You can also run your lash curler under hot water to add a little heat to your curl for extra power.

>>>>>Wiggle it. Really work hard to wiggle applicator back and forth horizontally as you coat upper lashes for great coverage.

>>>>>Mix it up! You can mix brands of mascara--apply one coat of two different brands BUT...apply double coats of mascara only while the first coat is wet, or suffer the curse of the clump!
IMG_0340

l) Blush for your face shape: Have you considered blush placement for your specific face shape? I have an ovalish, round face, and proper placement of blush really accents my cheekbones and makes my face seem so much more slim. I use Mary Kay mineral powder blush, but honestly, many different products have seemed about the same to me over the years. Similarly, if you find yourself in a pinch, a flattering lip shade will blend nicely into your cheeks and look dewy. It just won't have as much staying power as powder.

m) Bronzer and highlighter: I save these steps for the very end. You can see my highlighter placement in the above pic! I like to use a jumbo white eyeliner highlighting pencil because it makes things SOOO easy! You can pick them up very inexpensively. I use this L.A. Colors brand. YES, it is an eyeliner, but I use it for facial highlighter because it's so easy to draw on and blend...and also because I'M A REBEL, BABY! Basically, you place highlighter along your T-zone and upper cheekbones, or right below the eyes. I found this graphic for a different product that pretty much sums it up! 

Don't forget that you can also use the highlighter pencil or a lighter lip color or gloss in the center of your lower lip to create an illusion of a larger, more supple lip.


I finish up my highlighting and ENTIRE makeup application by dusting my face once more with pressed or loose powder, and then very lightly applying bronzer with a large brush over my cheekbones, and T-zone.


IMG_1875b-2

m) A final note for wedding makeup: A general rule of thumb is to stay away from darker colors for your big day.  Especially if you are a daytime bride! Use shimmer and colors that illuminate your eyes and face, and consider skipping mascara on your bottom lashes, which will make your eyes appear bigger, but also help with some of the "Tammy Faye" mascara drips that might appear if you get a little emotional on your wedding day. ;)


I'm including some great resources below that you can reference for even more great makeup application tips. See you soon!

- - - - - - - - - - - - - - - - - - - - - - - - - - - - - - - - - - - - - - - - - - - - - - - - - - - - -




Thursday, October 17, 2013

STILL LIFE: Mobile Ketchup


LIFE IS SOOOOO BUSY.

I'm playing "ketchup" with you today. Here are some mobile shots from the last few weeks that will get you up to speed on what's been going on, if you are so inclined to be interested!

1. Straight goofin'. Bumped my hair for work; kinda felt like a weirdo.
2. Loving leopard print and plaid, as usual! Always inspired by this pin on my Love Plaid board.
3. Stole my boyfriend's shirt; wore it under a cozy sweater in my Let Your Tail Hang Out post.
4. Perfect little pumpkin on my porch. Gorgeous fall weather!
5. Behind the scenes pic of a wedding shoot I recently did. See the whole album here at my photography page!
6. Num Num Num...breakfast! Sauteed kale, zuchinnis, garden veggies and egg whites with feta, whole grain english muffin, and cold apple cider from my boyfriend's grandfather's farm!


1. Thrifted polka dot blazer and a necklace from an old DIY! Lovin' the yellow...
2. Bought this leopard print scarf for FOUR DOLLARS. You can get one, too, here! The boyfriend was taking my picture and wouldn't give my phone back. Wahhhh!
3. Selfie from the wedding, a little pin curl action and some 1950's style glamour.
4. Another shot of the camel/B&W stripes and leopard--dig that combo a lot!
5. Teal nails/pink lips/gold and teal eyes
6. More deliciousness: sauteed and curried butternut squash with raisins, peppers, cardomom and turmeric over whole grain couscous. SOOOO GOOOOD!


Thursday, October 10, 2013

Let your tail hang out...

IMG_0253b-2

...AND BY THAT I MEAN YOUR SHIRT TAILS. 


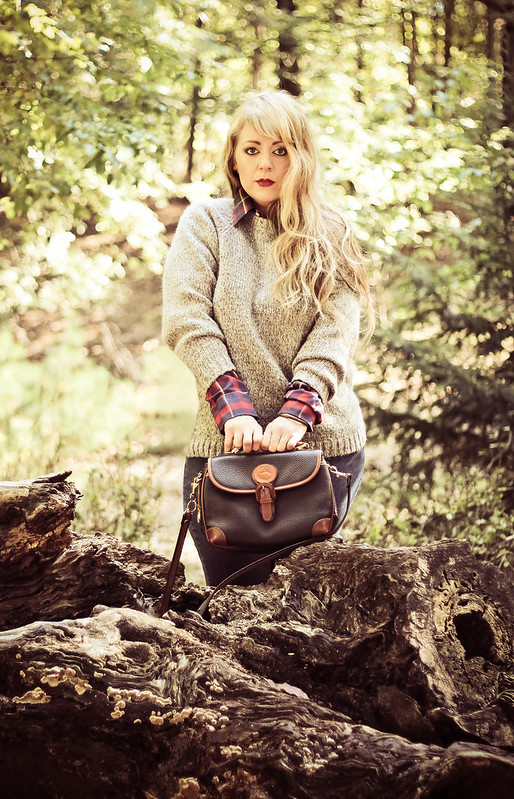
Im kind of obsessed right now with stealing my boyfriend's oversized (and thrifted!) plaids and flannels and wearing them under sweaters with jeans and boots. 

Maybe it's because comfy shirts and pullovers just scream fall. Here in Michigan, there can't POSSIBLY be a more beautiful season; it's sunny, crisp, and wonderfully autumnal right now.

These pictures were taken this afternoon at Duncan Woods in Grand Haven, where it was a lovely, sunny seventy degrees. It was honestly SO beautiful that enjoying it is somewhat bittersweet because I know this glorious, interim harvest weather is only the precursor to...well, I'm not even going to speak it right now. 

LONG LIVE FALL!


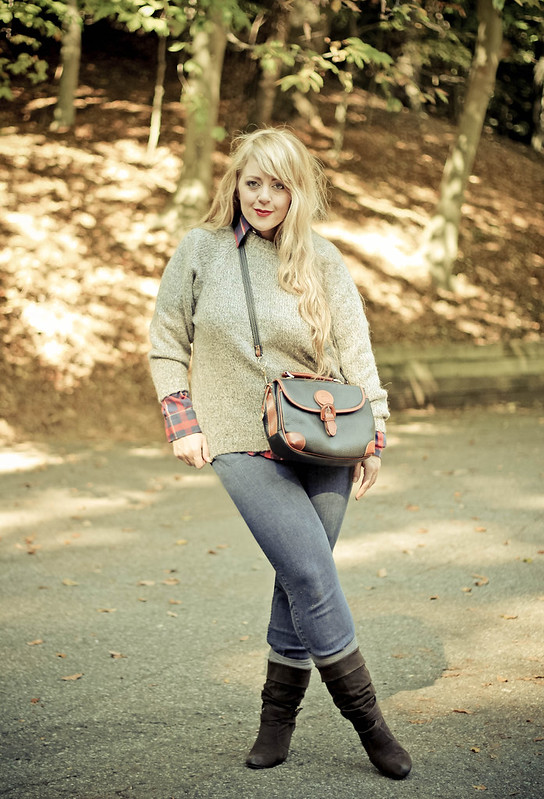
Outfit details: All thrifted with the exception of the boots, which were clearance items 
from last winter! :)

IMG_0295

IMG_0291

IMG_0288

IMG_0266-2

This outfit post came at the right time...I needed a little respite from my recent (albeit enjoyable) "vintage bonanza!" However I'll see you tomorrow for one final prep post leading into Saturday's "Lumber Baron's Ball: 1950's Style!"

Tuesday, October 8, 2013

Get your bombshell on: 1950's Makeup!


How to Fake a Beauty Mark

CLASSIC 1950's MAKEUP: 
Will you fake a beauty mark for the Lumber Baron's Ball?

Why not? It's sexy and so easy to do. Give it a shot by clicking on the gorgeous M. Monroe above for a tutorial, also pinned on my 1950's Pinterest board!

BASICS: It's definitely NOT rocket science! 1950's makeup was classic, minimal and stunning. It can honestly be summed  up with few words: a cream complexion, groomed and defined brow, minimal shadow, black lined eye, thick upper lashes, minimal lower lashes, and a nice full red, fuchsia or berry lip.

There's no need for ME to write the book! Check out the awesome tutorials I've linked below for you--but that's about it! This weekend I'll be posting my own vintage look for the Lumber Baron's Ball and creating a look that is consistent with everything we've outlined 
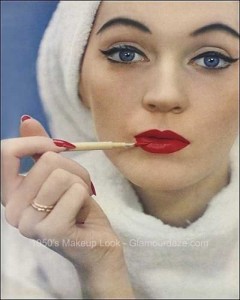
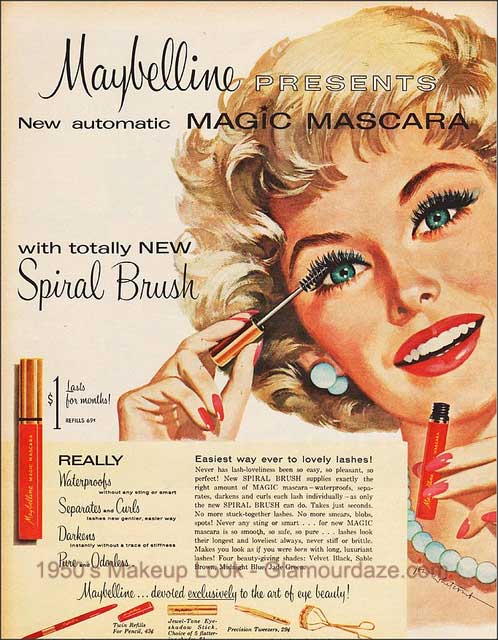
so far!

1950s-makeup- party face guide


Deadly is the Female: 1950's Makeup Lesson


Popular Posts